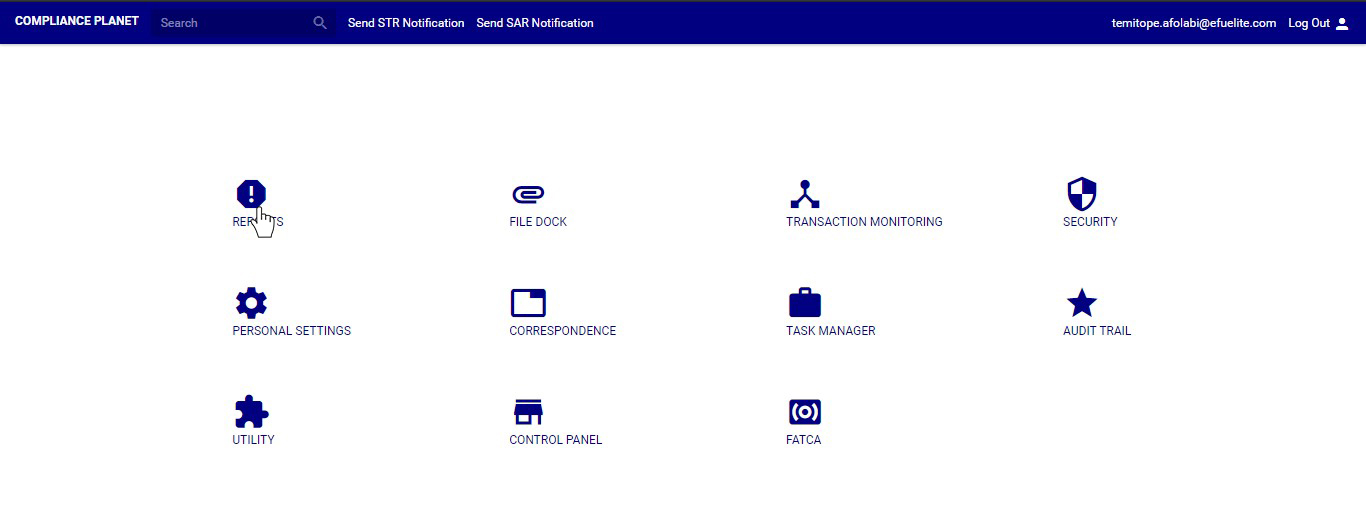
 STEP 1: From the left-hand side menu click on “NFIU STR/SAR Revision”. See this feature in fig. 6.3a below.
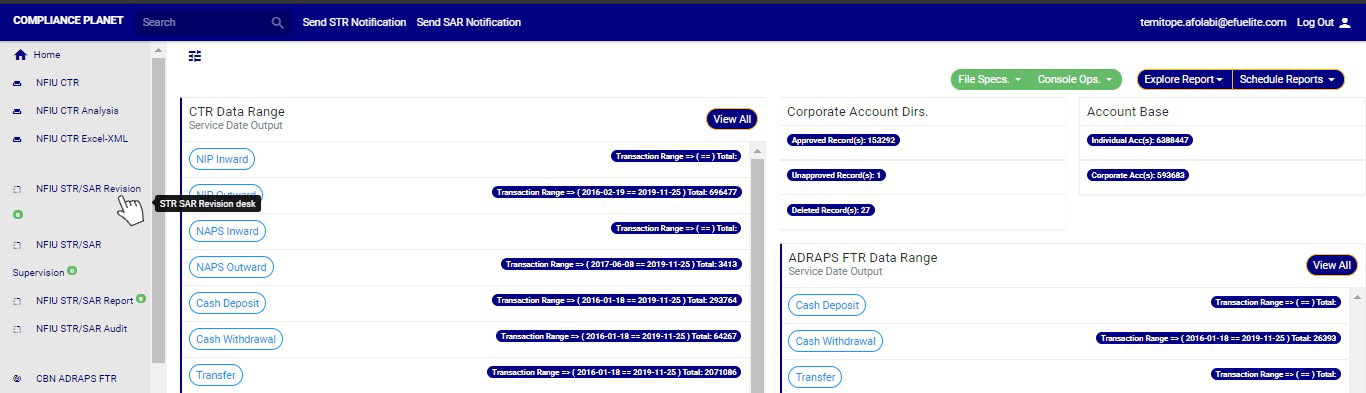 (fig. 6.3a)
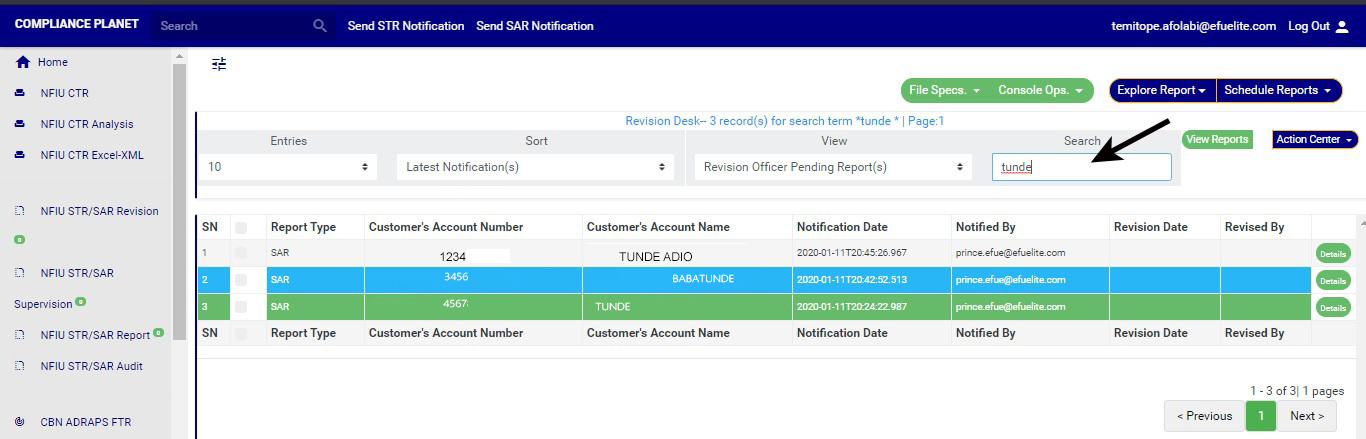
➔ Clicking on “NFIU STR/SAR Revision” will display a page as in fig. 6.3b below.
(fig. 6.3a)
➔ Clicking on “NFIU STR/SAR Revision” will display a page as in fig. 6.3b below. (fig. 6.3b)
➔ The notification(s) highlighted “RED” indicates that it has not been viewed by anyone on the reporting desk.
➔ The notification(s) highlighted “GREEN” indicates that it has been viewed by you alone.
➔ The notification(s) highlighted “WHITE” indicates that it has been viewed by you and at least one other reporting officer(s)
➔ The notification(s) highlighted “BLUE” indicates that it has been viewed by other reporting officer(s) excluding you
You can increase the number of notifications you want to see per page by clicking on the ENTRIES box. Pick any number of entries per page of your choice. See fig. 6.3c below for an example.
(fig. 6.3b)
➔ The notification(s) highlighted “RED” indicates that it has not been viewed by anyone on the reporting desk.
➔ The notification(s) highlighted “GREEN” indicates that it has been viewed by you alone.
➔ The notification(s) highlighted “WHITE” indicates that it has been viewed by you and at least one other reporting officer(s)
➔ The notification(s) highlighted “BLUE” indicates that it has been viewed by other reporting officer(s) excluding you
You can increase the number of notifications you want to see per page by clicking on the ENTRIES box. Pick any number of entries per page of your choice. See fig. 6.3c below for an example.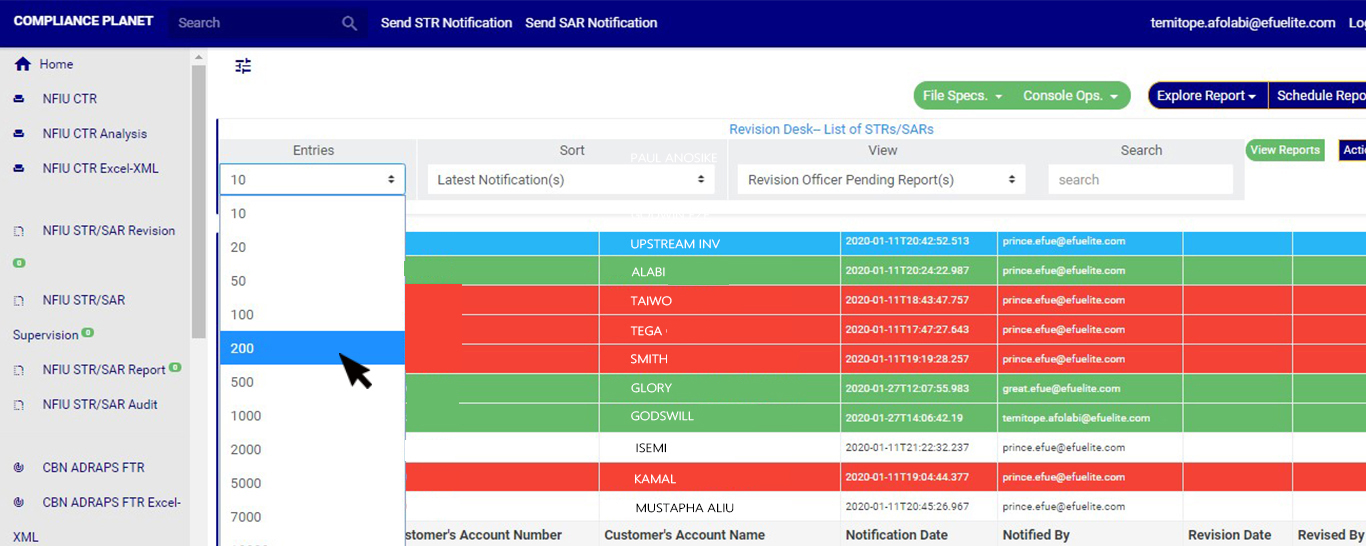 (fig. 6.3c)
➔ You can sort the notifications by clicking on any of the column header, either by alphabetical order or from the latest to the earliest notifications or vice-versa as shown in Fig 6.3d above
(fig. 6.3c)
➔ You can sort the notifications by clicking on any of the column header, either by alphabetical order or from the latest to the earliest notifications or vice-versa as shown in Fig 6.3d above

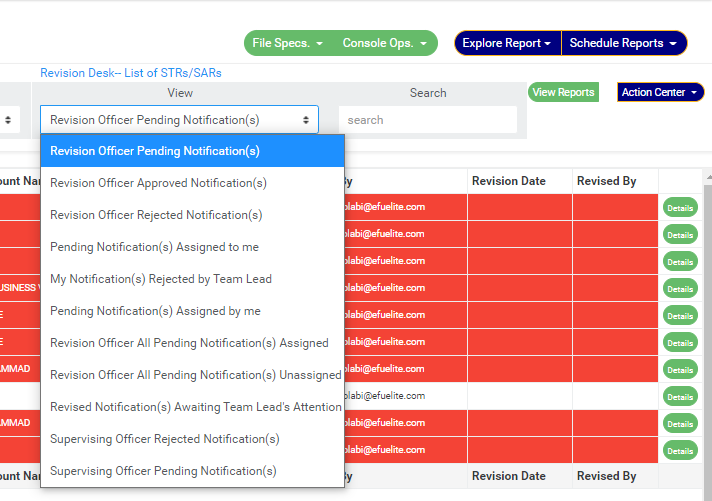
- Revision Officer Pending Notification(s); these are notifications that have not been reviewed, i.e. they have not been attended to by a revision officer. This is the default view of the revision desk.
- Revision Officer Approved Notification(s); these are notifications that have been reviewed by a revision officer and approved by the revision desk team lead. These notifications will be forwarded to the supervising officer for further processing. Once a Notification is reviewed and approved, it joins the supervising officer pending Notification(s) list for further approval.
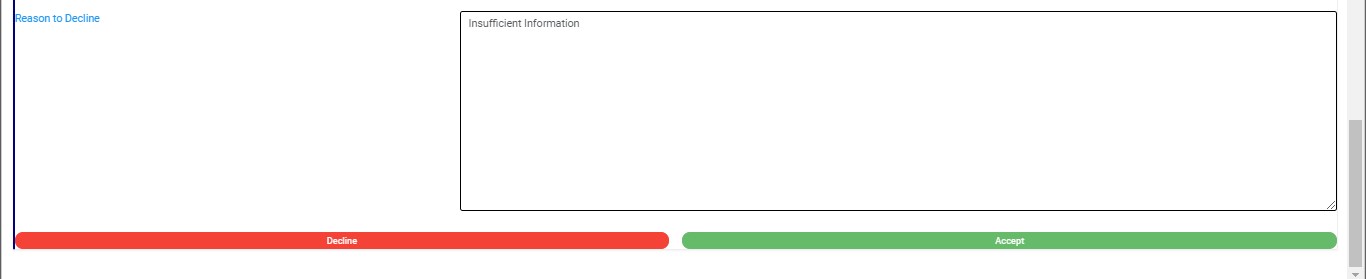
- Revision Officer Rejected Notification(s); these are notifications that have been reviewed but rejected by team lead.
- Pending Notifications Assigned to me; these are notifications that are assigned to you (a revision officer) by the revision desk team lead and are yet to be reviewed or treated by you.
- My Notification(s) rejected by team lead; these are notifications that have been reviewed by you but not satisfactory to the revision desk team lead.
- Pending Notification(s) assigned by me; these are notifications that you (i.e. if you are profiled as either team lead 1 or 2) assigned to other revision officers in your team and are yet to be treated or attended to. In this case you are the team lead.
- Revision Officer All Pending Notification(s) Assigned; these are the notifications that have been assigned to a revision officer (or team member) by the team lead but are yet to be attended to.
- Revision Officer All Pending Notification(s) Unassigned; these are the Notifications are yet to be assigned to any revision officer (or team member) by the revision desk team lead.
- Revised Notification awaiting team lead’s attention; these are notifications that have been attended to by a revision desk team member but is yet to be reviewed or treated by the team lead.
- Supervising Officer Rejected Notification(s); these are notifications that have been reviewed by revision officer and sent to supervising officer for further processing but were rejected by the supervising officer.
- Supervising Officer Pending Notification(s); these are notifications that have been approved by revision team lead and await the supervising officer’s treatment.

 (fig. 6.3g)
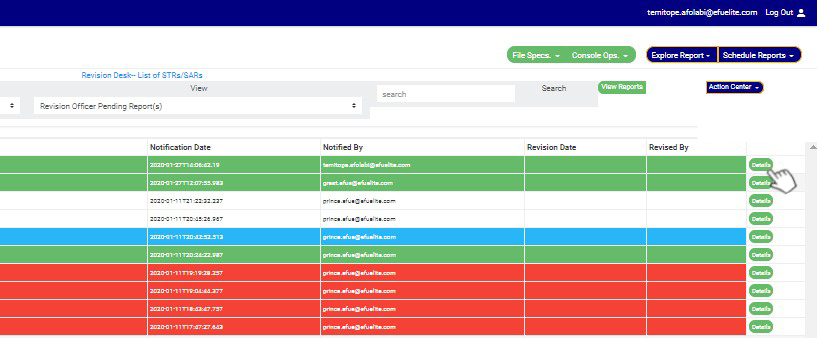
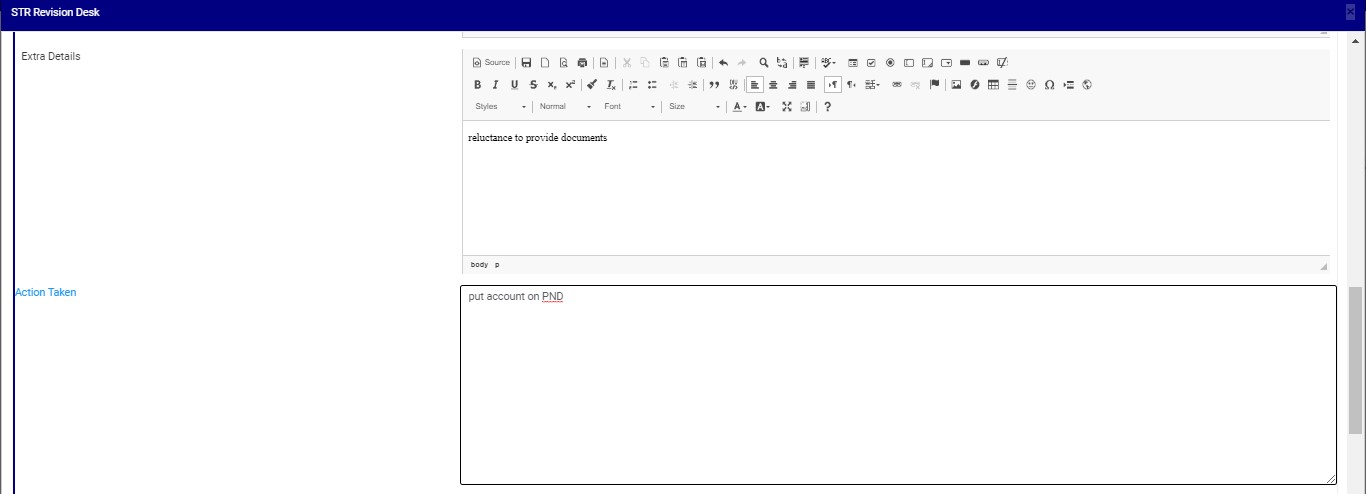
STEP 2: Select notification to be reviewed from the ‘REVISION OFFICER PENDING NOTIFICATION(S) list by clicking on the details button at the end of the notification row.
NOTE: If you are not profiled as a Team Lead 1 or Team Lead 2 on Revision desk; all notifications revised by you will be forwarded to a Team Lead 1 or Team Lead 2 on revision desk for higher level approval. If the Team Lead 1 or Team Lead 2 approves, then it proceeds to the next higher desk. If the Team Lead 1 or Team Lead 2 rejects, then it is returned to you for your re-evaluation.
(fig. 6.3g)
STEP 2: Select notification to be reviewed from the ‘REVISION OFFICER PENDING NOTIFICATION(S) list by clicking on the details button at the end of the notification row.
NOTE: If you are not profiled as a Team Lead 1 or Team Lead 2 on Revision desk; all notifications revised by you will be forwarded to a Team Lead 1 or Team Lead 2 on revision desk for higher level approval. If the Team Lead 1 or Team Lead 2 approves, then it proceeds to the next higher desk. If the Team Lead 1 or Team Lead 2 rejects, then it is returned to you for your re-evaluation.
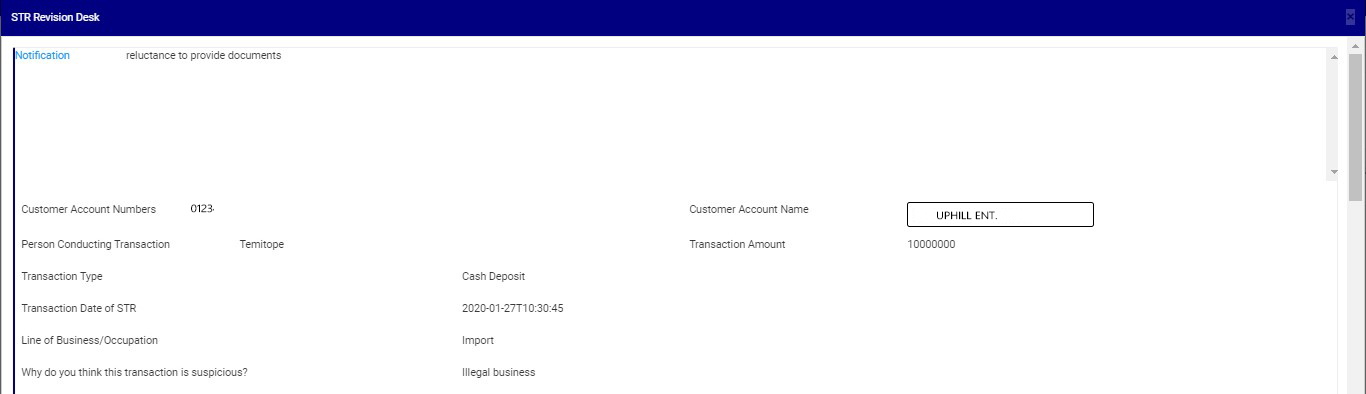
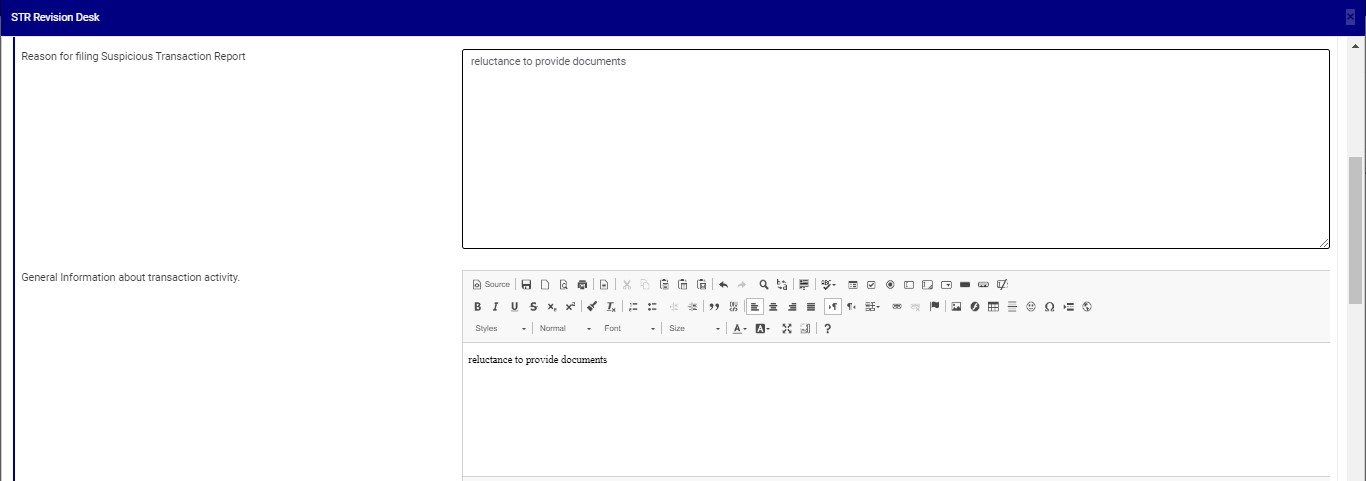
 (fig. 6.3m)

For further enquiries :
Tel +234(0) 816 555 9818
Email solutions@efuelite.com
Web http://solutions.efuelite.com
