STEP 1: Click ‘Send SAR notifications’ as in fig. 6.2.2a below.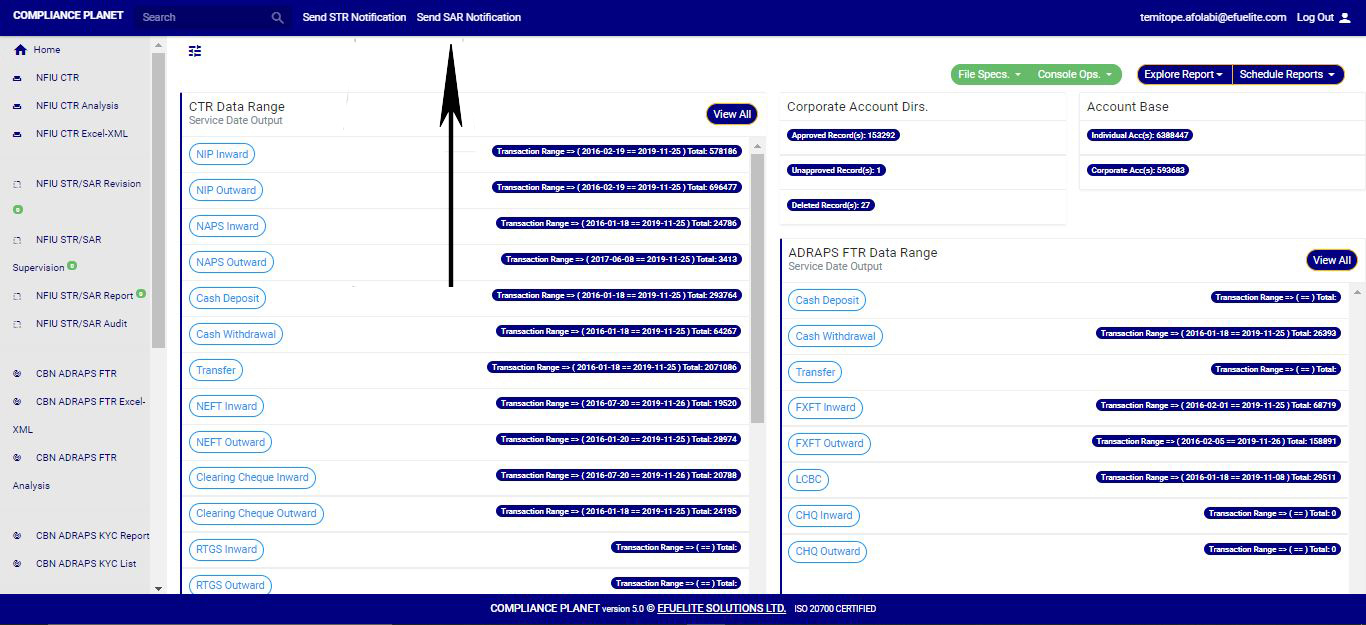 (Fig 6.2.2a)
➔ Clicking on ‘SEND SAR NOTIFICATIONS’ will display a console as in fig. 6.2.2b below
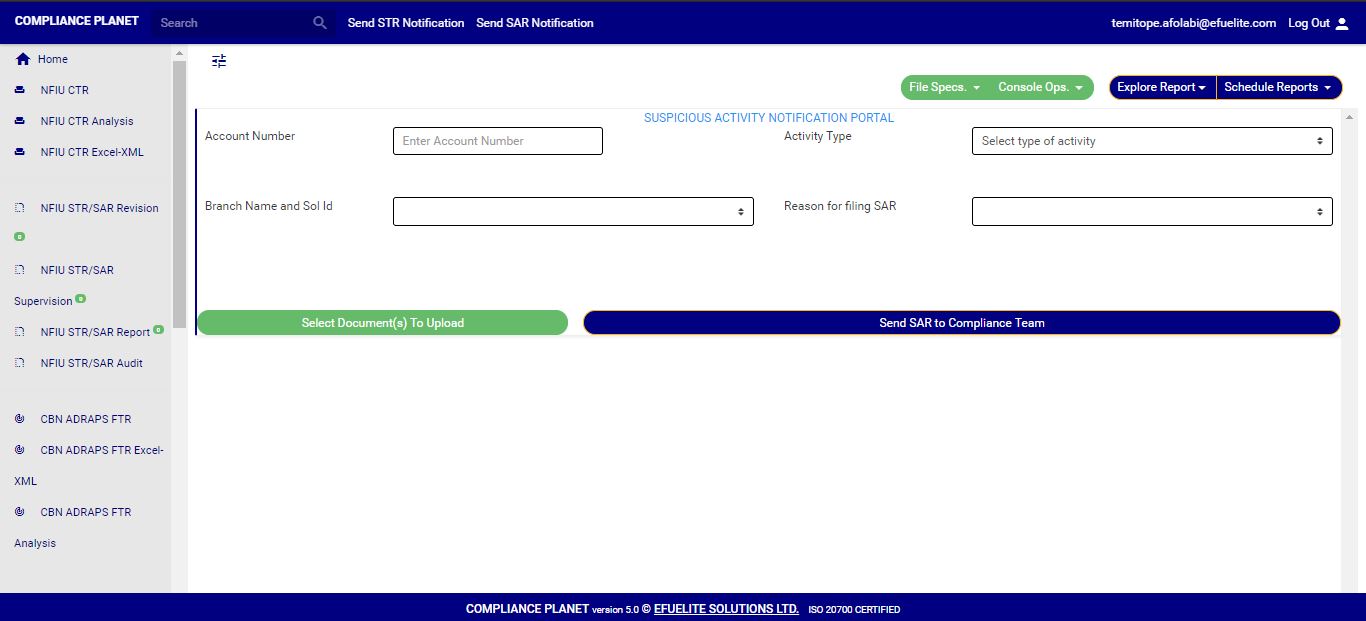
(Fig 6.2.2b)
STEP 2: Type in the Account number involved in the activity. See an instance in fig. 6.2.1c. Kindly note that the account number must be valid.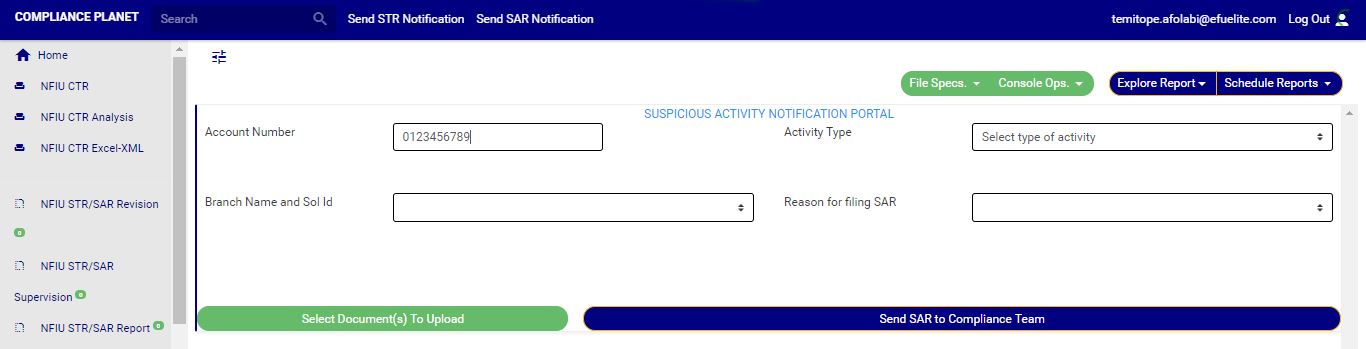 (Fig 6.2.2c)
STEP 3: Fill in all other information about the activity in the editor provided on the console. See an example in fig. 6.2.2d
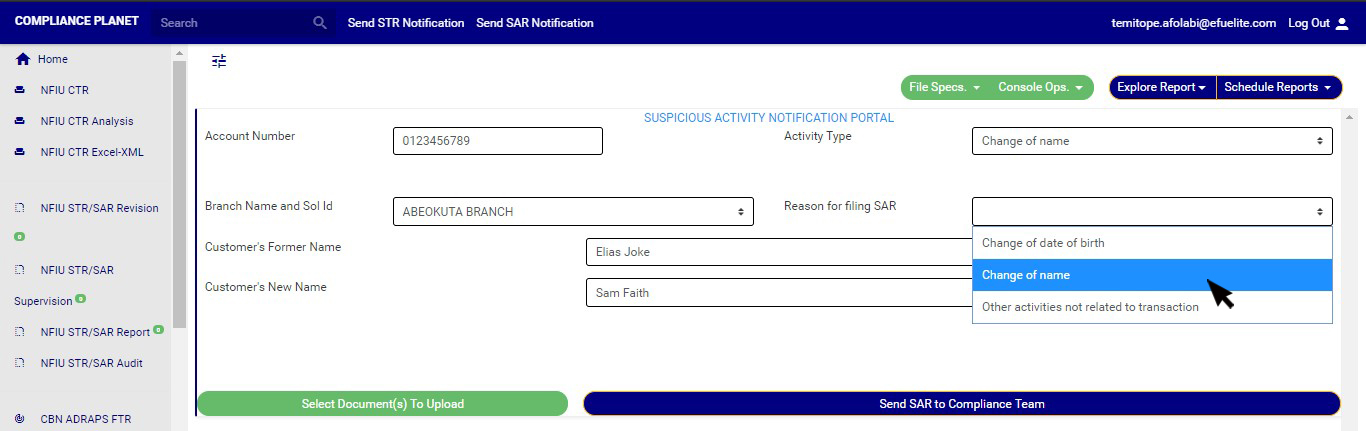
(Fig6.2.2d)
STEP 4: Click on “Select Document(s) to Upload” button to add supporting documents to the SAR notification as shown in Fig.6.2.2e below (Fig 6.2.2e)
➔ Click on ‘SEND SAR TO COMPLIANCE TEAM’ to send the information to compliance desk. This button is at the bottom-right corner of the console. Check out this button in fig. 6.2.2e above.
➔ A confirmation console will be displayed when you click on ‘SEND SAR TO COMPLIANCE TEAM’. Click on CONFIRM to proceed or click on Cancel to go back to the notification console.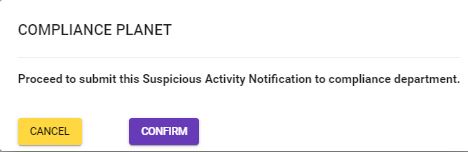
(fig. 6.2.2f)
