This refers to the upload of multiple new corporate account director. Here is how to do this.
Note: Only person(s) profiled as Deputy Supreme Admin with right(s) to create new account director(bulk) will be able to carry out this operation.
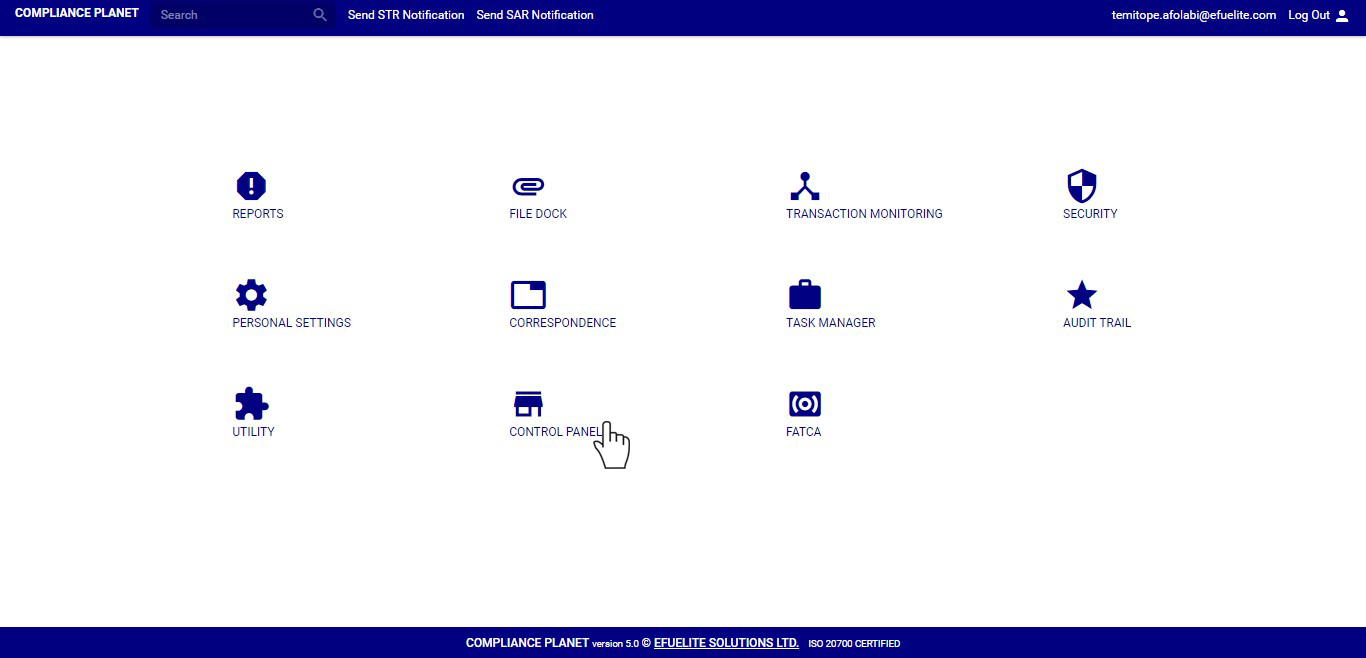
STEP 1: From the main dashboard, click on ‘CONTROL PANEL’. See an example below
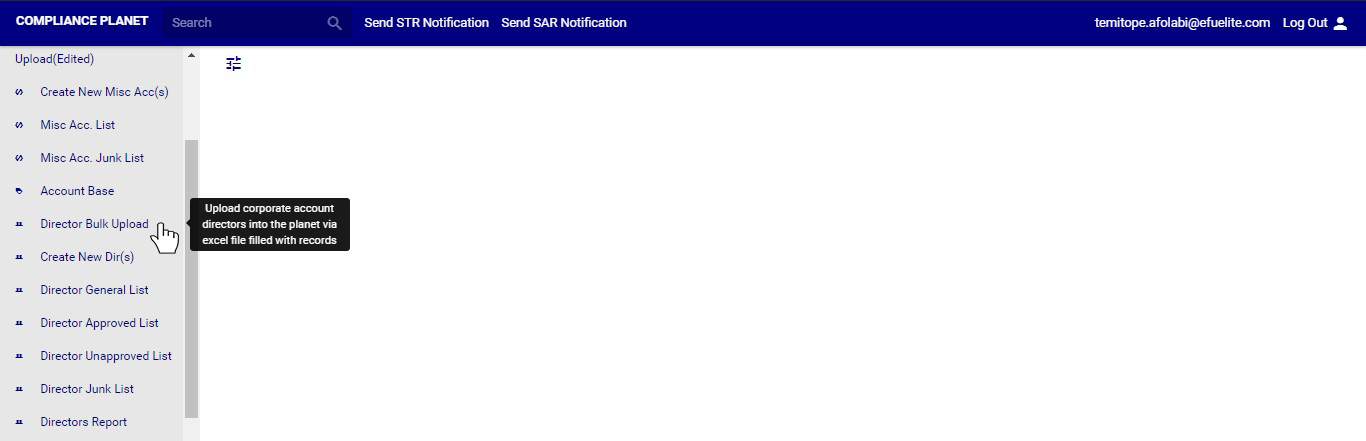
➔ From the left hand side menu, click on ‘Director Bulk Upload’ . Check out fig. 10.2a below to see an example.
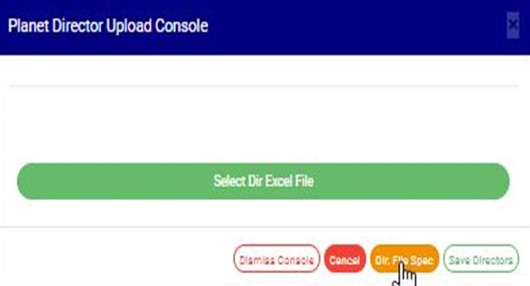
➔ This displays a ‘Planet Director Upload’ console. On this console, you select from your computer, an excel file filled with the required information for directors accounts to be added on the software. See an example of the console in fig. 10.2b below.
➔ To close this console, click on ‘DISMISS CONSOLE’.

STEP 2: Click on ‘Select Dir Excel File’ to choose from your computer the excel file which contains the data (according to specified requirement) of the corporate account directors to be upload. See fig.10.2c.

(fig. 10.2c)
➔ If you are unsure of the file specification. Click on the ‘Dir File Spec.’ to download an excel file (with pre-filled header columns according to the specification for files to be uploaded) where you can input the required data. See fig.10.2d for an example.
➔Open the download file and fill it with the required details. Ensure you save the changes to the file. Renaming the file is optional but this will aid the identification of the file on your computer.
➔ Back on the console, click on ‘Select Dir Excel file’ to choose the file from your computer as in fig. 10.2c. above
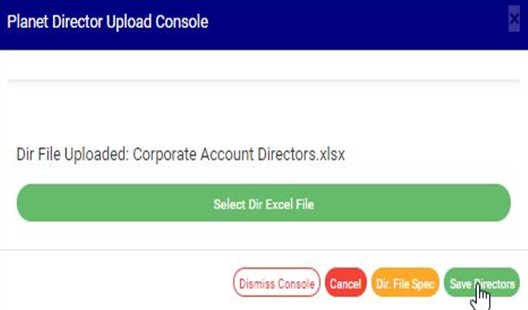
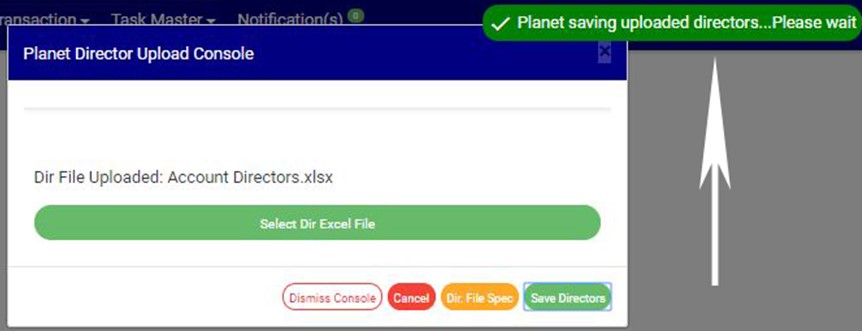
➔ When the file is successfully added, the file name is displayed on the console. See fig. 10.2e for an example
STEP 3: Click on ‘Save Directors’ to upload the new director information on the software as in fig. 10.2e.
➔ A notification will be displayed as seen in fig. 10.2f below.
➔ You can terminate unfinished processes by clicking CANCEL.
➔ A confirmation console as in fig. 10.2g will be displayed to confirm your request. Click on ‘CONFIRM’ to terminate the upload of the new director information or click on ‘CANCEL’ to continue with the upload of the new information.

(fig. 10.2g)
