This operation involves searching out miscellaneous accounts that have been deleted from the misc. acc. list but still exist on the Compliance planet. Here, the software can give you miscellaneous accounts from each branch of the institution or all the branches together.
NOTE: Only person(s) profiled as ‘Deputy Supreme Admin’ can carry out these operations
Here are steps on how to generate a list of miscellaneous accounts.
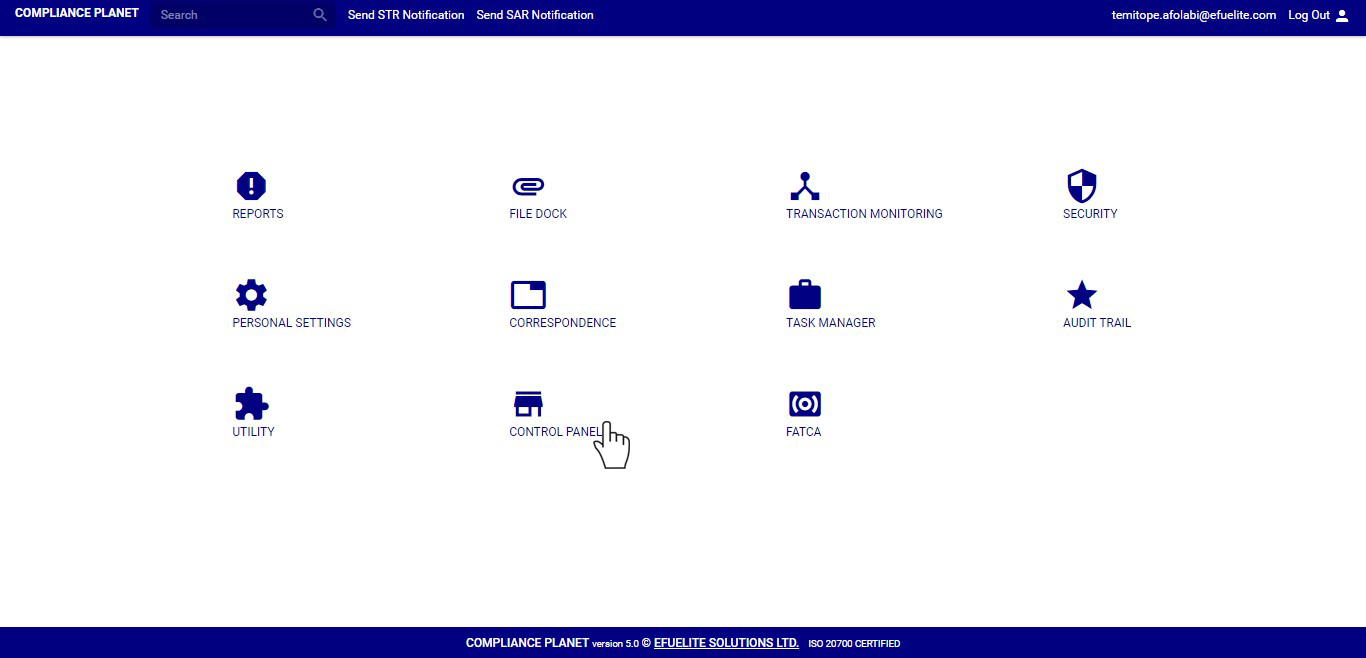
STEP 1: From the main dashboard, click on ‘CONTROL PANEL’. See an example below.
➔ From the left hand side menu, click on ‘Misc. Acc(S) Junk List’. See fig. 8.7a below
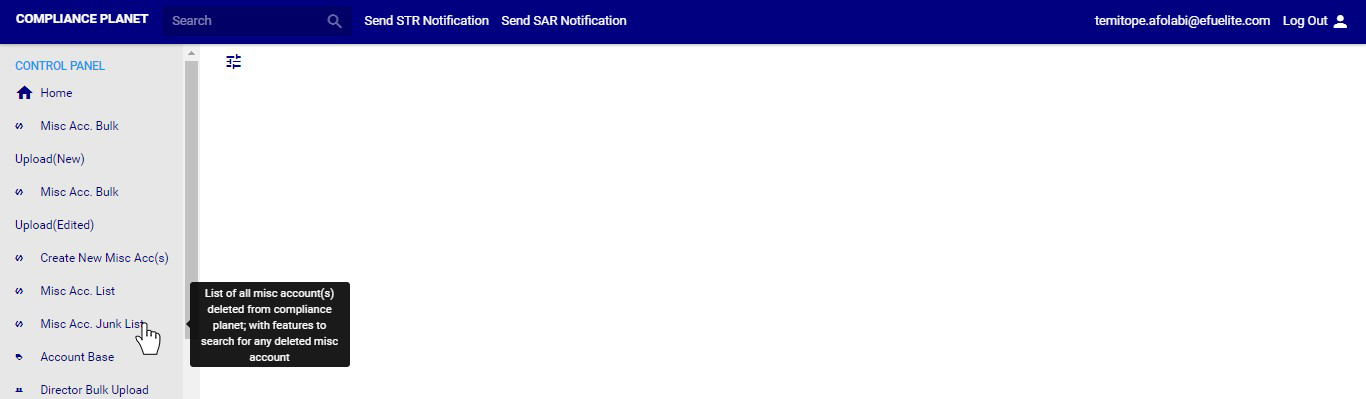
(fig. 8.7a)
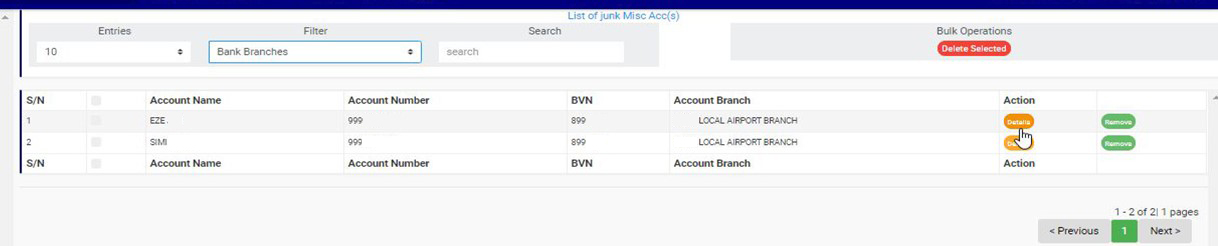
➔ This will display a page listing out all the miscellaneous accounts that have been deleted from the list of miscellaneous accounts on the software. See fig. 8.7b below for an example.

(fig. 8.7b)
➔ These accounts are here because they have not been permanently deleted from the software and they can be restored to the general list from here or deleted permanently.
➔ You can increase the number of accounts you want to see per page by clicking on the ENTRIES box, to pick any number of entries per page of your choice. See fig. 8.7c below for an example.

(fig. 8.7c)
➔ To see deleted accounts pertaining to any one of the branches, select branch name from the filter box as in fig. 8.7d below. The default account list is always for all branches. The list will be generated immediately you make your selection.

(fig. 8.7d)
➔ You can also search for accounts by typing the account name or account number in the search box. See an example of a search in fig. 8.7e below. The software will start the search immediately as you type in the search box.

(fig. 8.7e)
➔ At the bottom-right corner of the page, the software gives information about the number of pages, with the page numbers written out. All the page numbers represent buttons to go to each page. By clicking on any page number, the software takes you to that particular page. Clicking on the NEXT button will take you to the next page and clicking on the PREVIOUS button will take you to the page before the one you are viewing at that moment.
➔ Each account in the junk list has two buttons; a ‘DETAILS’ button and a ‘REMOVE’ button.
➔ To see details of an account, click on ‘DETAILS’ as in fig. 8.7f
➔ The software will display a ‘Misc Account Details’ console that will show you details of the account. The details of the account cannot be edited or changed here. See the result of the example in fig. 8.7f in fig. 8.7g below.
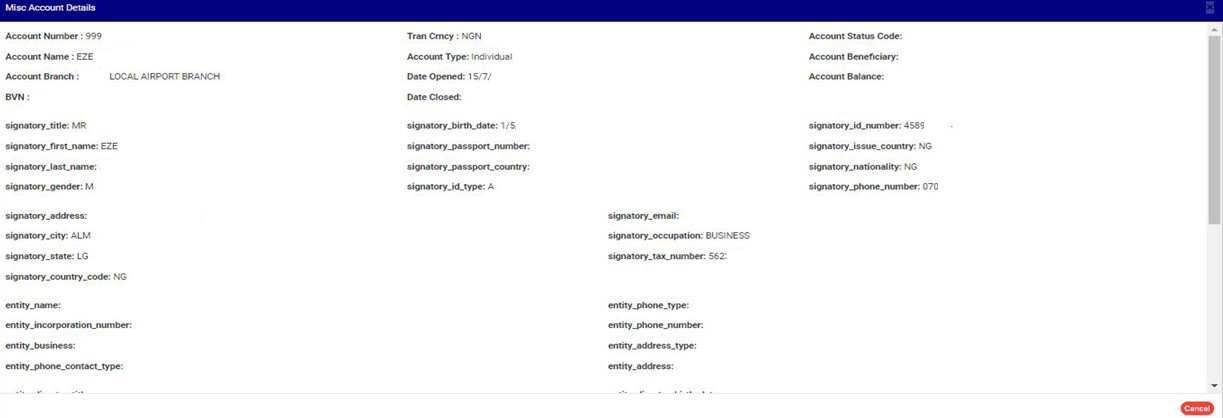
(fig. 8.7g)
➔ Click on ‘CANCEL’ to close the console
Restoring a miscellaneous account means adding back the account to the miscellaneous account list. This way, you have reversed the delete action previously taken on that account in the general list section. Here is how to remove an account from the junk list.
STEP 1: Click on ‘REMOVE’. See the cursor clicking on the ‘REMOVE’ button in fig. 8.7h below.

(fig. 8.7h)
➔ A confirmation console will be displayed as in fig. 8.7i below to confirm your request. Click on ‘CONFIRM’ to proceed with adding back the accounts to the general list. Click on ‘CANCEL’ if you do not want to add back the account.

(fig. 8.7i)
➔ The restored account will be removed from the junk list immediately, and be added back to the general list of miscellaneous accounts. The software will also give a temporary notification at the top of the page.
How to Permanently Delete Miscellaneous Accounts
Here, accounts can be deleted permanently from the Compliance planet software. without any option for a reversal. Here is how to do this.
STEP 1: Click the check box(es) to select the account(s). See an example in fig. 8.7j below.

(fig. 8.7j)
➔ To select all the accounts, click on the checkbox of the table title bar, that is, the checkbox between ‘S/N’ and ‘ACCOUNT NAME’.
STEP 2: Click on ‘DELETE SELECTED’ to remove miscellaneous account(s) from the Compliance Planet permanently. This button is used for individual and bulk delete operations on this page. See example in fig. 8.7k below; clicking to delete the selected accounts.

(fig. 8.7k)
➔ A confirmation console will be displayed as in fig. 8.7l below to confirm your request. Click on ‘CONFIRM’ to approve the permanent removal of the account from the software. Click on ‘CANCEL’ to dismiss the console..

(fig. 8.7l)
The deleted account will be removed from the junk list immediately and the software will also display a notification at the top of the page, showing the number of accounts that was successfully deleted.
