This section provides a guide on how to modify controls available when sending an STR notification on the Compliance Planet software, with step-by-step instructions and pictures.
WHAT ARE STR NOTIFICATION CONTROLS?
These controls include; Customer Account name, Customers’ account number, Transaction amount, transaction type, Date of transaction, Person conducting transaction, line of business, Reason for filing STR, General information, Extra details etc.
This section provides the opportunity to edit what the person(s) involved in the process of sending an STR notification will see. The modification available includes
Activating or deactivating a control
Setting the requirement of the control i.e. if it’s compulsory or not
Tool tip description i.e. the extra guide or note to be displayed when the mouse cursor is on a particular control.
Tool tip activation i.e. activating or deactivating the tool tip option.
Visibility i.e. setting those that can see any of these commands.
NOTE: Only person(s) profiled as deputy supreme admin can carry out these operations.
STEP 1: From the main dashboard, click ‘CONTROL PANEL’ as in fig 22.1a below
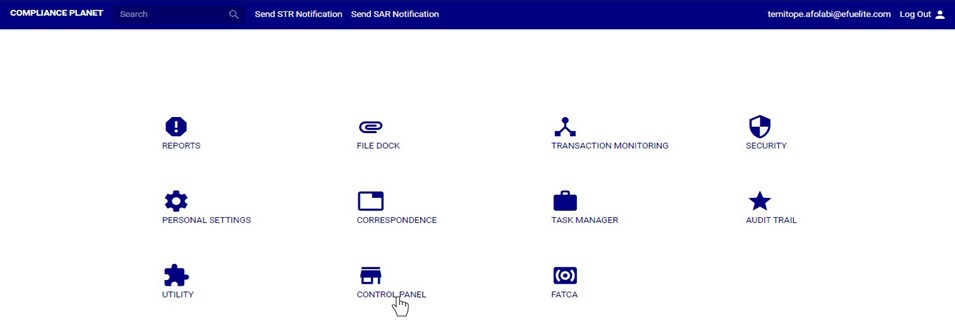
(fig 22.1a)
STEP 2: Click on ‘STR N. CONTROLS’ on the left hand side menu. See this in fig. 22.1b below.
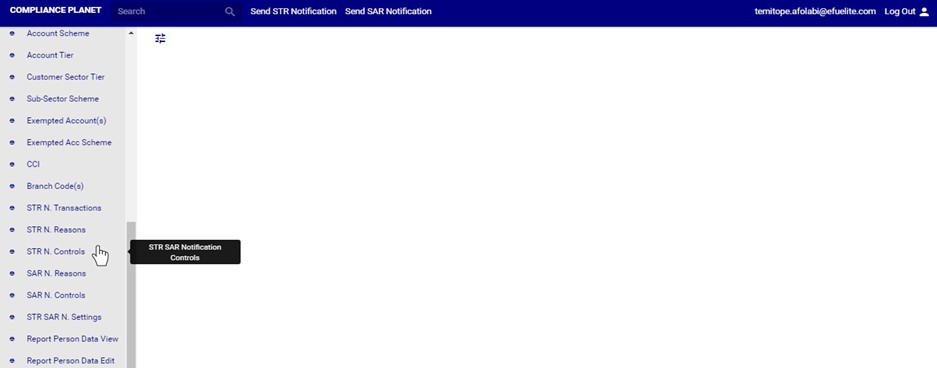
(Fig 22.1b)
This displays a page showing a list of all STR notification controls and their status, requirement ,tool tip description ,tool tip activation status and visibility. See fig. 22.1c below for an example.
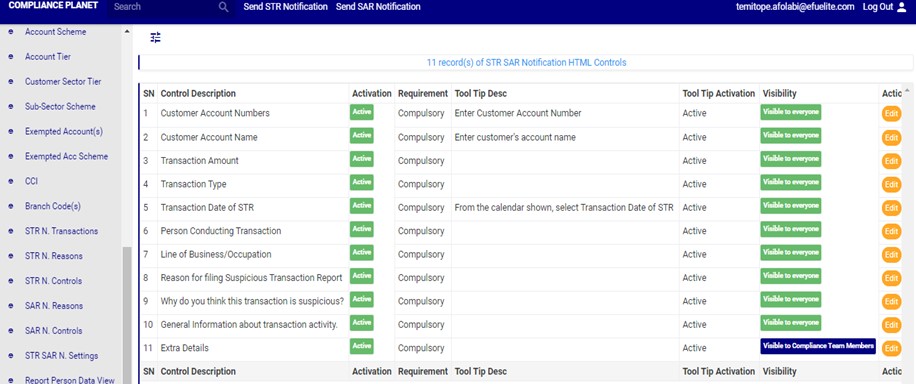
(fig 22.1c)
STEP 3: Click onthe edit button on the action row. See this in fig. 22.1d below
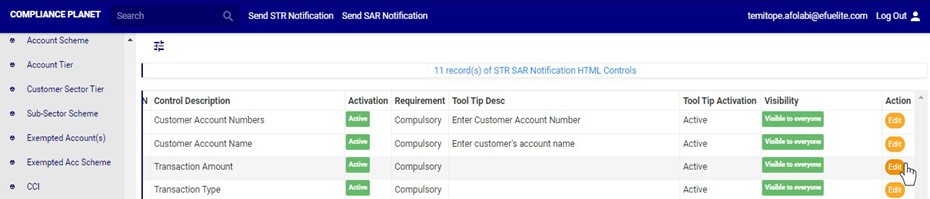
(fig 22.1d)
Clicking on the edit button displays a ‘Notification HTML Control’ console See fig. 22.1e below for an example.
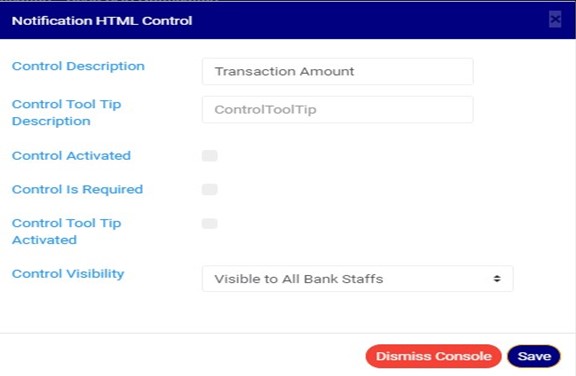
(fig 22.1e)
STEP 4: Click on control description textbox to edit the description for that particular control. See an example in fig. 22.1f below
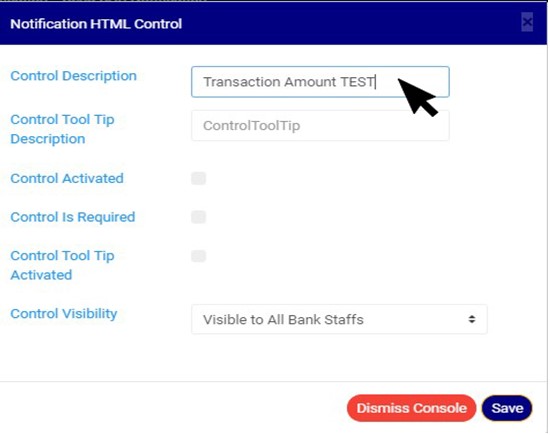
(Fig 22.1f)
STEP 5: Click on control tool tip textbox to add or edit tool tip description (i.e the extra guide or note to be displayed when the mouse cursor is on a particular control).See an example in fig. 22.1g below
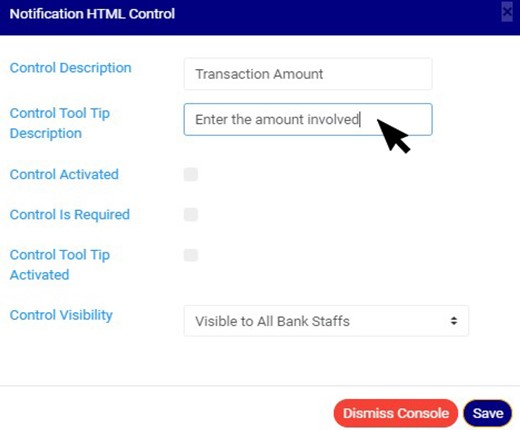
(Fig 22.1g)
STEP 6: Click ‘CONTROL ACTIVATION’ checkbox as in fig. 22.1h below to activate the control, note that unchecking this checkbox will deactivate the control and make it unavailable when sending an STR notification.
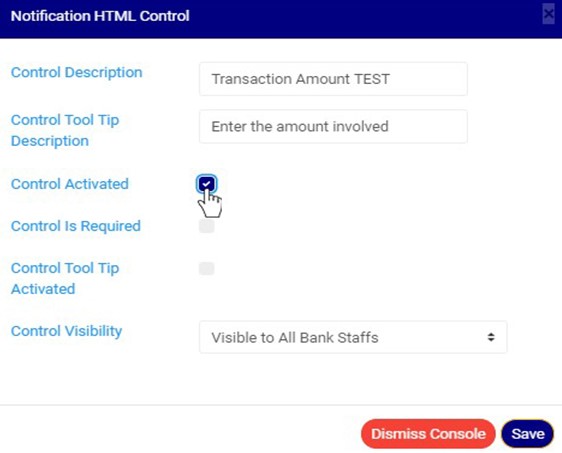
(Fig 22.1h)
STEP 7: Click the ‘CONTROL IS REQUIRED’ checkbox as in fig. 22.1i below to set the control as compulsory, note that checking this option means that the person sending the STR notification will not be able to send a notification if that field is not filled.

(Fig 22.1i)
STEP 8: Click on ‘Control Tool Tip Activated’ checkbox as in fig. 22.1j below to activate the tooltip option for that particular control, note that unchecking this checkbox will deactivate the tool tip for that control and make it unavailable in the STR notification console.
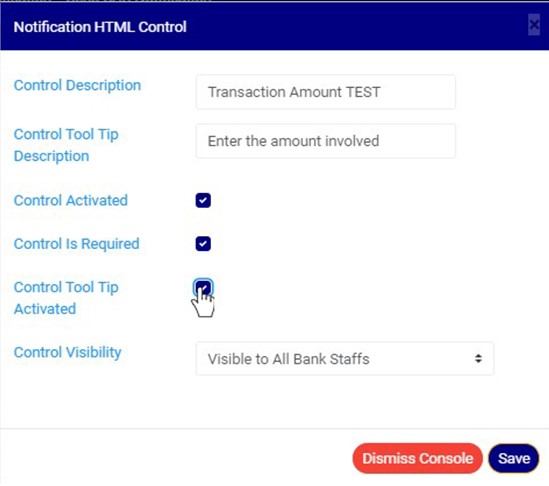
(Fig 22.1j)
STEP 9: Click on ‘CONTROL VISIBILITY’ to select those that can see the field i.e. you can make the field visible to compliance team members only, non-compliance team members only, or all bank staffs. See an example in fig. 22.1k below
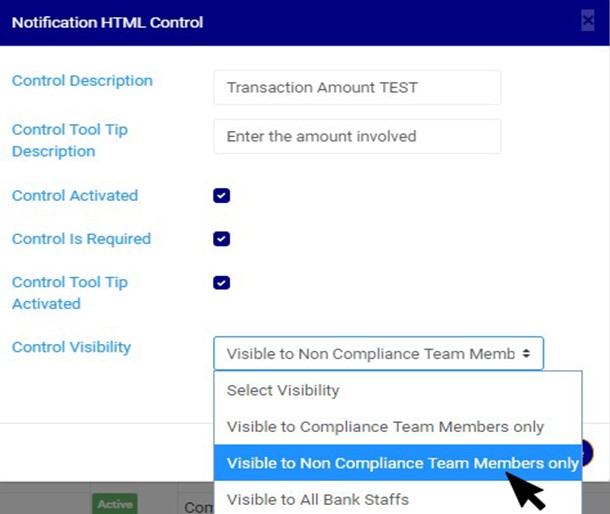
(Fig 22.1k)
STEP 10: Click on ‘SAVE’ button as in in fig. 22.1l below to save the changes.
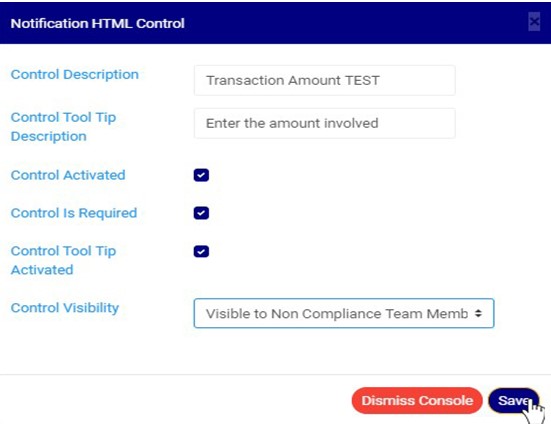
(Fig 22.1l)
Clicking on the save button will display a console as in Fig 22.1m below. Click on ‘CONFIRM’ to save the changes or cancel to discontinue action.
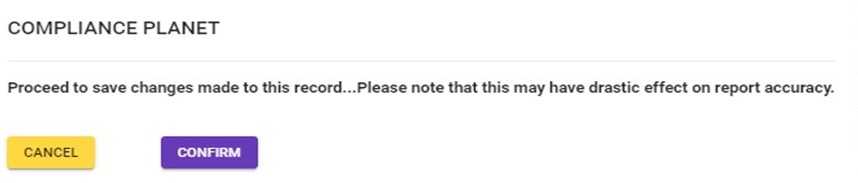
(Fig 22.1m)
When the changes are saved, a notification will be displayed at the top of the page as in fig. 22.1n below.
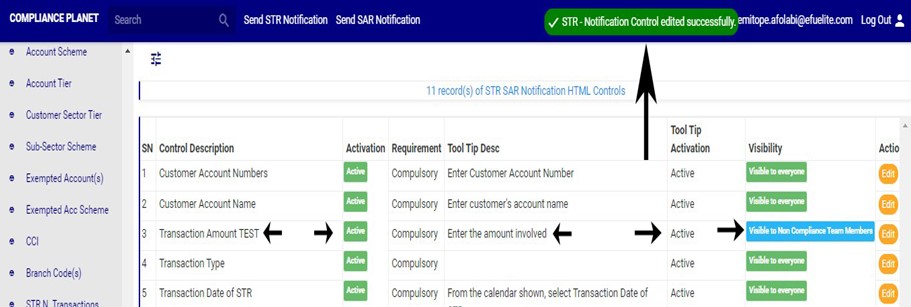
(Fig 22.1n)
For further enquiries :
Tel +234(0) 816 555 9818
Email solutions@efuelite.com
Web http://solutions.efuelite.com
