Using this feature, files previously generated on the Compliance planet can be uploaded, viewed, downloaded, deleted and shared with others. Only files you personally processed will be available in your file dock. To save your files to the file dock whenever they are generated, enable File Dock settings in your Personal settings. If your file dock setting is dis-enabled, files will not be saved to your file dock.
This section provides a guide on how to perform operations pertaining to the File Dock on the Compliance Planet software, with step-by-step instructions and pictures.
File Dock Operations
File operations includes viewing files, downloading files, uploading files from your computer, deleting files and sharing files saved to file dock with others.
- To perform any of the operations, click ‘FILE DOCK’ on the main dashboard
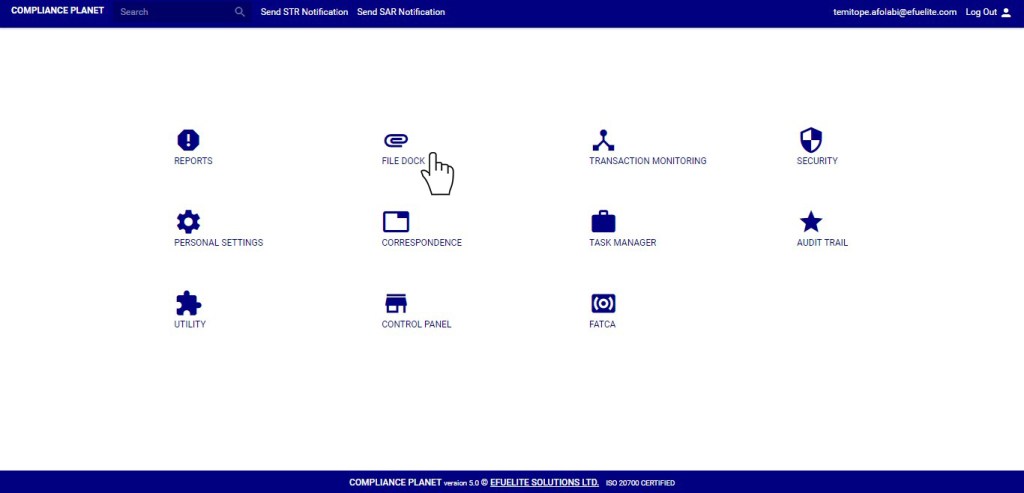
- This displays a page as in fig. 37.1a.
(Fig 37.1a)
How to view Files in the File Dock
This refers to viewing files for a specified period of time. Here is how to do this.
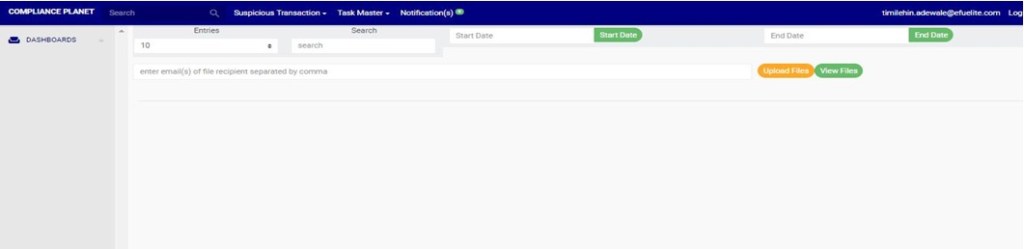
- Select ‘START DATE’ to specify the start date. A calendar will drop below the date box as in fig. 37.2a.
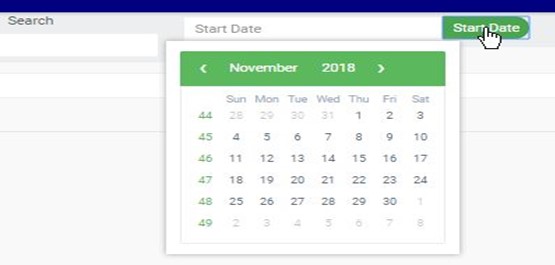
(Fig 37.2a)
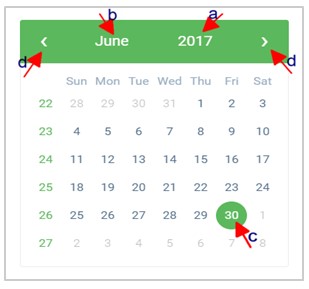
Take a look at the arrows labelled a to d in fig. 37.2b to study the calendar.
Click on the given year to change it to your year of choice.
- Click on the given month to change it to your month of choice.
- Then, click on the date of the month.
- You can also click on the angle brackets on the calendar [ ‘<’ or ‘>’ ] to go backward or forward.
(Fig 37.2b)
- Click ‘END DATE’ as in fig. 37.2c to specify the end date. The calendar works the same way as in the start date.
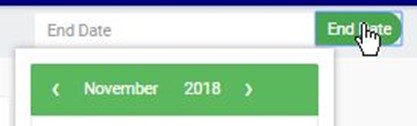
(Fig 37.2c)
- Click on ‘VIEW FILES’ as in fig. 28.2d below.

(Fig 37.2d)
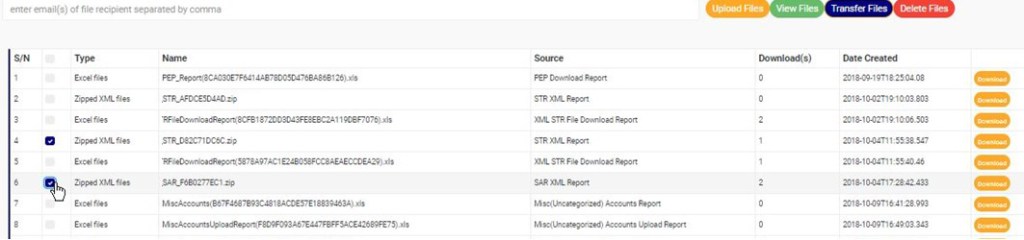
- Files generated between the specified periods will be displayed as shown in fig. 37.2e below.
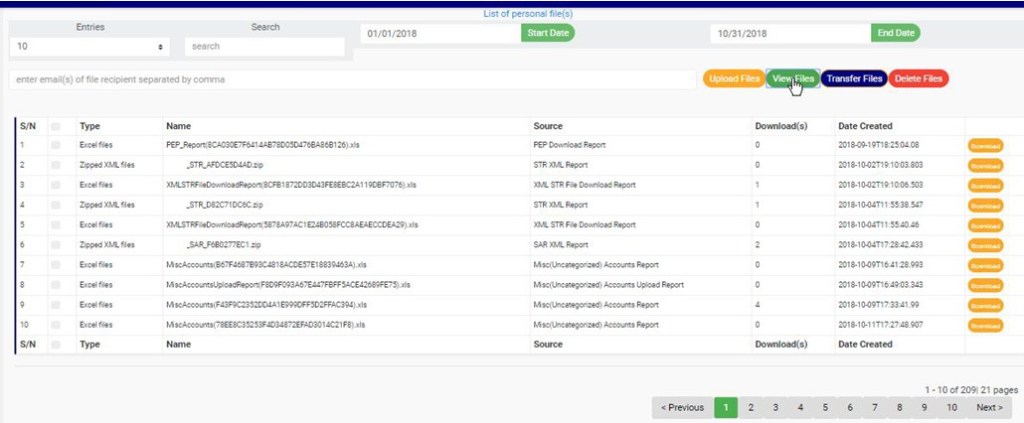
(Fig 37.2e)
- From fig. 37.2e seen above, each file entry on the file dock page has a download button to download the file. Also, there is a ‘Transfer Files’ button and ‘Delete Files’ button on the page.
- At the bottom-right corner of the page, the planet provides information about the number of pages. Click any page number to go to that particular page. Click on ‘NEXT’ to go to the next page and click on ‘PREVIOUS’ to go to the page before the current page.
- Click on the ‘entries’ box as in fig. 37.2f to change the number of file entries you want to see per page.

(fig. 37.2f)
- Search for a file by typing a search term in the ‘Search’ box. The result will be displayed in real time. See fig. 37.2g for an example of a search.

(fig. 37.2g)
How to Download Files on File Dock
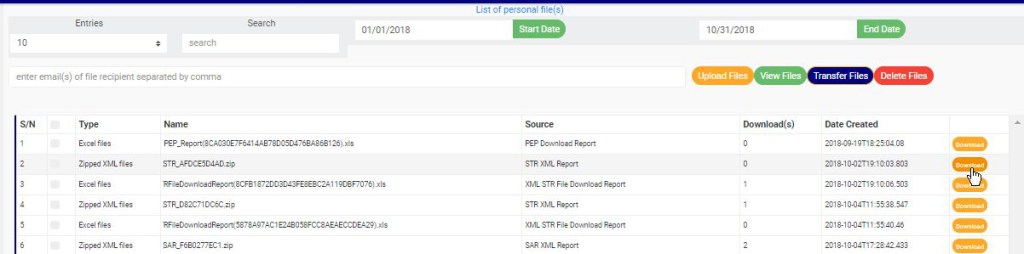
This refers to downloading files saved to your file dock. To do this, click on the ‘Download’ button as in fig. 37.3a.
(Fig 37.3a)
- File will be downloaded immediately and the number of downloads reported for that file will increase.
How to Upload Files on File Dock
This refers to uploading files to the file dock. Here is how to do this.
- Click on ‘Upload Files’ as in fig. 37.4a below.

(Fig 37.4a)
- This displays the computer’s file explorer for you to select the generated file to be uploaded.
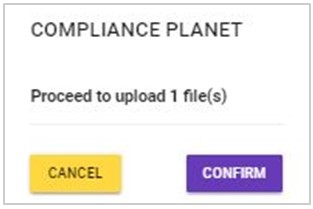
- After selecting the file(s), a confirmation console as fig. 37.4b will be displayed on your screen
- Click on ‘Confirm’ to proceed or ‘Cancel’ to discontinue.
(Fig 37.4b)
- A notification as in fig. 28.4c will be displayed at the top of the page.
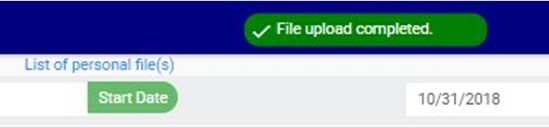
(Fig 37.4c)
How to Delete Files On File Dock
Here is how to do this.
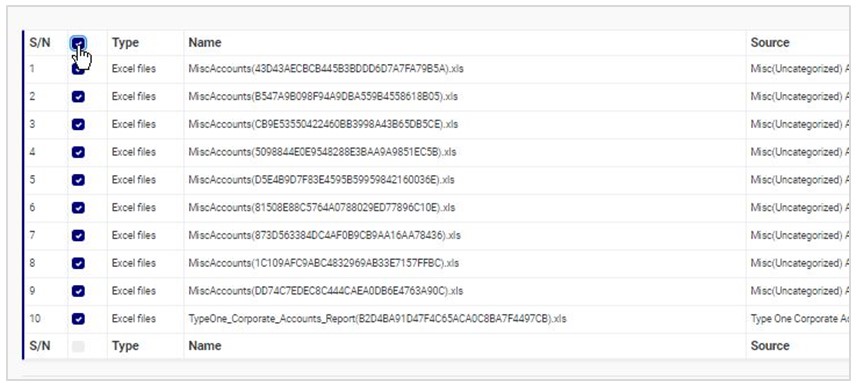
- Tick the checkbox ◻ of the file(s) to be deleted. To deselect a file, untick the checkbox. See fig. 37.5a for an example.

(Fig 37.5a)
- To select/deselect all the files on a page at once, click on the checkbox on the title bar of the table as in fig. 37.5b
(Fig 37.5b)
Click on ‘Delete Files’ at the top of the page as in fig. 37.5c to delete the selected files.

(Fig. 37.5c)
- This displays a confirmation console as in fig. 37.5d.
- Click on ‘Confirm’ to proceed or ‘Cancel’ to discontinue.

(Fig. 37.5d)
- A notification as in fig. 37.5e will be displayed at the top of the page.

(Fig 37.5e)
How to Transfer Files On File Dock
This refers to sharing files with other users. Here is how to do this;
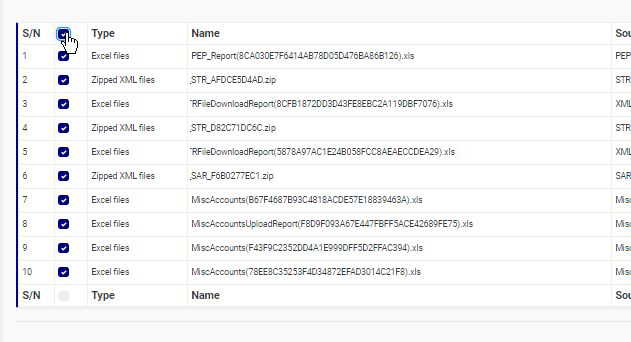
- Click on checkbox to tick/untick the checkbox ◻ of the file(s) to be transferred. See fig. 37.6a for an example.
(Fig 37.6a)
- To select/deselect all the files on a page at once, click on the checkbox on the title bar as in fig. 37.6b
(Fig 37.6b)
- Enter the email address of the recipient(s) of the transfer as in fig. 37.6c below.

(Fig 37.6c)
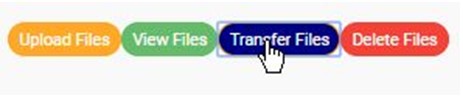
Click on ‘Transfer Files’ as in fig. 37.6d.
(Fig 37.6d)
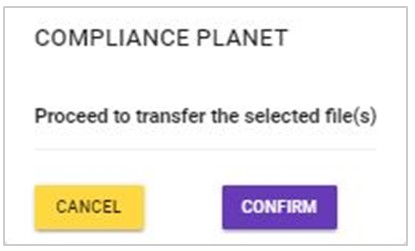
- This displays a confirmation console as in fig. 37.6e.
- Click on ‘Confirm’ to proceed or ‘Cancel’ to discontinue.
(Fig. 37.6e)
- A notification as in fig. 37.6f will be displayed at the top of the page.

(Fig 37.6f)
For further enquiries :
Tel +234(0) 816 555 9818
Email solutions@efuelite.com
Web http://solutions.efuelite.com
