The CTR/FTR Transaction Report can be scheduled and downloaded instantly at any period/time. Reports can be exported in Excel and XML formats without additional conversion. Here is how to schedule and download CTR FTR transactions:
NOTE: Only the person(s) assigned the right(s) to ‘Process CTR reports’ will be able to carry out this Operation.
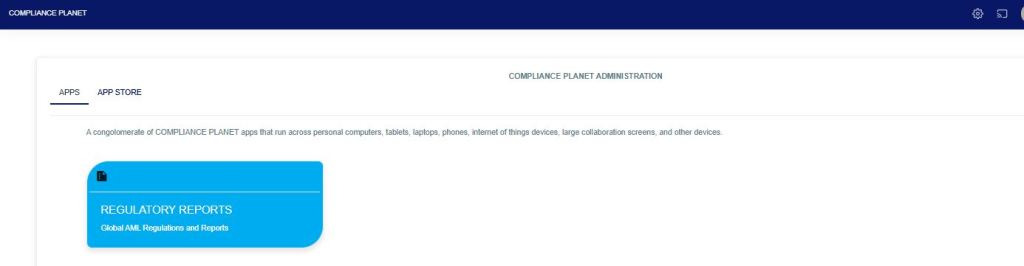
STEP 1: From the app dashboard, click on “REGULATORY REPORTS” as shown below:
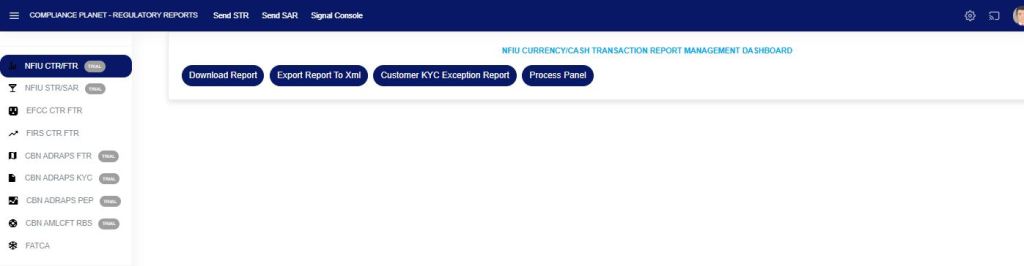
STEP 2: This will display a drop-down, as shown in Fig. below. The drop-down menu lists the report types available on the Compliance Planet software.

STEP 3: Click ‘NFIU CTR/FTR’ on the drop-down list. See an example in Fig below. This will display the NFIU CTR/FTR page.
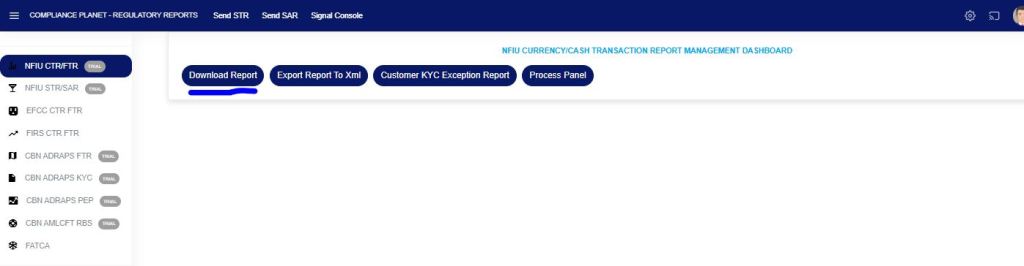
STEP 4: From the menu, click “Download Reports.”
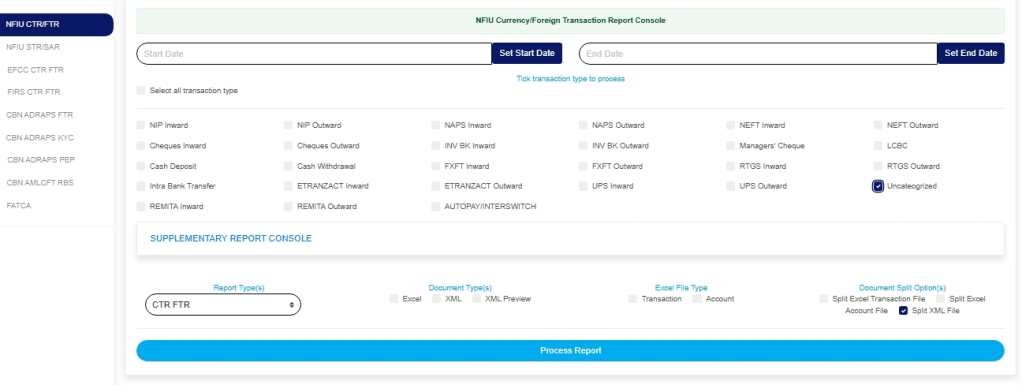
STEP 5: The download reports display all transaction types.
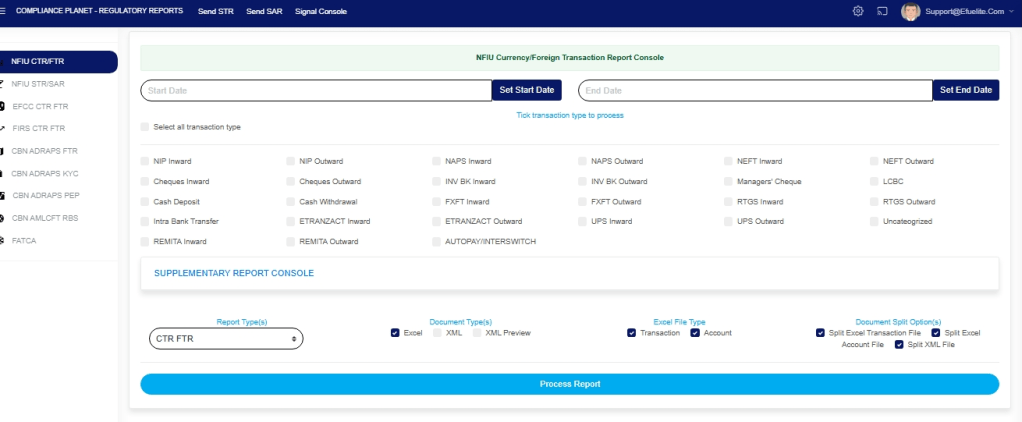
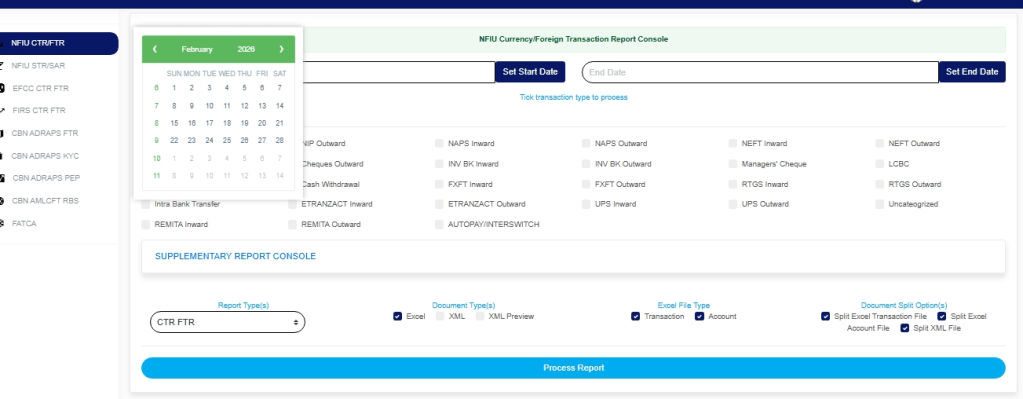
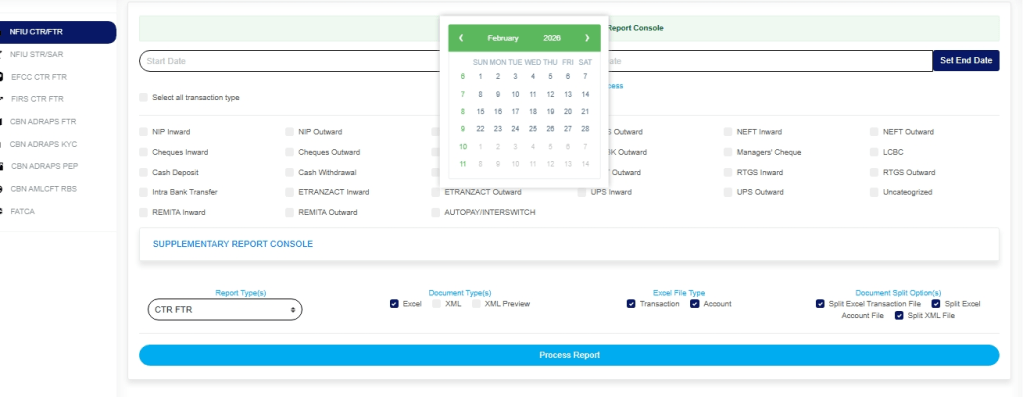
STEP 6: Click ‘Set Start Date’ and ‘Set End Date’ to specify the periods you want the software to download reports for.
- This will display a calendar dropdown.
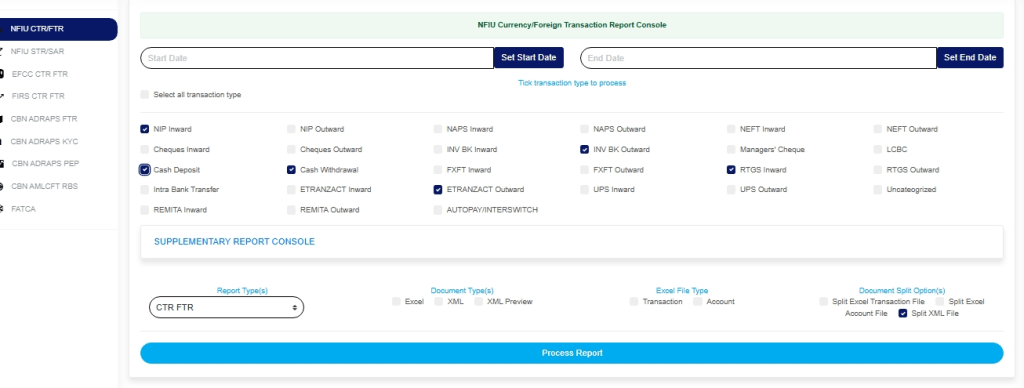
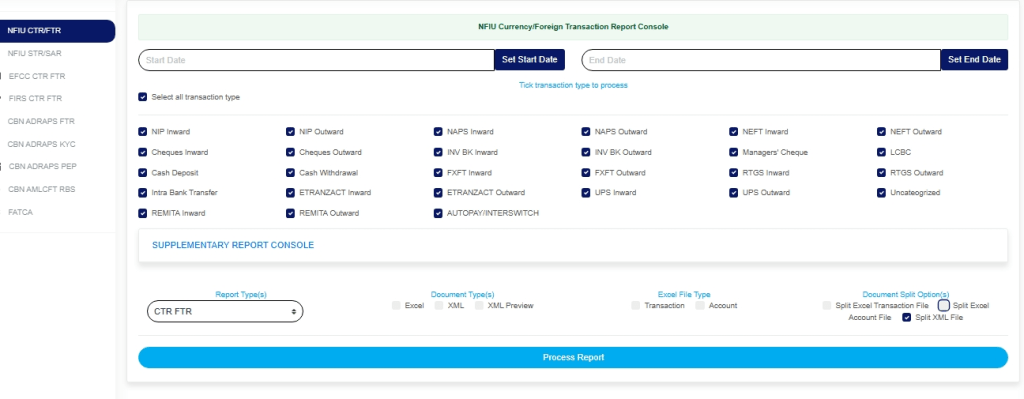
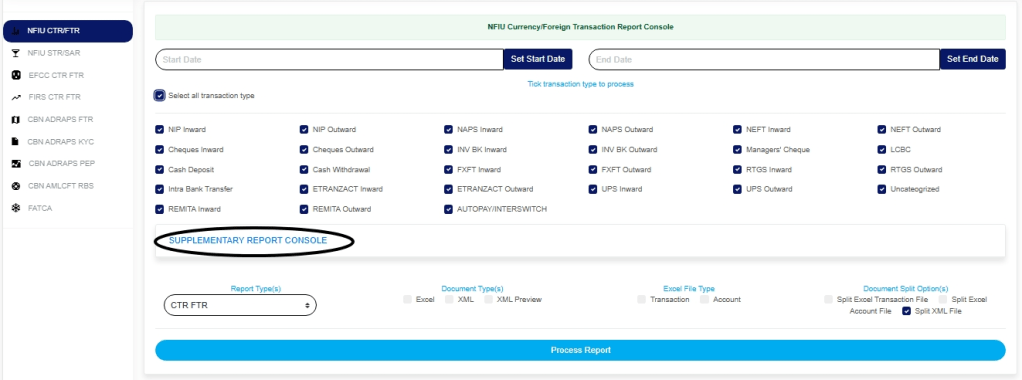
STEP 7: Tick the checkbox of the transaction type(s) you want to process. You can tick as many transaction types as you want. To deselect any transaction type, clear its checkbox.
- You can select all transaction types listed on the console by ticking the ‘Select all transaction types’ checkbox. Also, you can deselect all transaction types listed by unticking the ‘Select all transaction types’ checkbox.
- You can also select the “Uncategorized” option, which displays all reportable transactions (regardless of transaction type) for the specified date range, as shown in the image below. This type of report does not include external customer data.
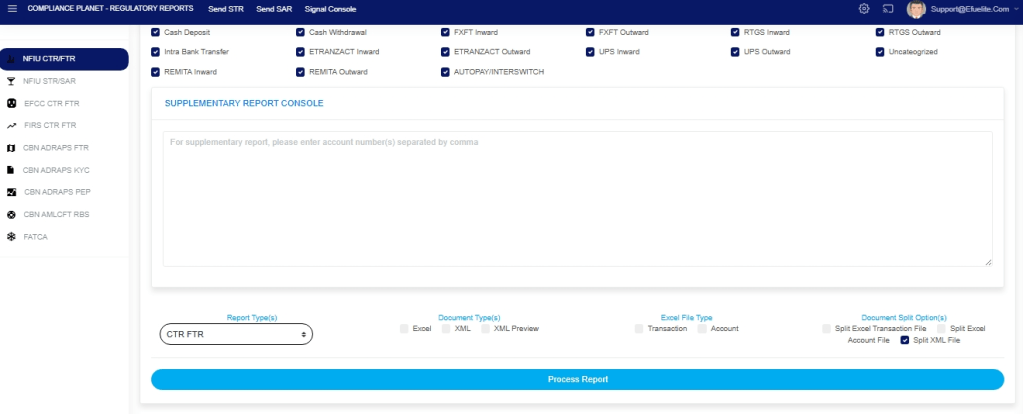
STEP 8: Click on ‘SUPPLEMENTARY REPORT CONSOLE’ to download the report pertaining to Specific account numbers (s) only within the period selected.
STEP 9: This displays a text box where the account number(s) are entered. Note that each account number is to be separated by a comma.
STEP 10: Click on the “Report Type” drop-down to select the report type you want to download.

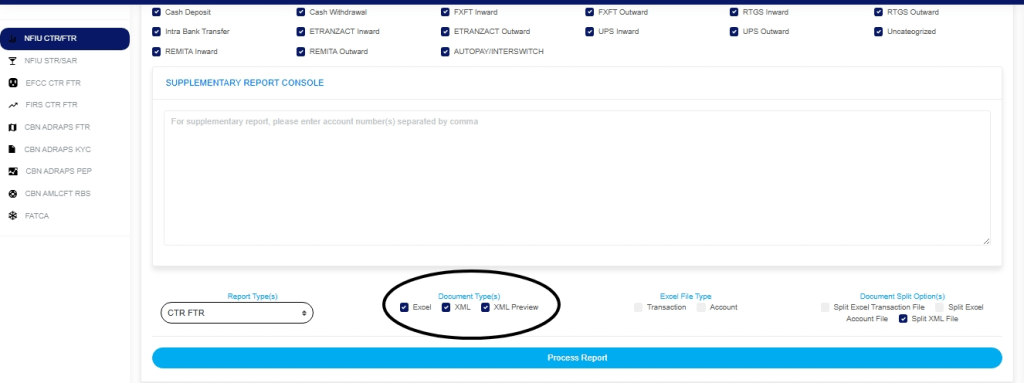
STEP 11: Select the preferred file DOCUMENT TYPE(S) you want the report exported by ticking either the Excel or XML checkbox. Select Excel to export the report as an Excel file, or select XML and XML Preview to export reports to XML.
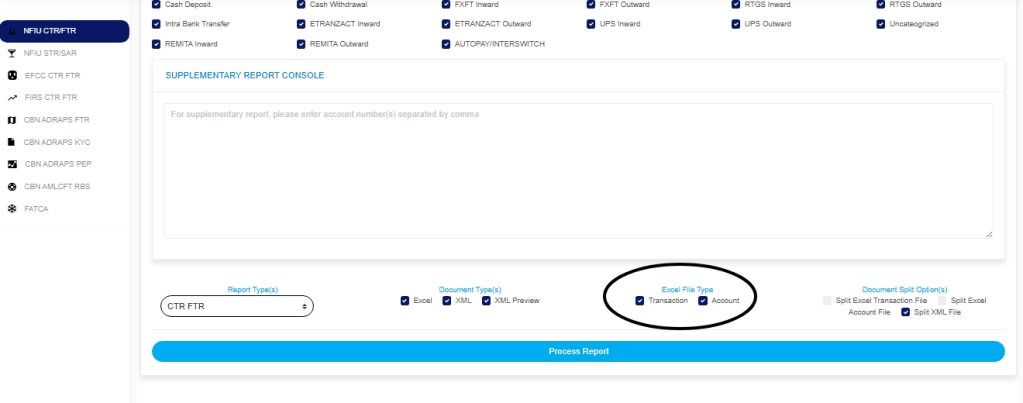
STEP 12: Choose the EXCEL FILE TYPE that the software should process. There are two Excel file types: one for Transaction details and the other for the details of the Account involved in the transaction(s). You can select one or both.
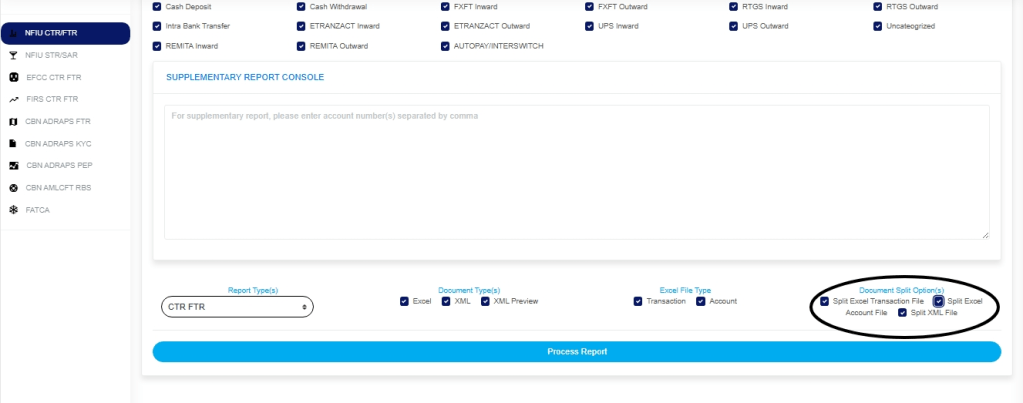
STEP 13: Tick the DOCUMENT SPLIT OPTION(S). This step is optional.
By clicking on the document split option(s) for either Excel file or XML, the software will generate separate transaction or account files for each transaction type.
For instance, not ticking the document split will cause the software to combine all transaction details for each transaction type and export them into a single Excel sheet. In this instance, the name of such a file will start with ‘CTR Account,’ in the case of the Transaction Excel file, type the file name with ‘CTR Transaction’. If you select ‘split Excel transaction file’, the Software will write the transaction details of each transaction type in separate Excel files. This is also the case for XML. The different files will be named after each transaction type.
STEP 14: Click on the “PROCESS REPORT” button to generate the report. To cancel the schedule, click the “DISMISS CONSOLE” button. These buttons are at the bottom-right corner of the console.
- Clicking ‘Process report’ displays a confirmation console
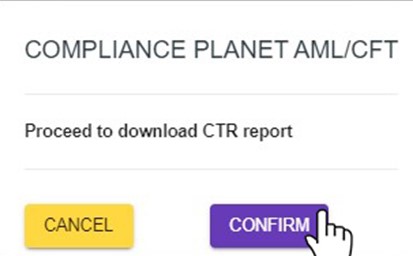
- Click “Confirm” to proceed with the download or “Cancel” to return to the console.
- Clicking confirm displays the signal console below, which shows ongoing processes

- You can terminate unfinished processes by clicking “CANCEL OPS“.
- To minimize the signal console, click on “DISMISS CONSOLE“.
For further inquiries:
Tel: +234(0) 816 555 9818
Email: solutions@efuelite.com
Web: https://solutions.efuelite.com
