The STR/SAR notification goes straight to the REVISION DESK team lead(s) when successfully sent. It is the duty of the revision team lead(s) to assign notifications to revision officer(s) to review the notifications sent to the compliance team. Below are steps on how to review notifications sent to the compliance desk:
Note that notifications attended to by team members will go to the team lead who can either accept or reject the team member’s decision (to accept or reject the notification). If a team member’s decision is rejected, the notification goes back to the team member to work on before it returns to the team lead. However, upon team lead’s approval the notification goes to the next desk i.e. supervision desk or revision desk (depending on the institution setting).
NOTE: Only Person(s) profiled as ‘revision desk officer’ can carry out these operations.
From the app dashboard, click on “REGULATORY REPORTS” as displayed in the image below.
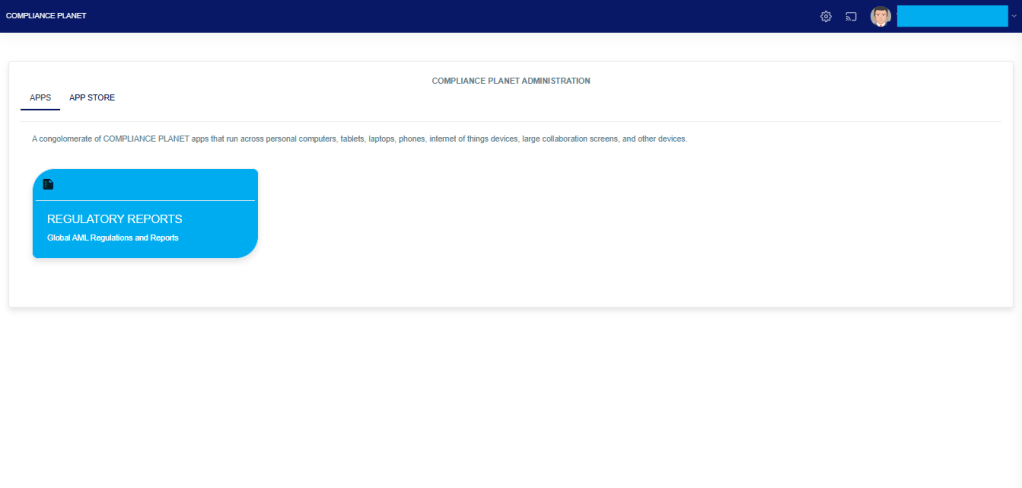
This will display a drop-down, as shown in image below. The drop-down menu lists the report types available on the Compliance Planet software.
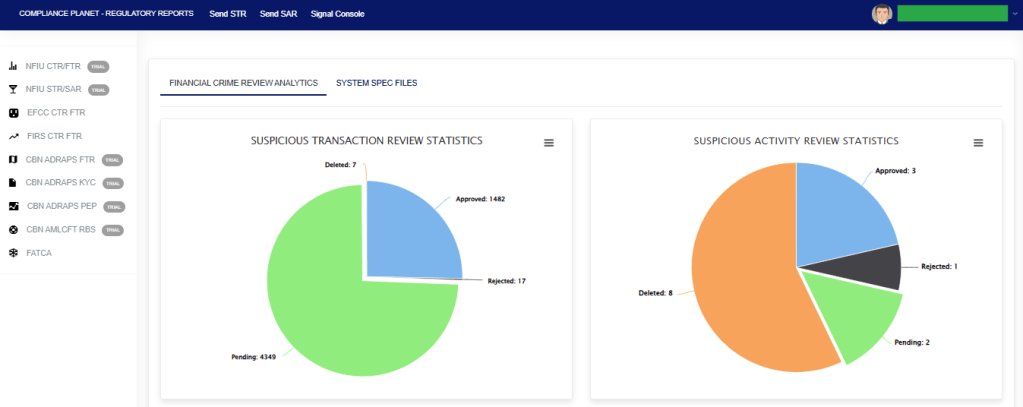
Click ‘NFIU STR/SAR’ on the drop-down list and display the STR/SAR page as displayed in the image below.
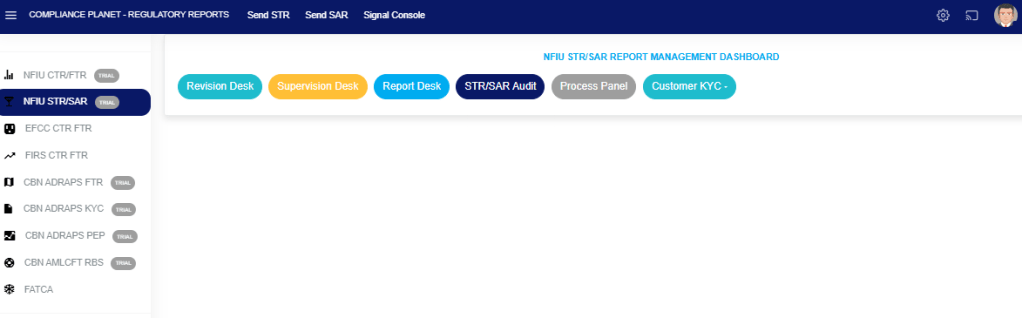
STEP 1: Click on “REVISION DESK” as displayed in the image below. Then click “DATA VIEW FILTER“.
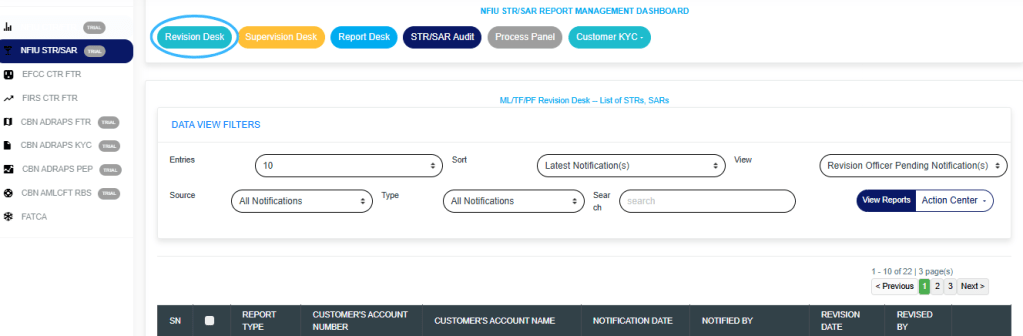
- Click on the “ENTRIES” box to increase the number of Notifications you want to see per page.
- Click on the “SORT” box to sort the notifications either by alphabetical order or from the latest to the earliest notifications or vice-versa as shown.
- Click on the “VIEW” box to see notifications classified according to the stage of processing they have gotten to.
- Click on the “SOURCE” box to select either All Notifications, Digital Surveillance Notification or Manually Filled Notifications.
- Click on the “TYPE” box to select either All Notification, Suspicious Transaction Notification, or Suspicious Activity Notification.
- Click on the “SEARCH” box to search for a particular notification by typing in the customer’s name or account number concerned. More details below.
- Click on the “VIEW REPORTS” button after selecting the class of Notification(s) from the VIEW box. This is to view the notifications from any of the selected class. This button is at the top-right corner of the page.
Based on the “VIEW” box details, the notifications are categorized according to their current stage of processing, as shown in the image below.
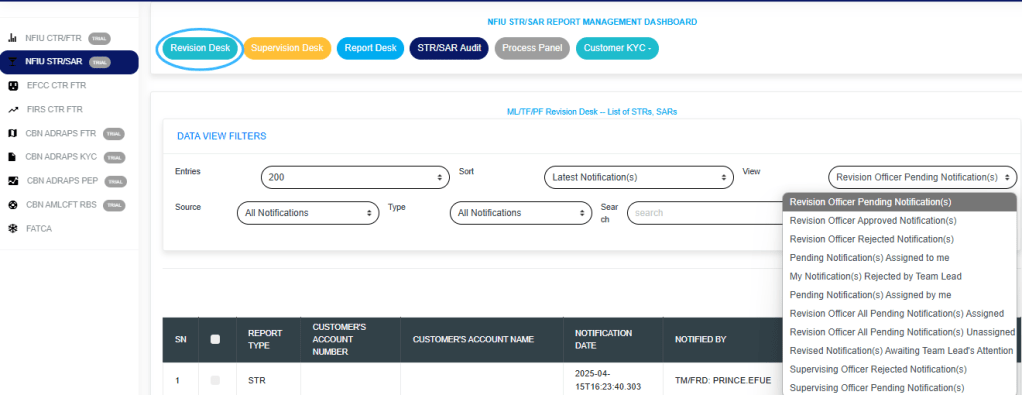
The classes are:
- Revision Officer Pending Notification(s); these are notifications that have not been reviewed, i.e. they have not been attended to by the revision officer. This is the default view of the revision desk.
- Revision Officer Approved Notification(s); these are notifications that have been reviewed by team lead and forwarded to the supervising officer for further processing. Once a Notification is reviewed and approved, it joins the supervising officer pending Notification(s) list for further approval.
- Revision Officer Rejected Notification(s); these are notifications that have been reviewed but rejected by team lead.
- Pending Notifications Assigned to me; these are notifications that are assigned to you (a revision officer) by the revision desk team lead and are yet to be reviewed or treated by you.
- My Notification(s) rejected by team lead; these are notifications that have been reviewed by you but not satisfactory to the revision desk team lead.
- Pending Notification(s) assigned by me; these are notifications that you (i.e. if you are profiled as either team lead 1 or 2) assigned to other revision officers in your team and are yet to be treated or attended to. In this case you are the team lead.
- Revision Officer All Pending Notification(s) Assigned; these are the notifications that have been assigned to a revision officer (or team member) by the team lead but are yet to be attended to.
- Revision Officer All Pending Notification(s) Unassigned; these are the Notifications are yet to be assigned to any revision officer (or team member) by the revision desk team lead.
- Revised Notification awaiting team lead’s attention; these are notifications that have been attended to by a revision desk team member but is yet to be reviewed or treated by the team lead.
- Supervising Officer Rejected Notification(s); These are notifications that were approved by the revision desk team lead but were rejected by the supervision desk officer.
- Supervising Officer Pending Notification(s); these are notifications that have been approved by revision team lead and await the supervising officer’s treatment.

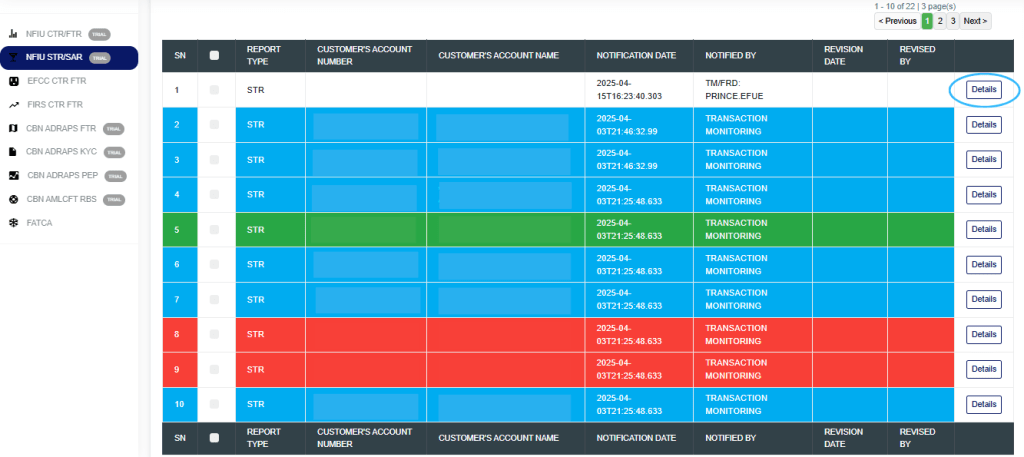
Note that default page shows a list of Revision officer Pending Notifications i.e notifications that are yet to be attended to. These notifications are highlighted with different colours which are explained below.
- The notification(s) highlighted “RED” indicates that it has not been viewed by anyone on the revision desk.
- The notification(s) highlighted “GREEN” indicates that it has been viewed by you alone.
- The notification(s) highlighted “WHITE” indicates that it has been viewed by you and at least one other revision officer(s).
- The notification(s) highlighted “BLUE” indicates that it has been viewed by other revision officer(s) excluding you.
STEP 2: Review a notification by clicking on the “Details” button at the end of the notification row.
STEP 3: By clicking on ‘DETAILS’, the STR REVISION DESK NOTIFICATIONS Page will display as in image below, then click on “HISTORICAL INVESTIGATION ANALYSIS“.
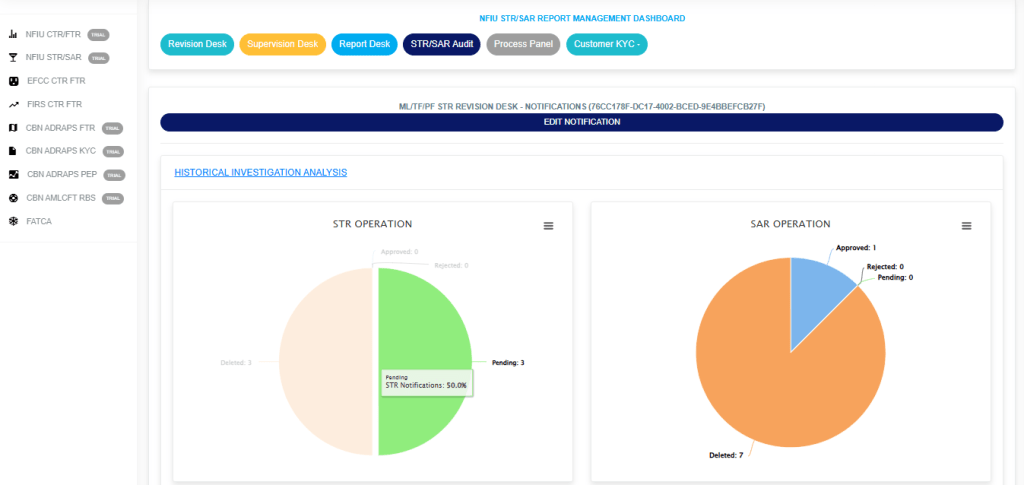
The “STR OPERATION” shows if there are Deleted STR Notifications, Approved STR Notifications, Rejected STR Notifications and Pending STR Notifications associated with that specific account.
The “SAR OPERATION” shows if there are Deleted SAR Notifications, Approved SAR Notifications, Rejected SAR Notifications and Pending SAR Notifications associated with that specific account.
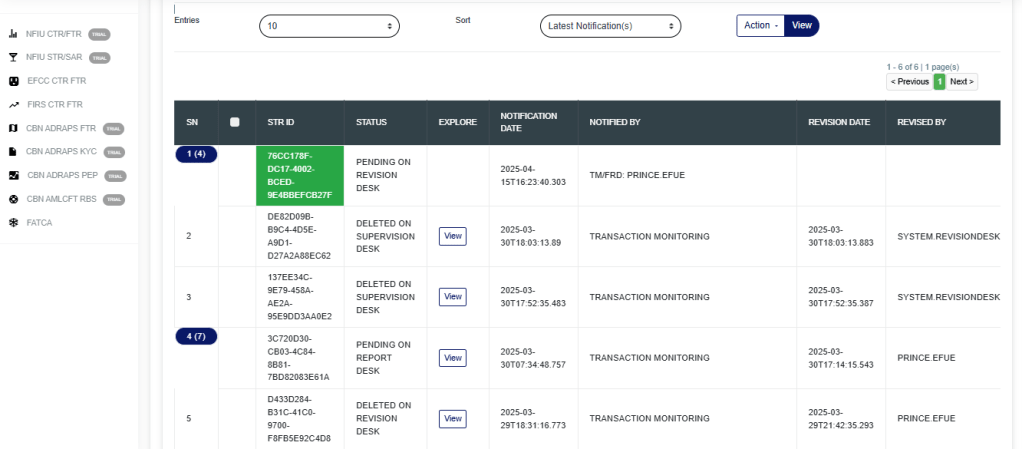
- Click on the “ENTRIES” box to increase the number of Notifications you want to see per page.
- Click on the “SORT” box to sort the notifications either by alphabetical order or from the latest to the earliest notifications or vice-versa as shown.
STEP 4: Click on “CUSTOMER KYC COMPLIANCE” to view the missing data for the specific account, as shown in the image below.
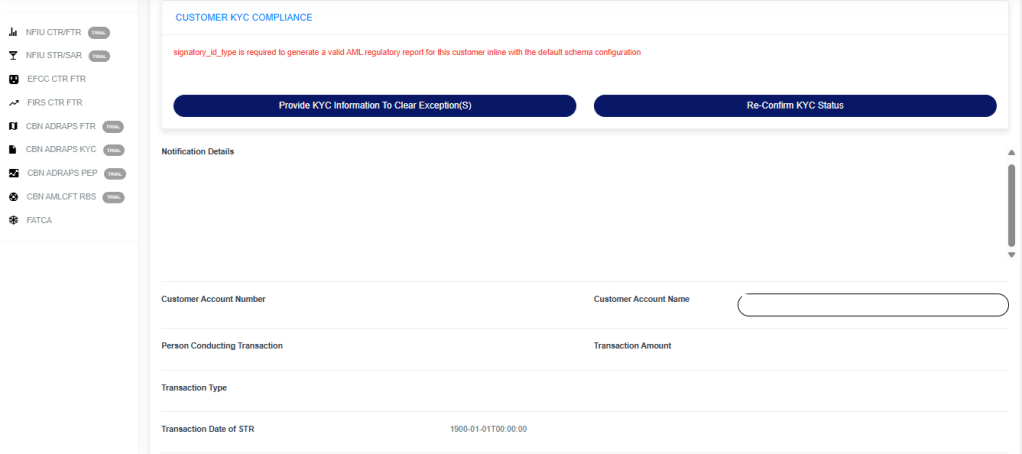
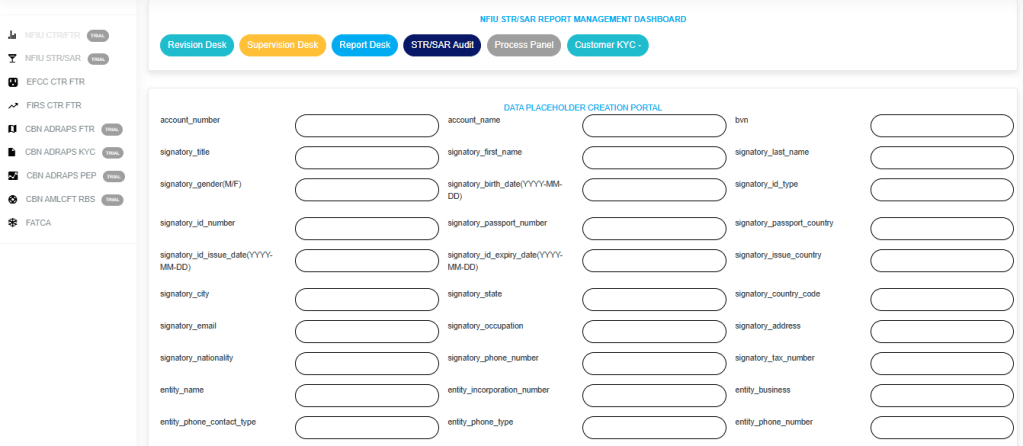
Click on “Provide KYC Information to Clear Exception(s)” to navigate to the page shown below, where you can enter the missing details. Then, click on “Submit Data Procedure” to proceed to the confirmation page.

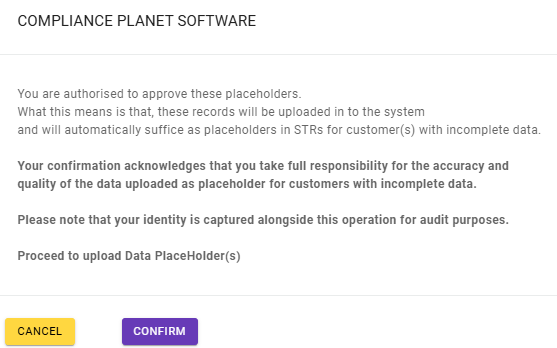
Click “CONFIRM” to upload the data or click “CANCEL” to exit the confirmation process.
If the account has no exceptions, it will appear as shown in the image below.

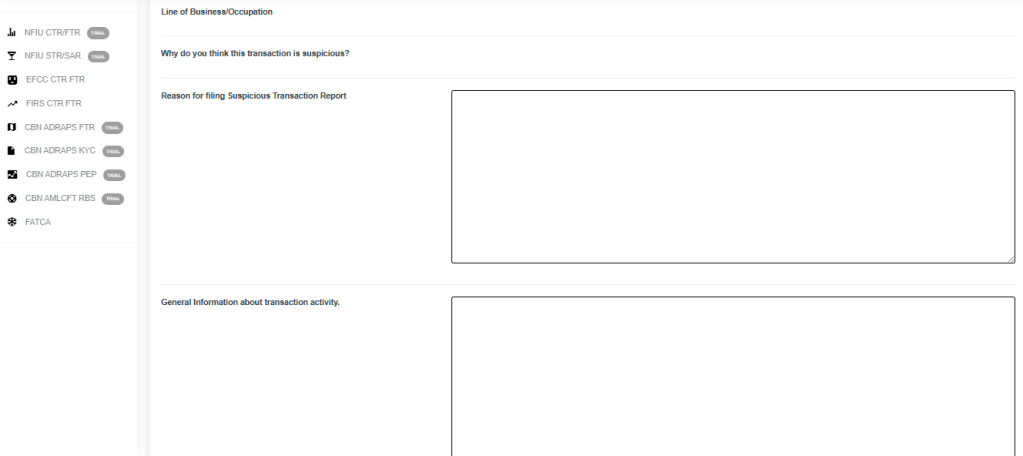
STEP 5: Click on the ‘Reason for Filing Suspicious Transaction Report’ box to state your reason(s) for approving the Notification. This step is compulsory if you want to accept the notification. See an example in the image below.
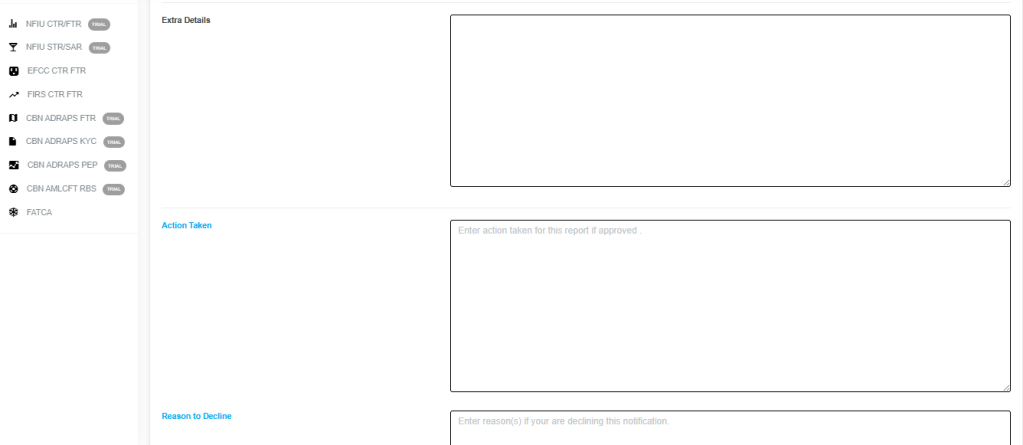
STEP 6: Click on the “Extra Details” box to enter other comments and the “Action Taken” box to enter the action(s) taken concerning the suspicion filed. See an example in the image below.
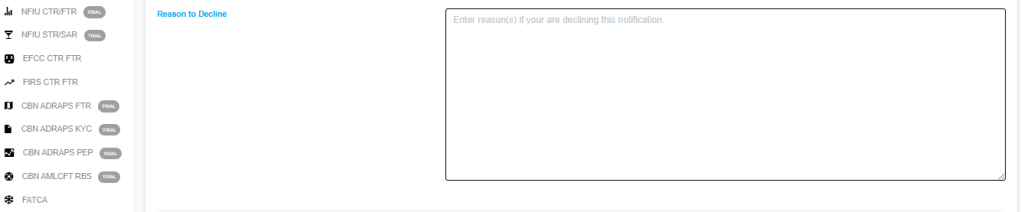
STEP 7: Click on the ‘Reason to Decline’ box (if you want to reject the notification) to enter comments. This step is mandatory if you want to reject the notification. See the image below for an example.
STEP 8: Click on “SURVEILLANCE CASES” to view the account’s cases, as illustrated in the image below.

STEP 9: Click on “SCAN DOCUMENTS TO UPLOAD” to upload any documents that support the STR.
Next, click on “DECLINE” or “ACCEPT”—this will open a confirmation console to verify your selected action.
Ensure you are certain of your choice before proceeding, as this action is irreversible once confirmed.
Refer to the images below to see how the confirmation console appears when selecting “Decline” and “Accept” respectively.
To continue, click “CONFIRM” to exit the console without taking action, click CANCEL.


- Regardless of whether you accept or reject the notification, the software will display a temporary notification highlighted in green at the top of the page.
NOTE: If you are not profiled as a Team Lead on the Revision desk, all notifications revised by you will be forwarded to a Team Lead on the revision desk for higher-level approval. If the Team Lead approves, then it proceeds to the next higher desk. If the Team Lead rejects it, then it is returned to you for re-evaluation.
For further enquiries:
Tel: +234(0) 816 555 9818
Email: solutions@efuelite.com
Web: http://solutions.efuelite.com
