STEP 1: Click ‘Send SAR’ as in fig. 6.2.2a below

(Fig 6.2.2a)
➔ This will display a console as in fig. 6.2.2b below

(Fig 6.2.2b)
STEP 2: Type in the Account number involved in the activity. See an instance in fig. 6.2.1c. Kindly note that the account number must be valid.
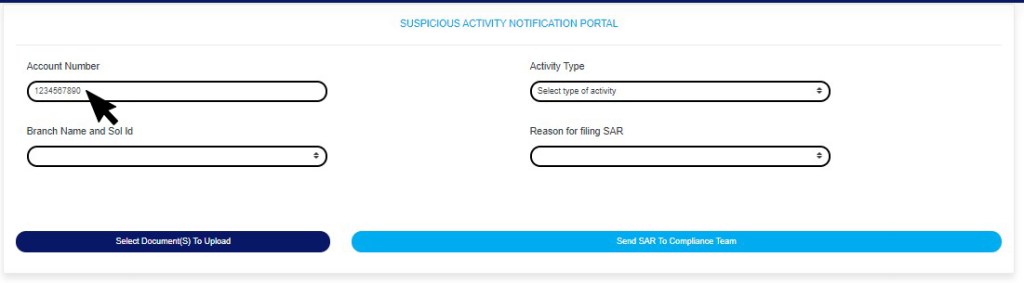
(Fig 6.2.2c)
- After Inputting the account number, the software will auto-fill the branch name and also display the name attached to the account when you click on any part of the page(Outside the checkbox). See Fig 2.2d for an example
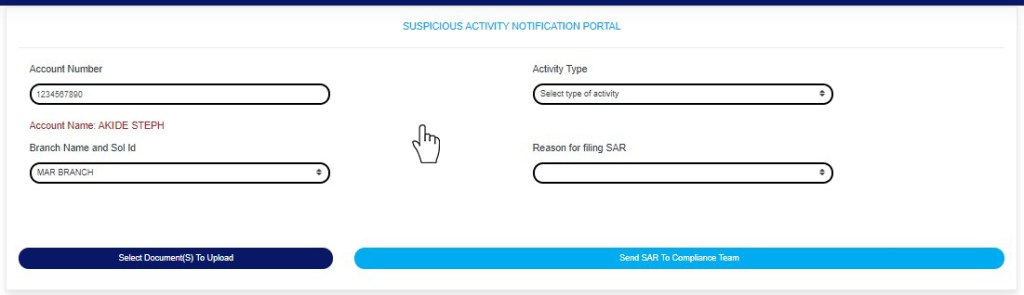
Fig 6.2.2d
STEP 3: Click on the “Select type of activity” box to select the activity type from a drop down list that will be displayed as in fig 6.2.2e below.
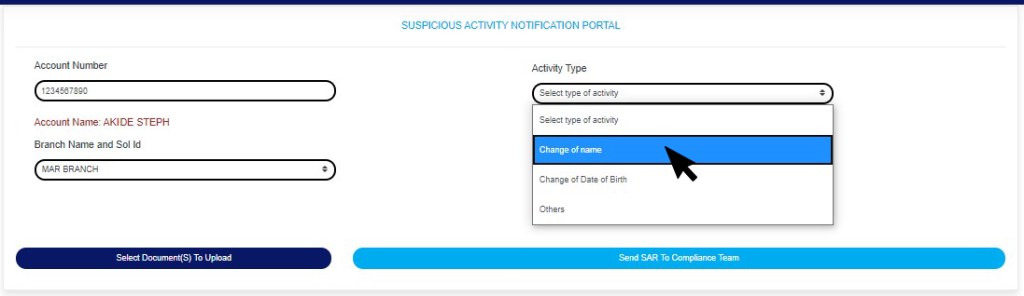
Fig 6.2.2e
- Note that if you select change of name or change of date of birth, the software will display text-boxes where you are to input the former and new name or the former and new date of birth, as the case may be.
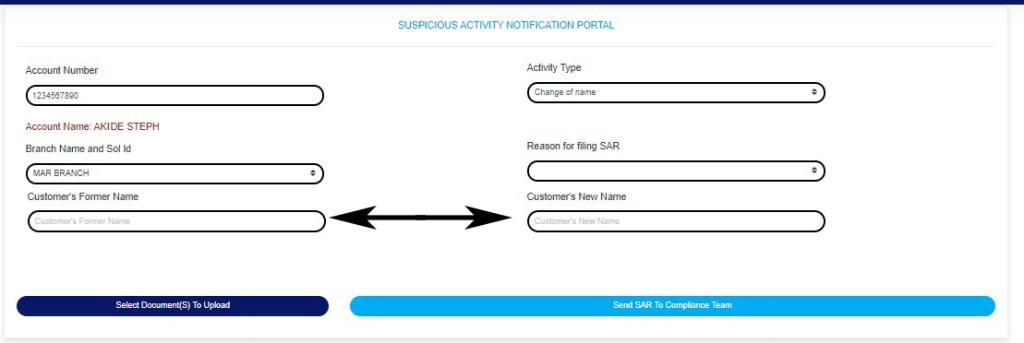
Fig 6.2.2f
- If you select “Others” in the Activity type drop-down in fig 6.2.2e above, this will display a text-box where you can input the activity involved, see an example in fig 6.2.2g below

6.2.2g
STEP 3: Click on reason for filling SAR. See an example in fig. 6.2.2h
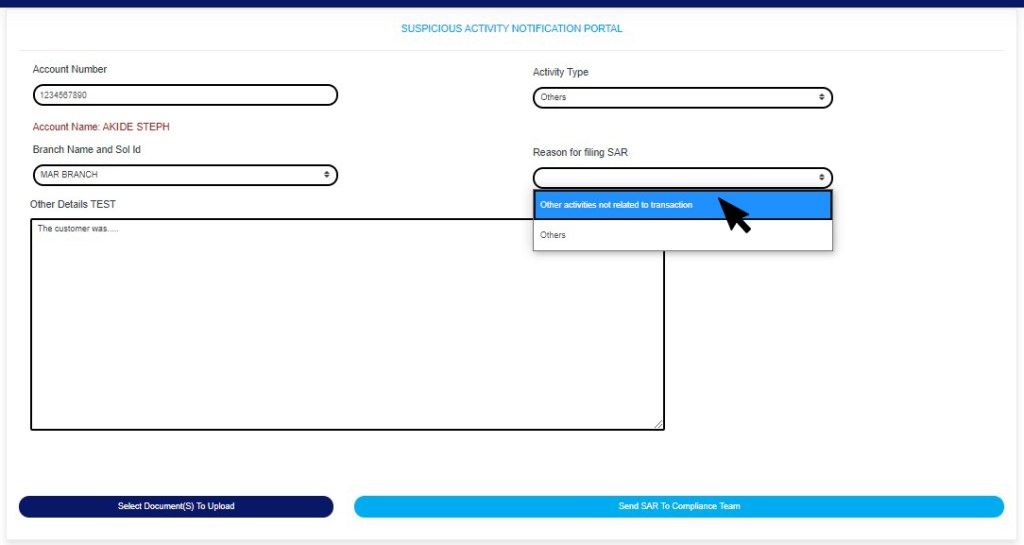
(Fig6.2.2h)
STEP 4: Click “Select Document(s) to Upload” button to add supporting documents to the SAR notification as shown in Fig.6.2.2i below

(Fig 6.2.2i)
- Click on ‘SEND SAR TO COMPLIANCE TEAM’ to send the information to compliance desk. This button is at the bottom-right corner of the console. Check out this buttons in fig. 6.2.2j below.
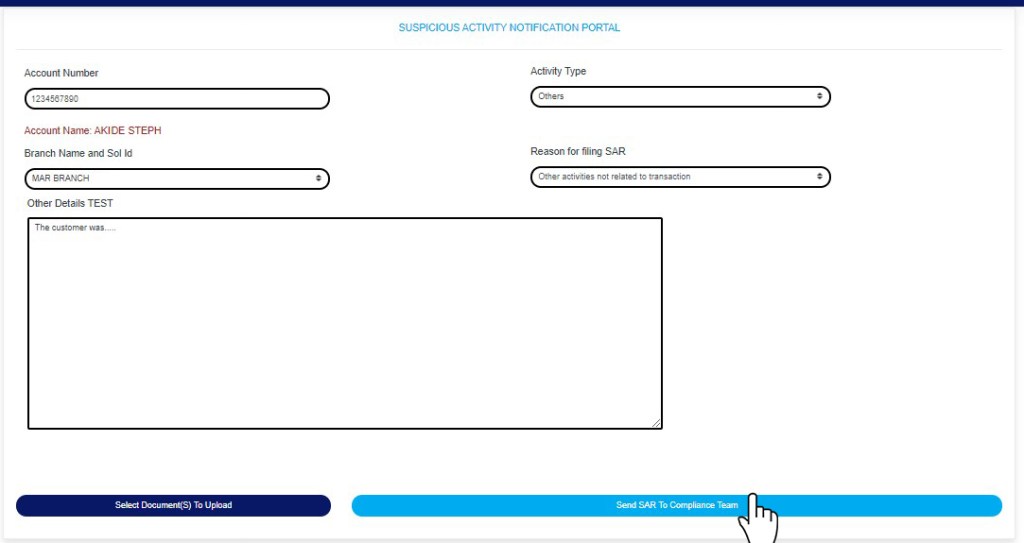
Fig 6.2.2j
- A confirmation console will be displayed when you click on ‘SEND SAR TO COMPLIANCE TEAM’. Click on CONFIRM to proceed or click on Cancel to go back to the notification console.
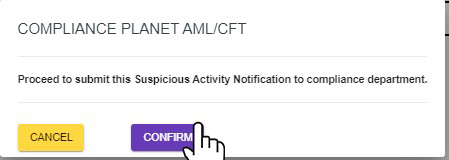
Fig 6.2.2k
For further enquiries :
Tel +234(0) 816 555 9818
Email solutions@efuelite.com
Web http://solutions.efuelite.com
