This feature provides history of the service operations of each transaction type that make up Currency / Foreign Transaction Reports. Here is how to generate a service operation history for a transaction type for a period of time;
From the left-hand side menu, click ‘UTILITY’ as in fig. 34.1a below
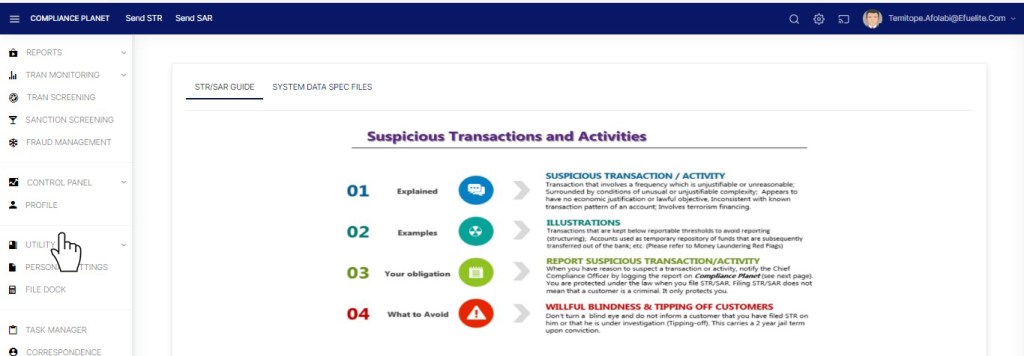
(fig. 34.1a)
- This displays a drop-down list as in fig. 34.1b.
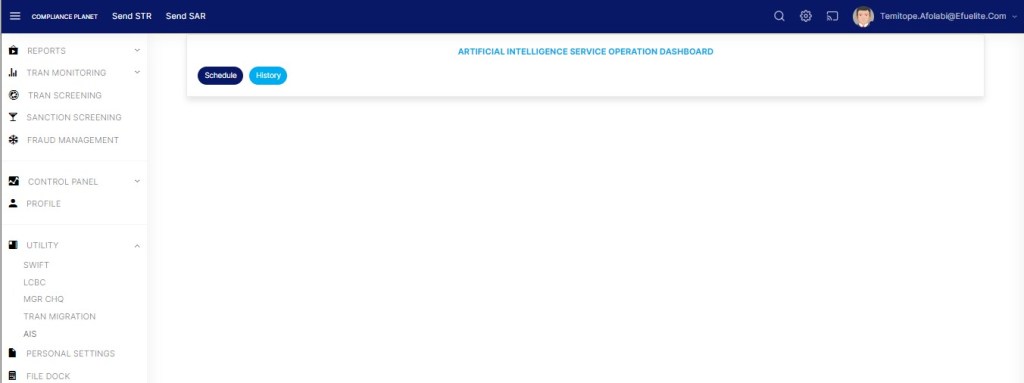
On the drop-down list, click “AIS” as shown in fig 34.1b below. Note that A.I.S means Artificial Intelligence Service.

(fig. 34.1b)
- This will display a page as in Fig 34.1c below
STEP 1: From the top menu, click ‘History’ as in fig. 34.2a

(fig. 34.2a)
- This displays the service operations history page as shown in fig. 34.2b below

(fig. 34.2b)
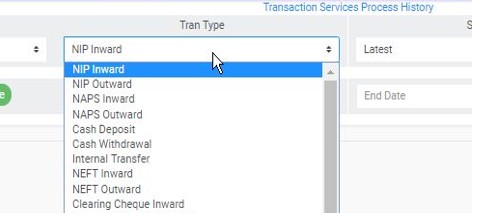
STEP 2: Select the transaction type which you want to view it’s service operations history from the ‘Tran Type’ box as shown in fig. 34.2c below. The default transaction type is NIP Inward.
(fig. 34.2c)
STEP 3: Select ‘Start Date’ to specify the starting date. This will display a calendar below the date box. See fig. 34.2d for an example.
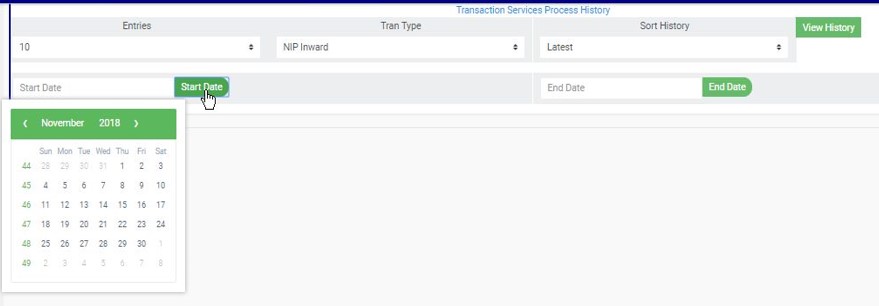
(fig. 34.2d)
- Take a look at the arrows labelled a to d in fig. 34.2e to study the calendar.
- Click on the given year to change it to your year of choice.
- Click on the given month to change it to your month of choice.
- Then, click on the date of the month.
- You can also click on the angle brackets on the calendar [ ‘<’ or ‘>’ ] to go backward or forward.

(fig. 34.2e)
STEP 4: Select ‘End Date’ to specify the end date. A calendar will be displayed below the date box. The calendar works the same way as in the start date setting. See fig. 34.2f for an example.
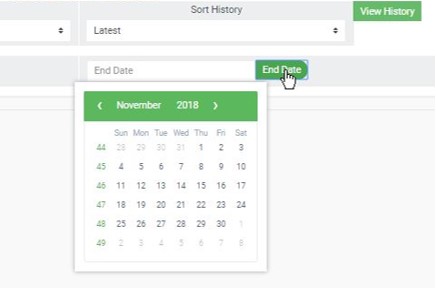
(fig. 34.2f)
STEP 5: Click on ‘View History’ as in fig. 34.2g to view the history of service operation for the selected transaction type.
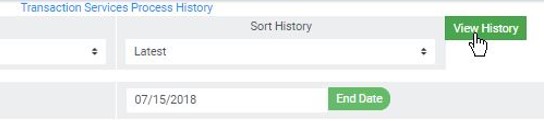
(fig. 34.2g)
- Clicking on ‘View History’, displays a list of service operations for the transaction type selected.
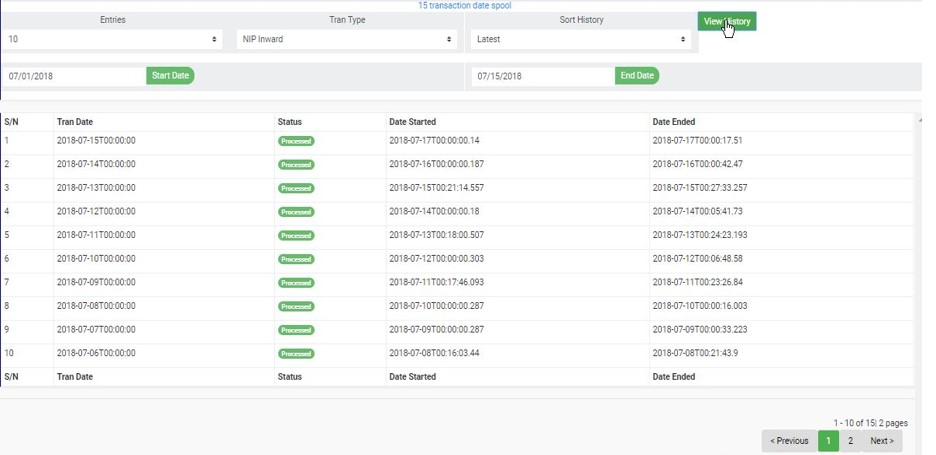
(fig. 34.2h)
- At the bottom-right corner of the page, the software gives information about the number of pages, with the page numbers written out. Click on any page number to go to that particular page. Click on ‘NEXT’ to go to the next page and click on ‘PREVIOUS’ to go to the page before the current page.
- Click on the ‘entries’ box to adjust the number of entries you want to see per page as in fig. 34.2i.

(fig. 34.2i)
- You can sort the entries to be seen from the latest to the earliest or vice-versa. Specify the order of the list by clicking on the ‘Sort History’ box as in fig. 34.2i below. The default view is from the latest to the earliest.

(fig. 34.2j)
For further enquiries :
Tel +234(0) 816 555 9818
Email solutions@efuelite.com
Web https://solutions.efuelite.com
