This section provides options to schedule the day(s) and hour(s) the Compliance Planet will be accessible for users. For example, the software can be scheduled to be accessible to users only on Monday to Friday (i.e., weekdays).
NOTE: Only administrators can carry out these operations
Follow the Steps below to set the App Schedule on the Compliance Planet AML software.
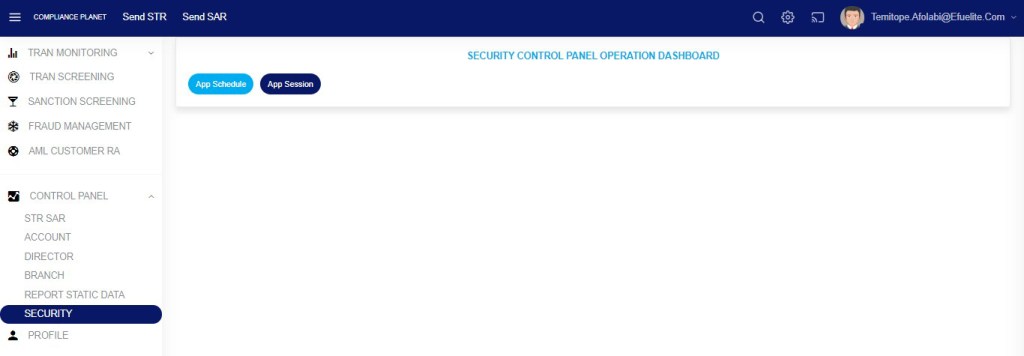
- From the left-hand side menu click “Control Panel” as in fig below.

Fig 39.0a
- This will display a drop-down as in fig below
- Click “Security” from the control panel drop-down as in fig 39.0c below

- This will display a SECURITY CONTROL PANEL OPERATIONS DASHBOARD as in fig below
STEP 1: Click “App Schedule” from the top menu as in fig 39.1a below.
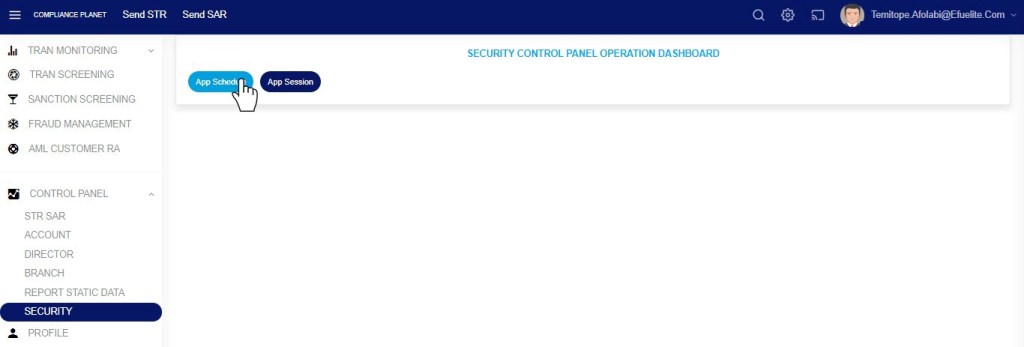
Fig 39.1a
- This displays a SECURITY CONTROL PANEL DASHBOARD as in as in fig 39.1b below.
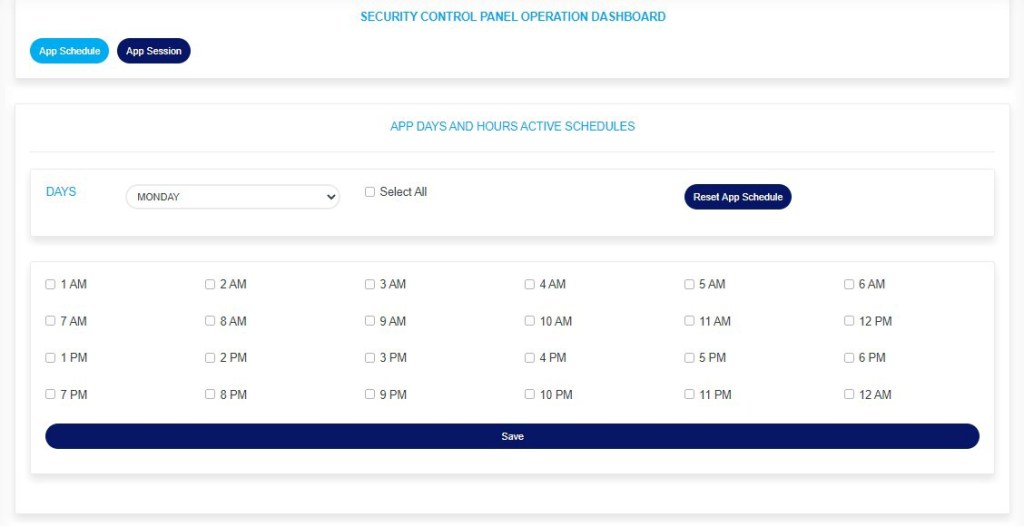
Fig 39.1b
STEP 2: Click the “Days” box to select the day of a week. Here the setting is done for each day individually, so selecting a day of the week displays the hour(s) schedule settings for that day. See an example in fig 39.1c below
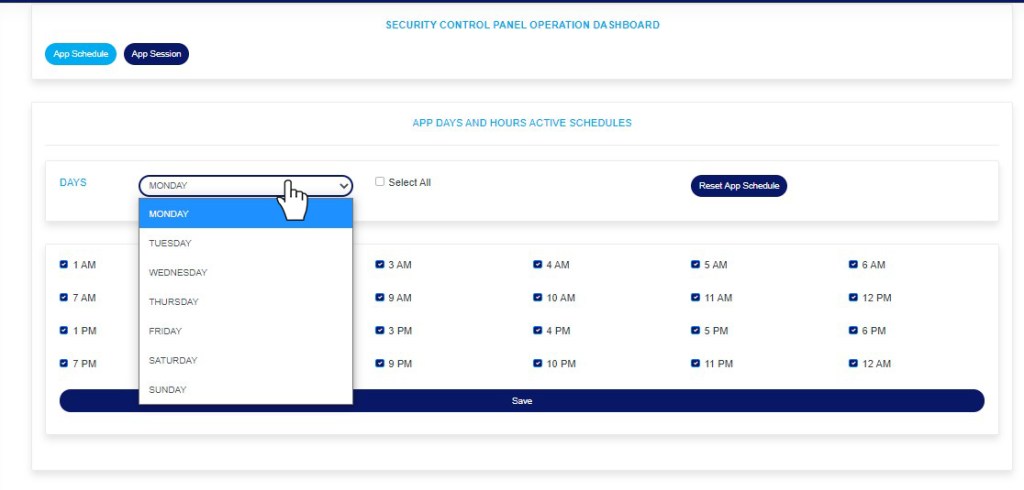
Fig 39.1c
STEP 3: Tick the checkbox for the hour(s) of the day you want the Compliance Plant AML software to be accessible for users. For example, in fig 39.1d below user’s will be granted access into the software from 1am to 11am on Mondays.

Fig 39.1d
STEP 4: Tick the “Select all” checkbox at the top of the page to select all hours in the selected day. See an example in fig39.1e below
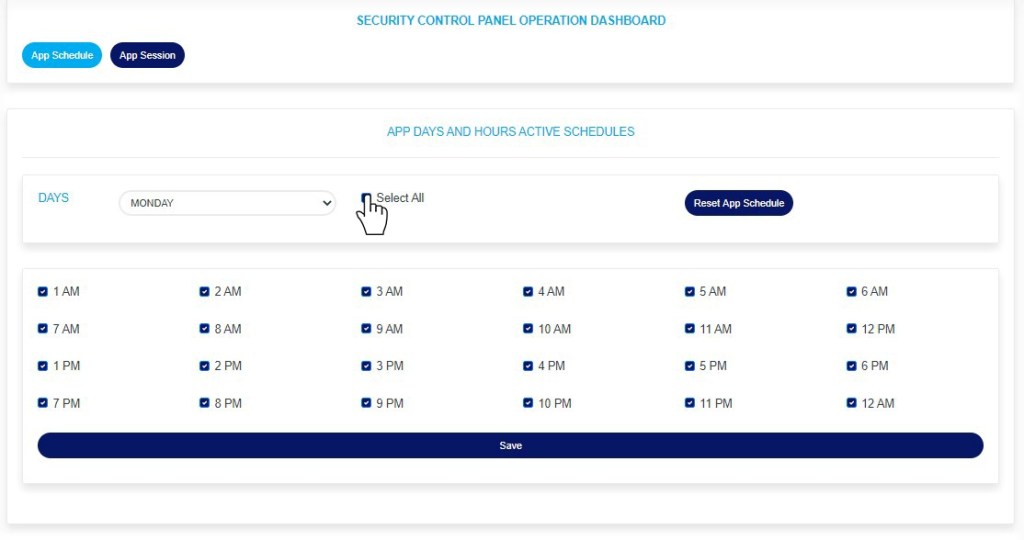
Fig 39.1e
STEP 5: Untick the “Select all” checkbox at the top of the page to deselect all hours in the selected day. See an example in fig39.1f below
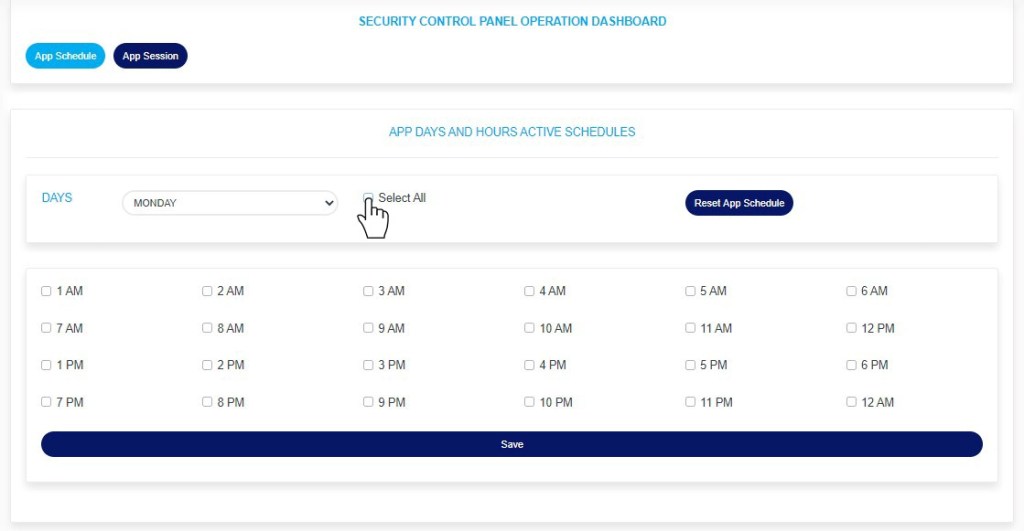
Fig 39.1f
STEP 6: Click “Reset App Schedule” to revert to default settings. Note that the default setting on the Compliance Planet AML Software schedule sets the app active for the whole day (i.e., all the hour checkboxes will be ticked)
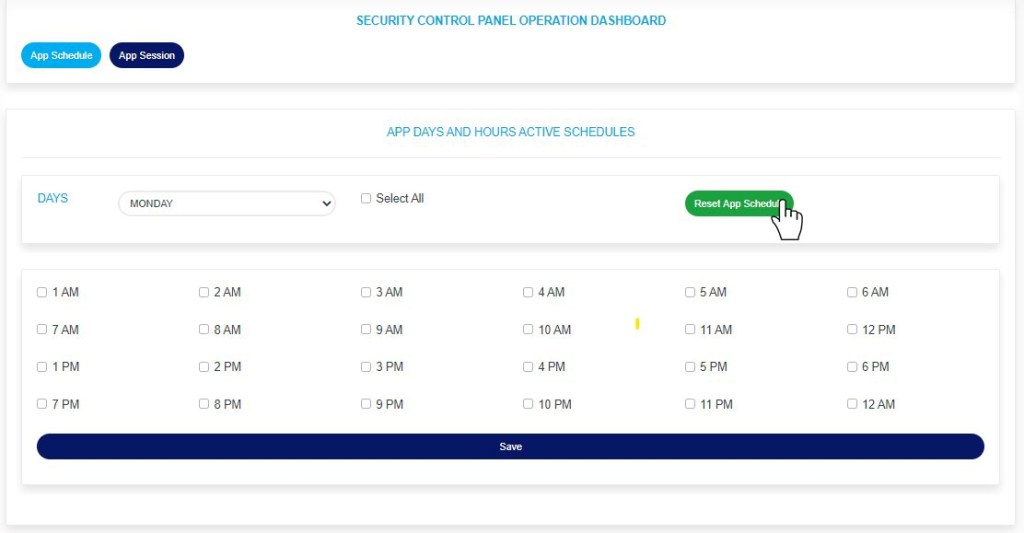
Fig 39.1g
- This will display a confirmation console as in fig 39.1h below
STEP 7: Click “Confirm” to proceed or “Cancel” to close the console.
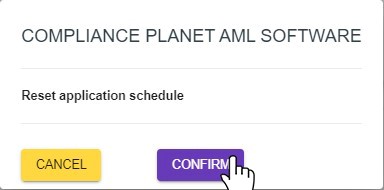
Fig 39.1h
- Clicking “Confirm” will display a notification at the top of the page as in fig 39.1i below
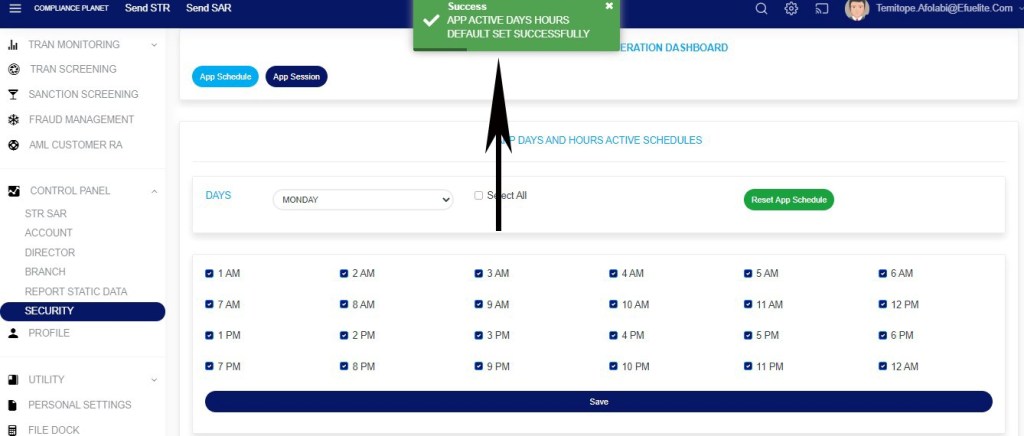
Fig 39.1i
STEP 8: Click “Save” as in fig 39.1j below to save the settings for the selected day (i.e. Monday in this example)

Fig 39.1j
- This will display a confirmation console as in fig 39.1k below
STEP 9: Click “Confirm” to proceed or “Cancel” to close the console.
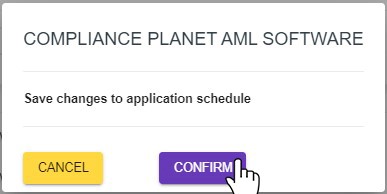
Fig 39.1k
- Clicking “confirm” will display a notification at the top of the page showing that the schedule for the selected day has been successfully updated.
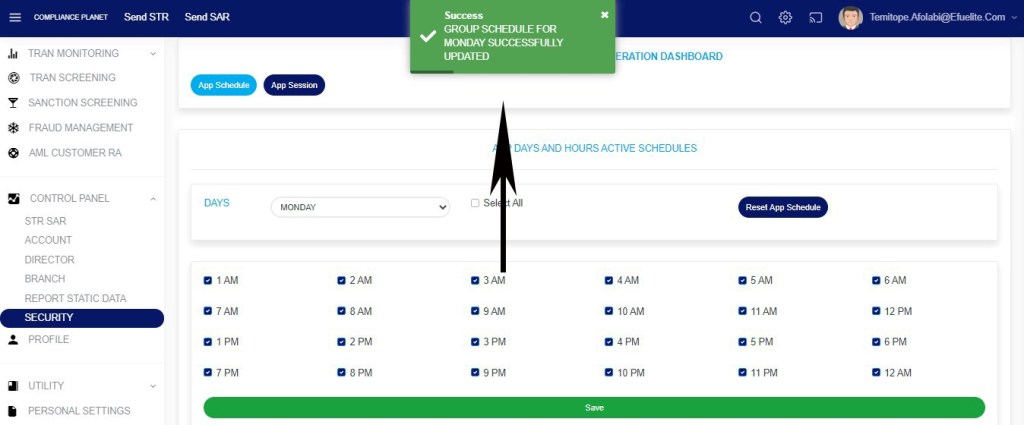
Fig 39.1l
STEP 10: Click the “Days” box to select and edit the schedule for other days, then repeat steps 3 to 9 above.
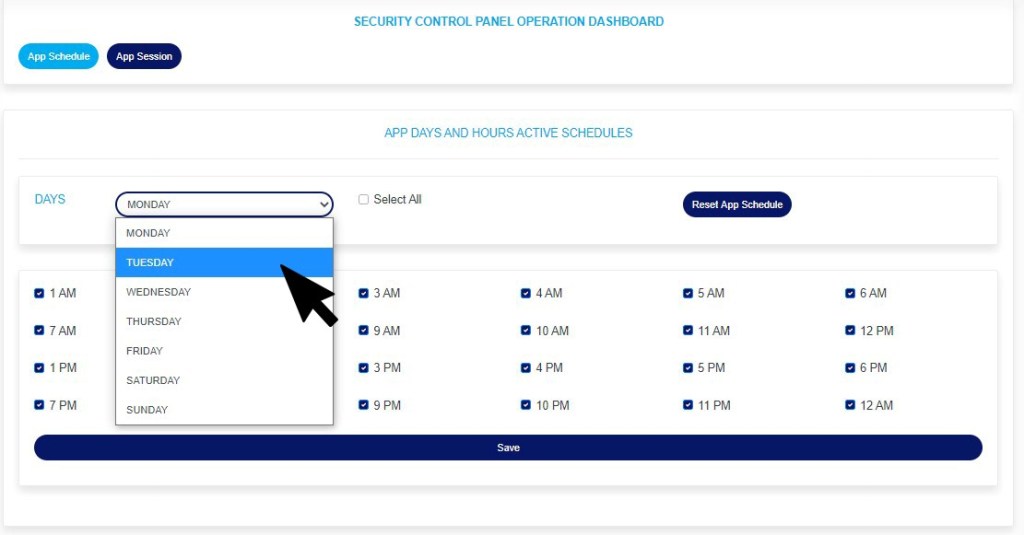
Fig 39.1m
NOTE: This setting does not affect administrators.
For further enquiries :
Tel +234(0) 816 555 9818
Email solutions@efuelite.com
Web https://solutions.efuelite.com
