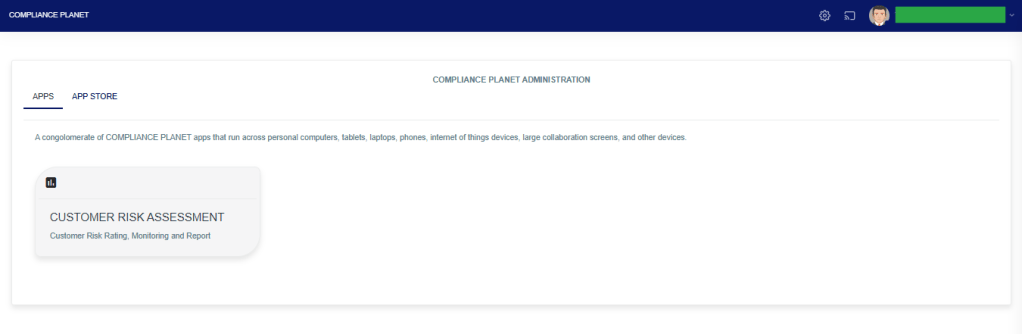
STEP 1: From the app dashboard, click “CUSTOMER RISK ASSESSMENT” as in the image below.
The above action will display a page as seen in the image below.

STEP 2: Click “NEW POLICY” as in the image below.
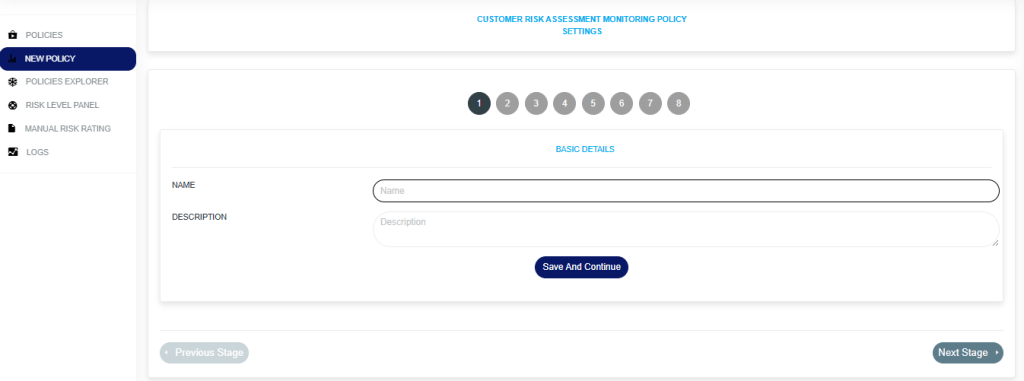
STEP 3: Fill in the details as seen in the image above.
There are eight stages in creating a customer risk assessment Policy.
- On stage 1, fill in the basic details of the policy (Policy name and description) as displayed in the image below.
- On stage 2 to stage 5, activate the desired risk rating nodes and set their risk rating score as displayed in the images.


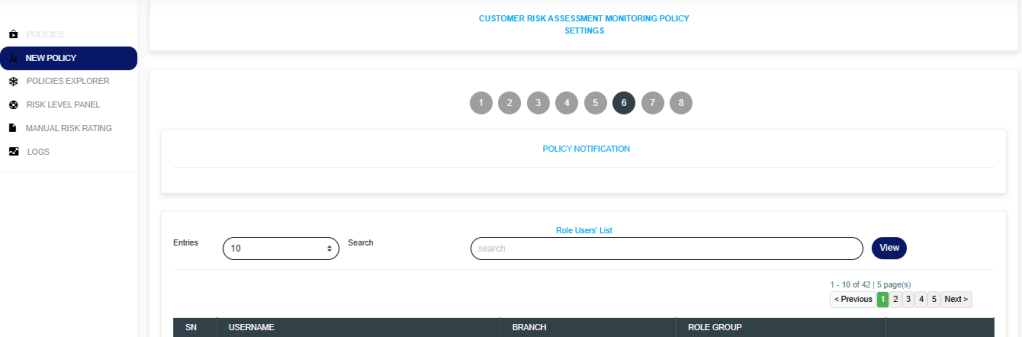
STEP 6: This stage enables you to add users who will receive policy alert notifications for the policy you created, as shown in the image below.
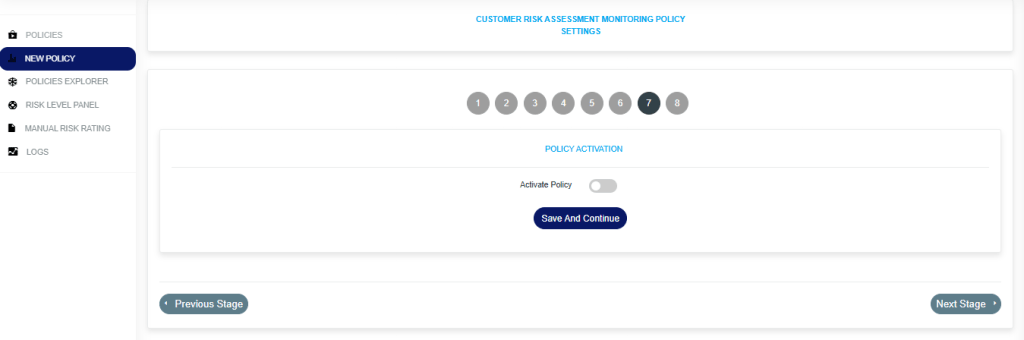
STEP 7: This stage allows you to activate or deactivate the policy.
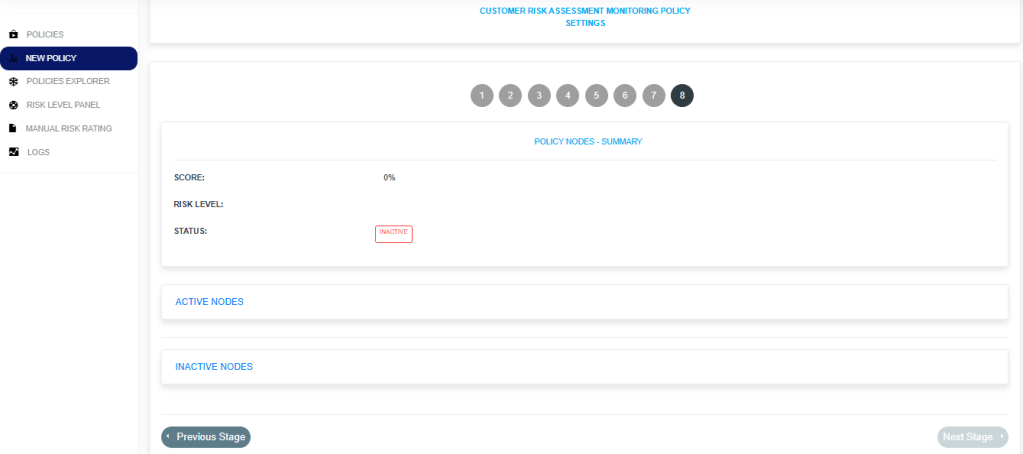
STEP 8: This stage displays the summary of the policy, which includes:
- The policy score that the system automatically calculates across all active nodes of the policy.
- The policy risk level.
- The policy status (Active or inactive).
- The active nodes (these are nodes that were activated between stages 2 and 5).
- The inactive nodes (These are nodes that were not activated between stage 2 and stage 5).
For further enquiries:
Tel: +234(0) 816 555 9818
Email: solutions@efuelite.com
Web: http://solutions.efuelite.com
