This section provides a guide to carrying out Watch-List operations in the Compliance Planet Anti Money Laundering/Core Banking Finance Software, with step-by-step instructions and pictures.
STEP 1: From the app dashboard, click “DIGITAL FINANCIAL CRIMES SURVEILLANCE” as in Fig 2a below.
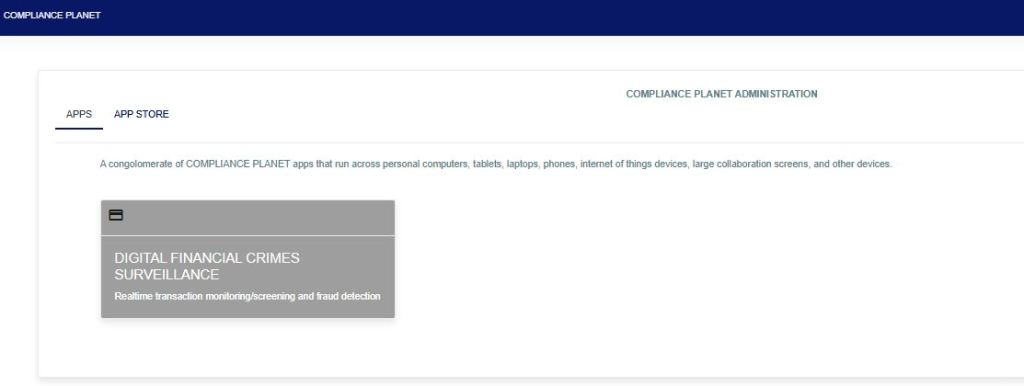
FIG 2a
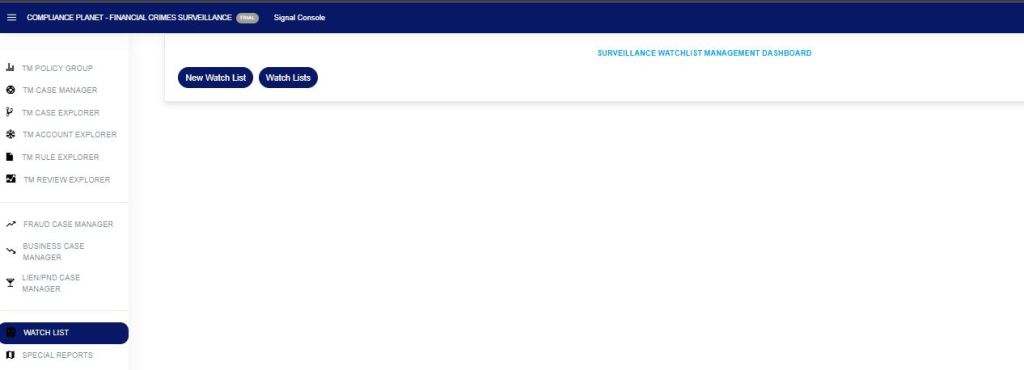
STEP 2: From the left-hand side menu, click “Watch List” as in Fig 2b below to display “New Watch List” and ” Watch Lists”.
STEP 3: Click on the “Watch Lists” as in Fig 2c below, which displays entries (number of data per page), view type (active or inactive watchlist), search (to search for a specific watchlist), view (to display the searched watchlist), and export to Excel to view the watchlist in an Excel sheet.
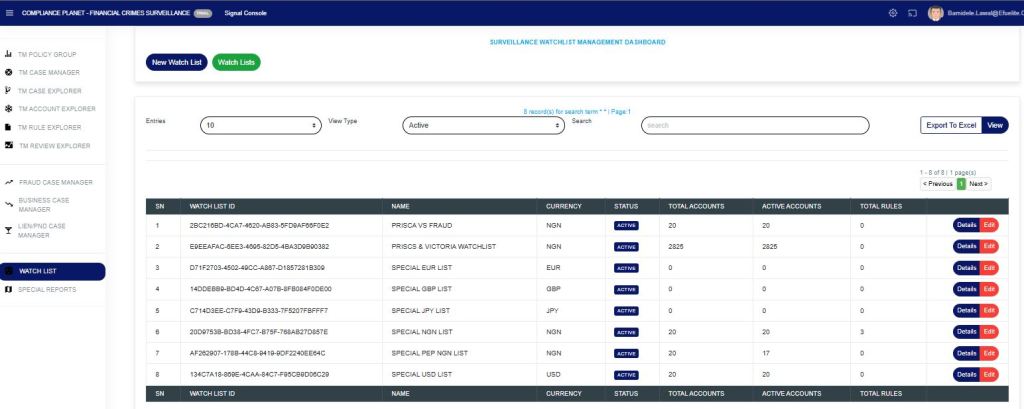
On the page, there is;
- Watch List ID: this column displays each created watchlist with their unique IDs.
- Name: the name of the watchlist created.
- Currency: this column displays the currency type for the created watchlist.
- Status: this shows the status of the watchlist whether active or inactive.
- Total Accounts: this shows the total number of account(s) in each watchlist.
- Active Accounts: this shows the total number of account(s) that are active in the watchlist created.
- Total Rules: this shows the total number of TM policy rule(s) that the watchlist is existing.
STEP 4: Click on “Details” as in Fig 2d below, this displays detailed information of the selected watchlist. The ID, watchlist Name, Description, Currency, Surveillance rule(s) where is watchlist has been categorized, Status of the watchlist, Date the watchlist was created, and personnel that created it.
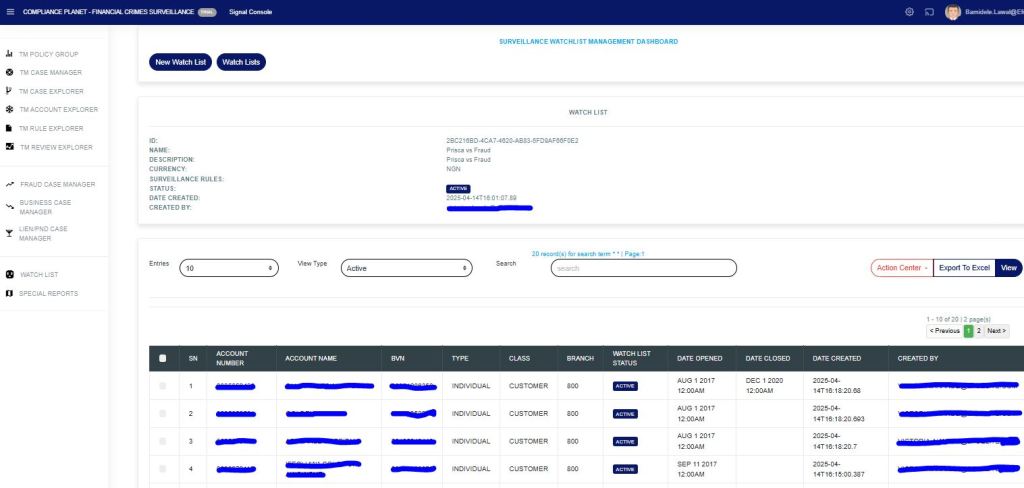
The table in the watchlist displays the customer’s account number, name, BVN, type, branch, watchlist status, account opened date, account closed date (if the account is closed), and the email of the personnel that created the watchlist.
To do a bulk upload of new accounts, deactivate account(s), reactivate account(s), and delete account(s). This can be done using the “Action Center” option as in Fig 2d below.
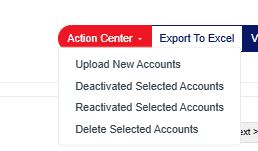
FIG 2d
For bulk uploading of new account(s) operations, click “Upload New Accounts”, as shown in Fig. 2e below. This displays a drop-down to select a file (an already prepared Excel file with the first column of the Excel file containing the account number(s) of customers and a heading for the column “Account Numbers”). Then, click “Upload Accounts” to upload the selected Excel file. This will automatically bulk upload the accounts searching through the solution, bringing all the data related to the account number.
Additionally, an Excel file will be downloaded along with the bulk upload, allowing you to view the status of each account that has been uploaded.
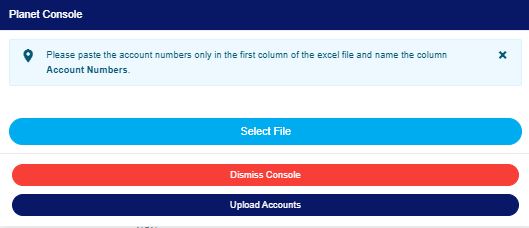
FIG 2e
Account(s) can be deactivated, reactivated, or deleted from a watchlist by selecting them and clicking the option that needs to be carried out in the Action Center, as in Fig. 2f below.
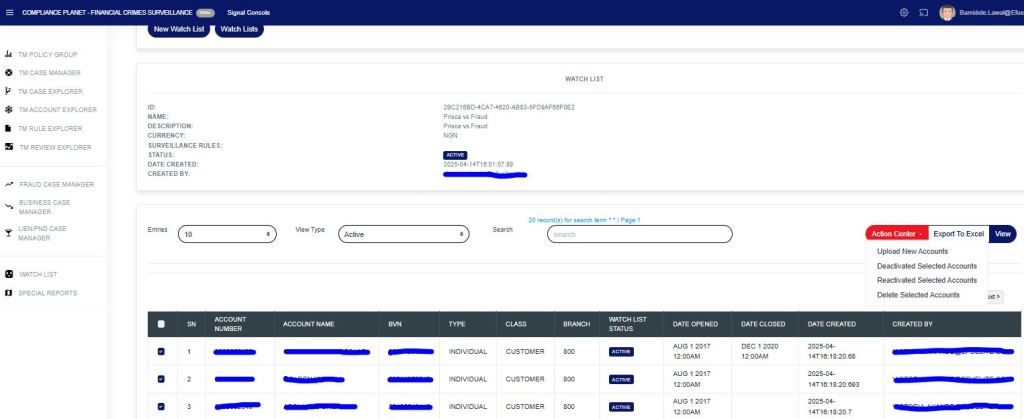
FIG 2f
To make changes to a watchlist’s information, the “Edit” button can be selected as in Fig. 2g below.

For further enquiries:
Tel: +234(0) 816 555 9818
Email: solutions@efuelite.com
Web: http://solutions.efuelite.com
