This section provides a guide on how to carry out whitelisting operations from a rule, policy, or global monitoring on the Compliance Planet Anti Money Laundering/Core Banking Finance Software, with step-by-step instructions and pictures.
STEP 1: From the app dashboard, click “DIGITAL FINANCIAL CRIMES SURVEILLANCE” as in Fig. a below.
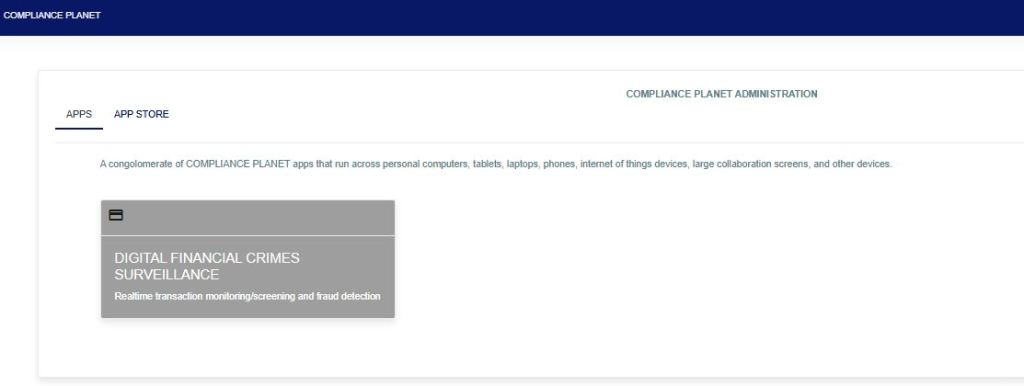
Fig a
STEP 2: From the left-hand side menu, click “TM Case Manager” as in Fig b below to display the “Data View Filters”.

STEP 3: Then click “Data View Filters” to show a menu window that displays all the menus: Case Managers, Review Cases, Export to Excel, View Cases, Search Cases, Entries, Case Type, Start Date & End Date, Filter Rules, and Search Rules as in Fig. C below.
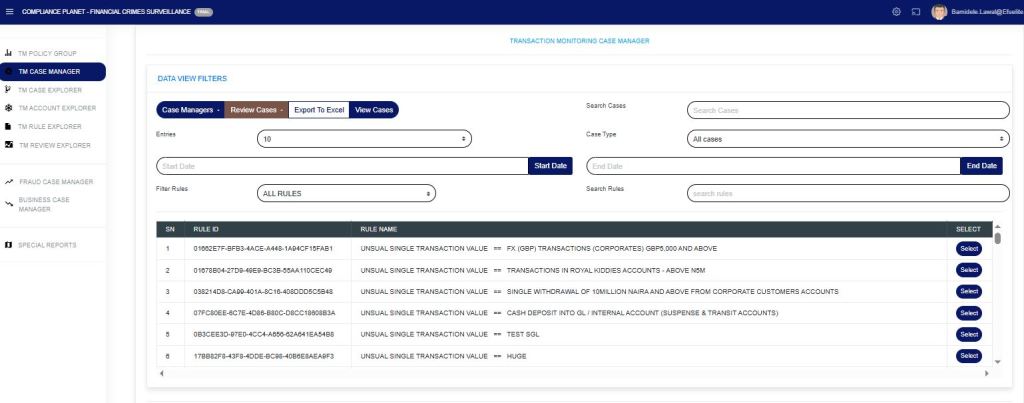
Input the Start Date and End Date, select “case type” and from the drop-down, select pending cases as in Fig. D below.

Fig d
The “Search case” can be used to search for a specific account or multiple accounts, separated by a pipe, as shown in Fig. e below.

Fig e
Then click “filter rules” to display a drop-down of “All Rules, Rules Deployed by Me, or Rules Assigned to Me“. The search rule bar can be used to search for a rule name by entering a phrase in the rule.
Click the “select button” to highlight as in Fig. f below.

Fig f
Click on the “View Cases” to display all the records. This will display the policy name and account(s) that have bridged the rule.
Select the account(s) to be whitelisted from the list of accounts if there is more than one, as in Fig. g below.
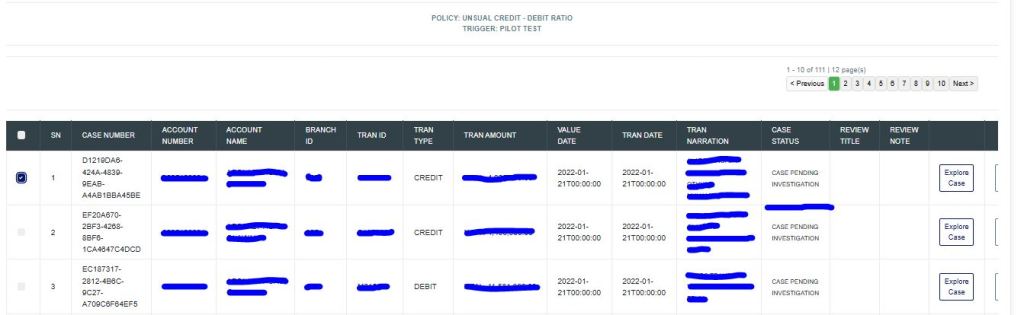
Fig g
Then, click “Review Cases” to open a drop-down menu and choose the type of whitelist to categorize the account(s), either by rule, policy, or global monitoring, as shown in Fig. h below.

Click on the whitelist option, and it displays the image below. Providing the review title, review note, whitelist for a specific period (if it is for a period), and whitelist start and end dates. Then save the review for future reference.
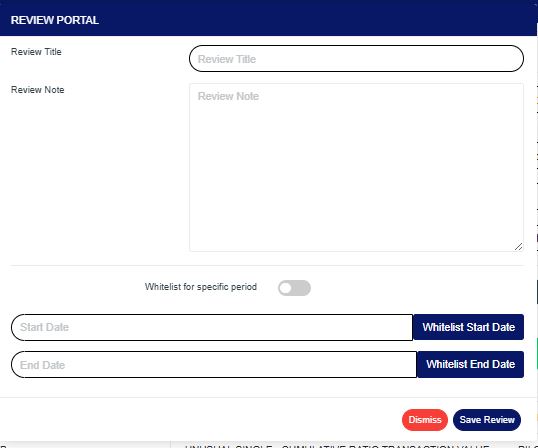
Input the Review title, review note, toggle on the “whitelist for a specific period”, input Start Date and End Date, select “save review”
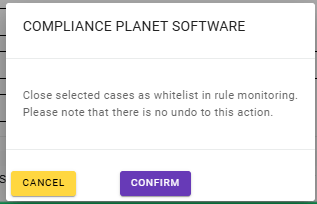
Then click “Confirm” to save all process.
For further enquiries:
Tel: +234(0) 816 555 9818
Email: solutions@efuelite.com
Web: http://solutions.efuelite.co
