This section provides a guide to viewing the Branch List on the Compliance Planet control panel, with step-by-step instructions and pictures.
NOTE: This action can only be carried out by the person(s) profiled as Administrator in the software
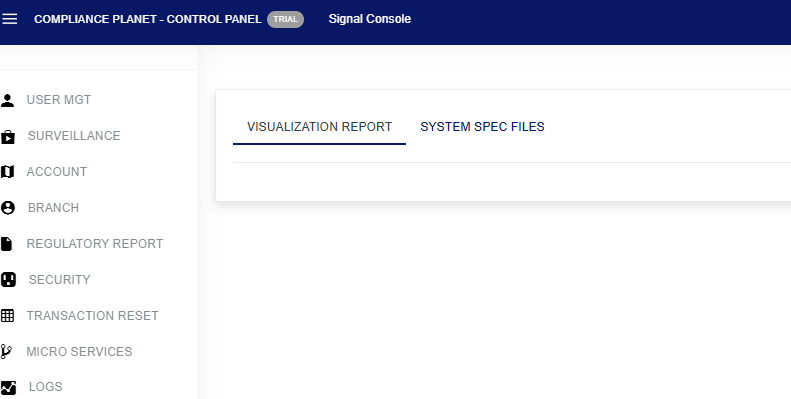
STEP 1: From the app dashboard, click on “CONTROL PANEL” as shown in the image below.

- The action above displays the page shown below.
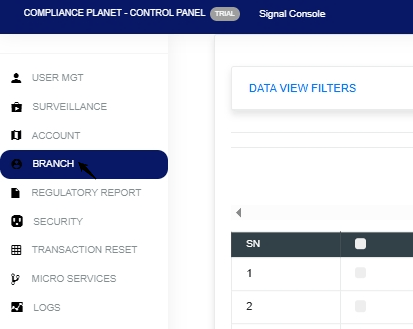
- STEP 2: Click on “BRANCH” to see the drop-down below.
- STEP 3: Click on the ‘Data View Filters’ as shown in Fig.3.1a below.

Fig.3.1a
- This displays a page showing the entries and search box shown in Fig.3.1b below.

Fig.3.1b
- Click on the “Entries” box as in Fig. 3.1c below to select the number of records you want to view per page.
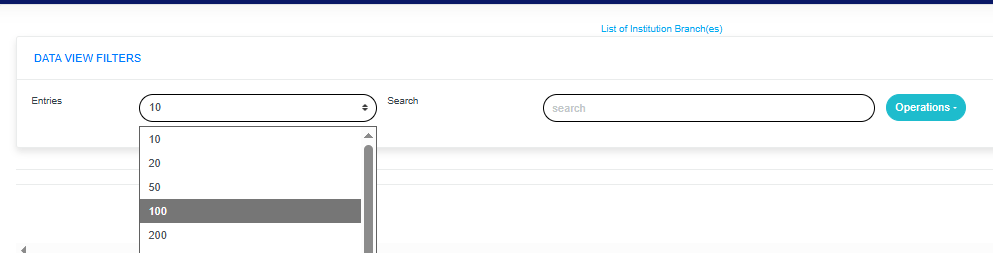
Fig. 3.1c
Click on the “operations” drop-down to select from the list of branch operations you want to view, as shown in Fig.3.1d below.

Fig.3.1d
- Click on “New Branch” from the Operations drop-down list to select your preferred branch, as shown in Fig.3.1e

- Select from this drop-down in the page below, as shown in Fig.3.1f
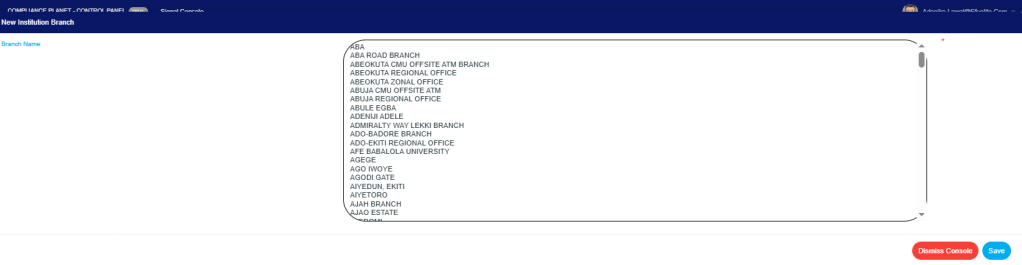
Fig.3.1f
- Click on the save console, and this will display the image below as shown in Fig.3.1g

Fig.3.1g
- Click “Confirm” to proceed or “Cancel” to dismiss the console as shown in Fig.3.1h
- How to Delete Branch Description
- Note: Only person(s) assigned this role can carry out this operation.
STEP 1: Click the “Delete” button, as shown in Fig. 3.1i below, to edit the action.
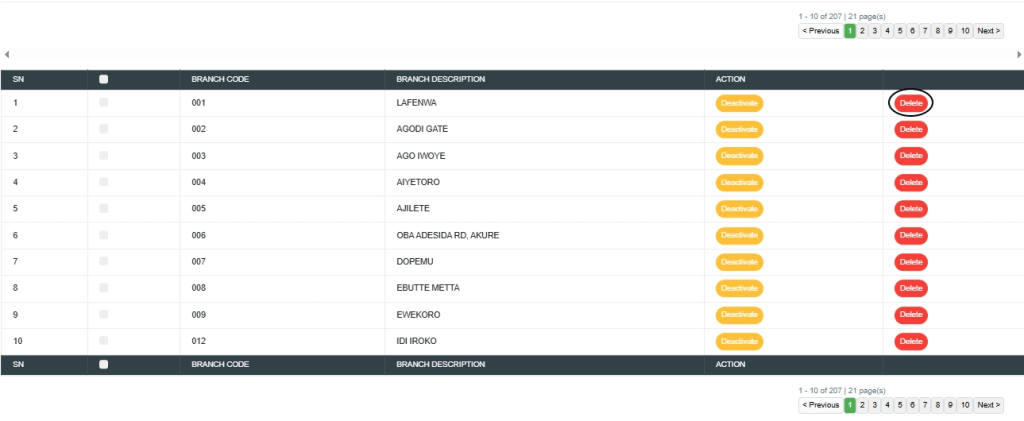
Fig. 3.1i
- This will display a confirmation console as shown in Fig.3.1j
- STEP 2: Click “Confirm” to proceed or “Cancel” to dismiss the console
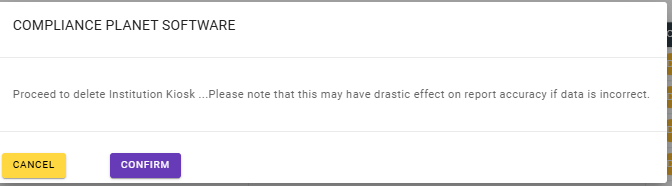
Fig.3.1j
- A notification will be displayed at the top of the page, as shown in Fig. 3.1k below, and the record will be deleted from the list.
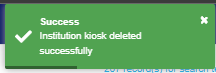
Fig. 3.1k
How to Deactivate Institution Branch
Note: Only person(s) assigned this role can carry out this operation.
STEP 1: Click the “Deactivate” button, as shown in Fig. 3.1l below, to edit the action.
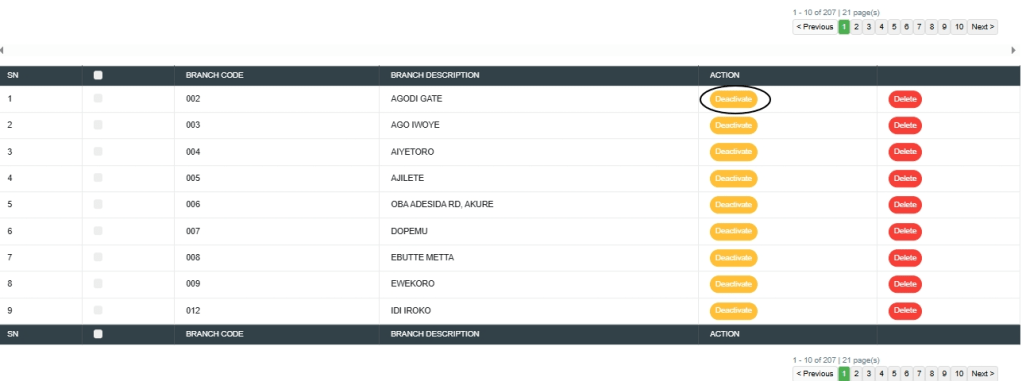
Fig. 3.1l
- This will display a confirmation console as shown in Fig.3.1m
- STEP 2: Click “Confirm” to proceed or “Cancel” to dismiss the console
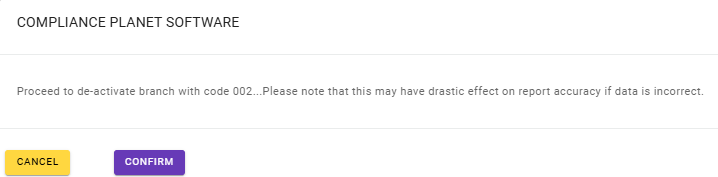
Fig.3.1m
- A notification will be displayed at the top of the page, as shown in Fig. 3.1n below, and the record will be deactivated from the list.

Fig. 3.1n
How to Activate Branch Institution
Note: Only person(s) assigned this role can carry out this operation.
STEP 1: Click the “Activate” button, as shown in Fig. 3.2a below, to edit the action.
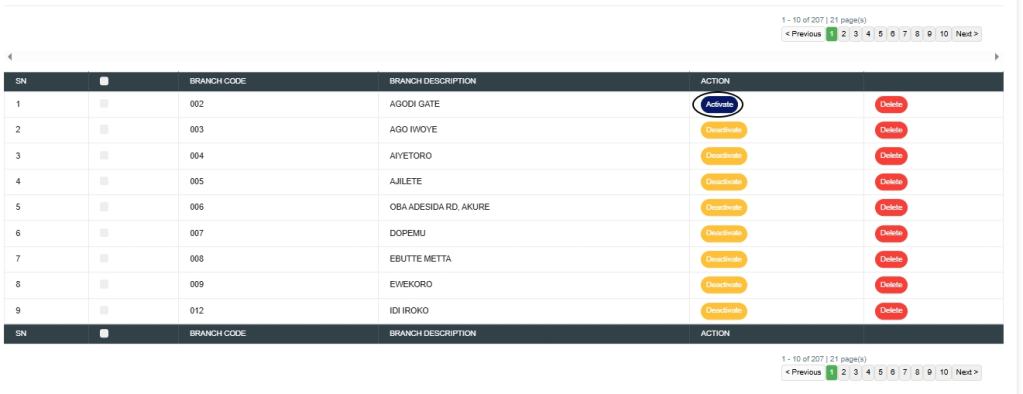
Fig. 3.2a
- This will display a confirmation console as shown in Fig.3.2b
- STEP 2: Click “Confirm” to proceed or “Cancel” to dismiss the console
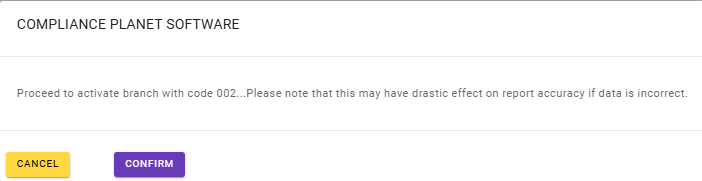
Fig.3.2b
- A notification will be displayed at the top of the page, as shown in Fig. 3.2c below, and the record will be activated.

Fig. 3.2c
For further enquiries :
Tel +234(0) 816 555 9818
Email solutions@efuelite.com
Web https://solutions.efuelite.com
