This section provides a guide on how to perform transaction operations pertaining to transaction reset in the control panel on the Compliance Planet, with step-by-step instructions and pictures.
NOTE: Only the person(s) profiled as Administrator can carry out these operations
This means moving transactions from the transaction pool to the archive. Transactions migrated to the archive will not be available for report processing.
STEP 1: From the app dashboard, click on “CONTROL PANEL” as shown in the image below.
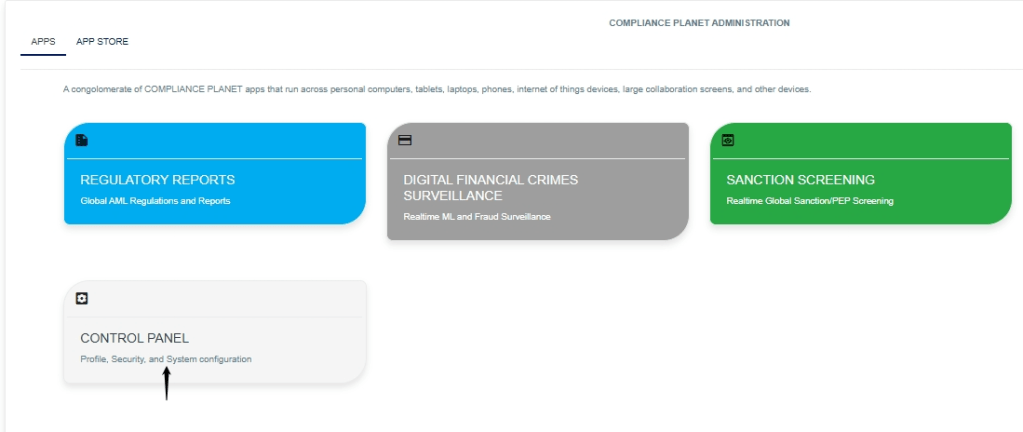
- Click on “CONTROL PANEL,” and this displays a page shown below in Fig.2.1a
- Fig.2.1a
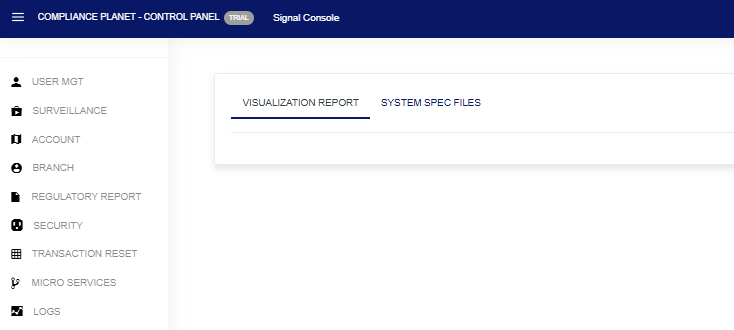
STEP 2: Click on“TRANSACTION RESET” as shown in Fig. 2.1b below
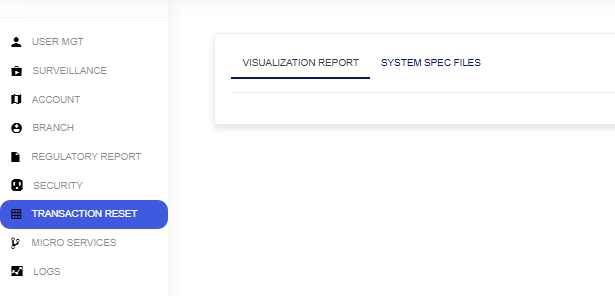
Fig. 2.1b
- This will display a “Report Transaction Reset” page, as shown below, as seen in Fig.2.1c
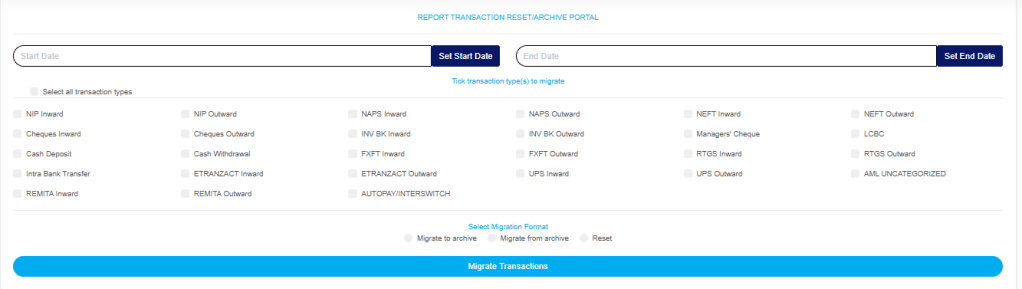
Fig.2.1c
- Click the “Start” and “End” dates to specify them. This will display a calendar as shown in Fig.2.1d
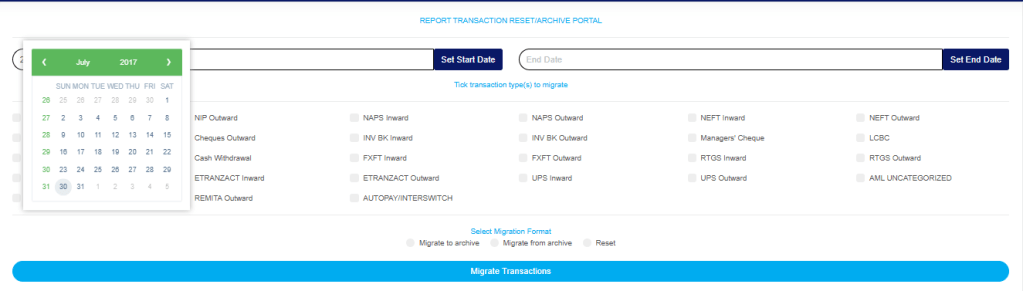
Fig.2.1d
Take a look at the arrows labelled a to d in Fig.2.1e to study the calendar.
- Click on the given year to change it to your year of choice
- Click on the given month to change it to your month of choice
- Then click on the date of the month
- You can also click on the angle brackets on the calendar [ ‘<’ or ‘>’ ] to go backward or forward.

Fig.2.1e
- To reset the transaction type, specify the transaction type or select all.
- Tick the checkbox ◻ of the transaction type(s) to be reset. You can tick as many transaction types as you want. Fig.2.1f
Fig.2.1f
- STEP 3: Tuggle on the “Reset” button as shown in Fig.2.1g

Fig.2.1g
- Click on “Migrate Transaction” as shown in Fig.2.1h

Fig.2.1h
- A confirmation console will be displayed. Click “confirm” to proceed or cancel to dismiss the console, as shown in Fig.2.1i
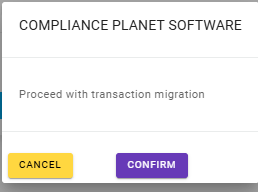
Fig.2.1i
- A planet signal console will be displayed after you click on confirm from the confirmation console, as seen in Fig.2.1j
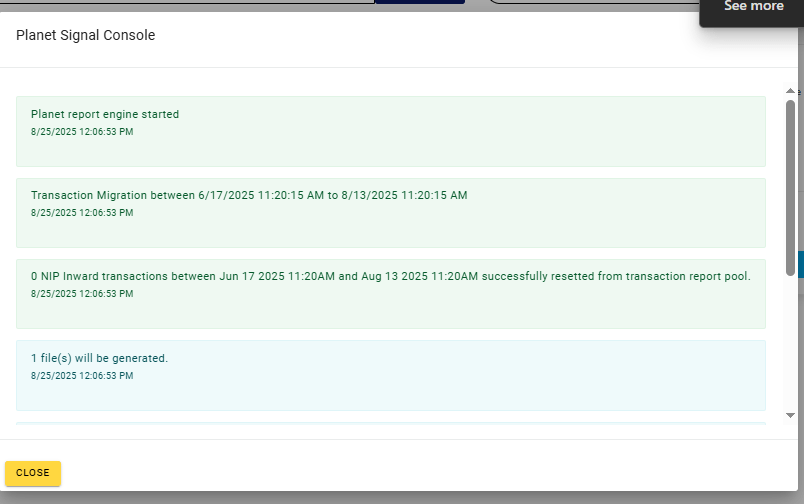
Fig.2.1j
- Go to “Micro services” on the Control Panel, as shown in Fig.2.1k
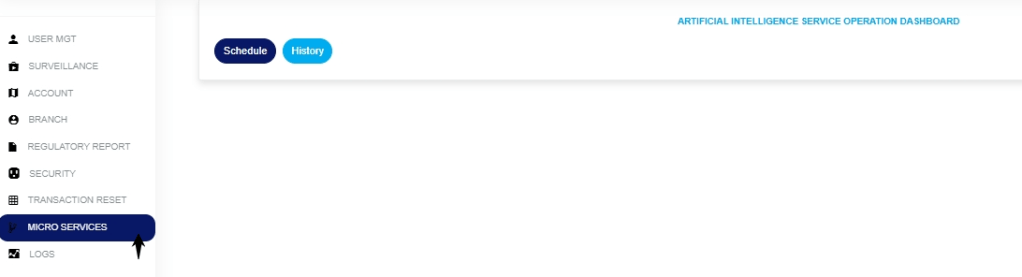
Fig.2.1h
- Click on the “Schedule” as shown in Fig.2.1l
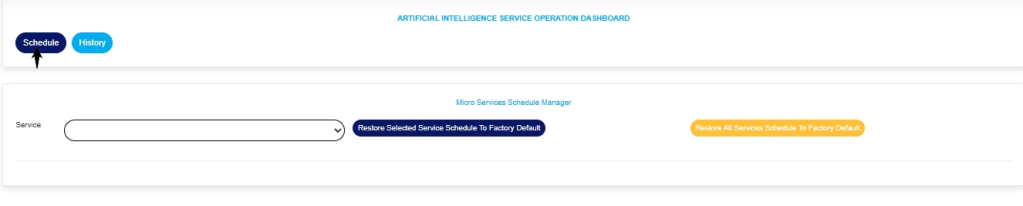
Fig.2.1l
- Select the ‘transaction type‘ and the ‘process time‘ as shown in Fig.2.1m
Fig.2.1m
- Click on History from the Micro services page as shown in Fig 2.1n
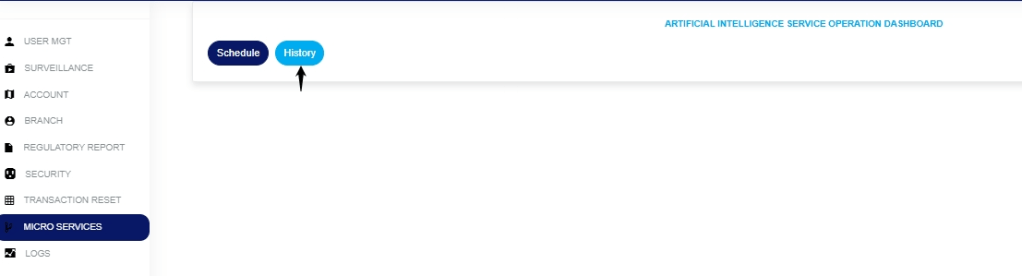
2.1n
- This will display a page below, as shown in Fig.2.2a

Fig.2.2a
- Click on the “Entries” box to enter the number of pages you want to view per page, as shown in Fig.2.2b
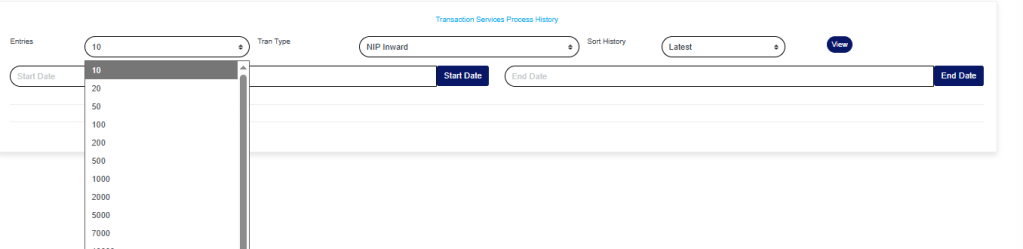
Fig.2.2b
- Click on the “Transaction type box” to enter the type of transaction you wish to view its history, as shown in Fig.2.2c
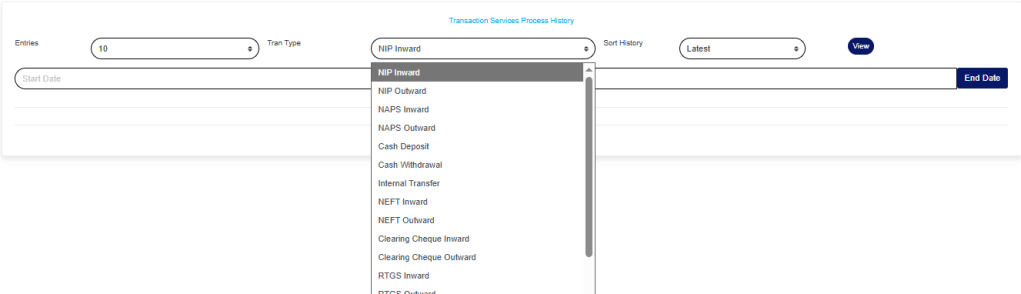
Fig.2.2c
- Click on the “sort history box” to select how you want to view the history, either from the earliest or the latest, as shown in Fig.2.2d

Fig.2.2d
- Enter the “Start date” and “End date” of the transaction you want to view its history, as shown in Fig.2.2e

- Click on “View” as shown in Fig.2.2e

- This will display a page as shown in Fig.2.2f below
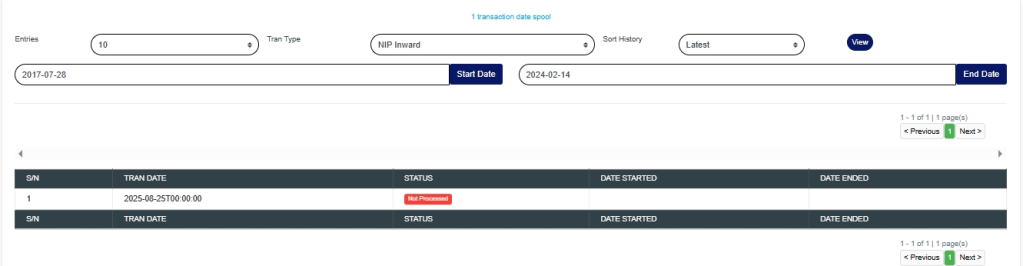
Fig.2.2f
For further enquiries :
Tel +234(0) 816 555 9818
Email solutions@efuelite.com
Web https://solutions.efuelite.com
