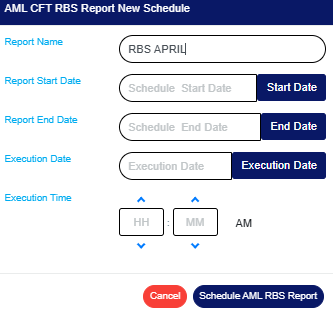
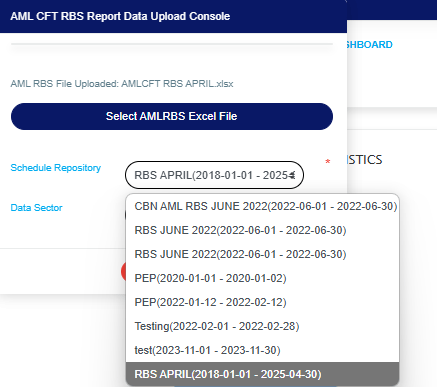
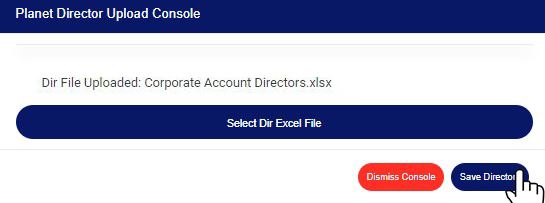
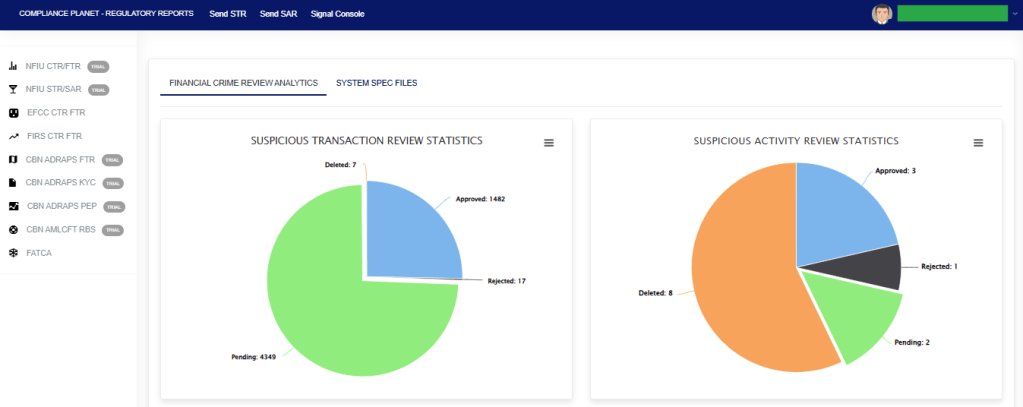
When a Notification is given final approval, the Notification will move to the ‘REPORT OFFICER APPROVED NOTIFICATION(S)’ list and ‘APPROVED NOTIFICATION(S) PENDING DOWNLOAD’ list. Here, the notification can be downloaded, and details of the Notification can also be viewed. Notifications can also be downloaded under the ‘APPROVED NOTIFICATION(S) DOWNLOADED’ list. A Notification can be downloaded as many times as you desire. The generated STR/SAR will be in the XML file type. See the steps below to download an STR/SAR.
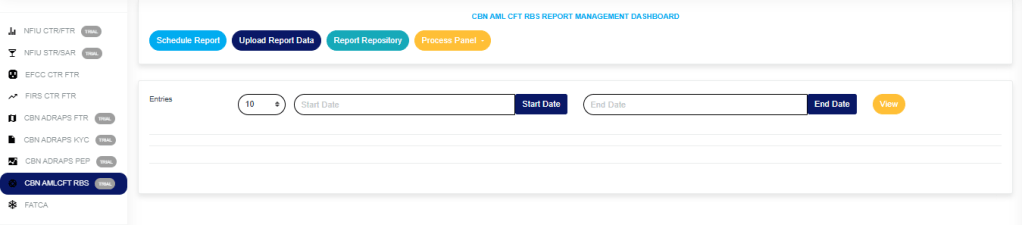
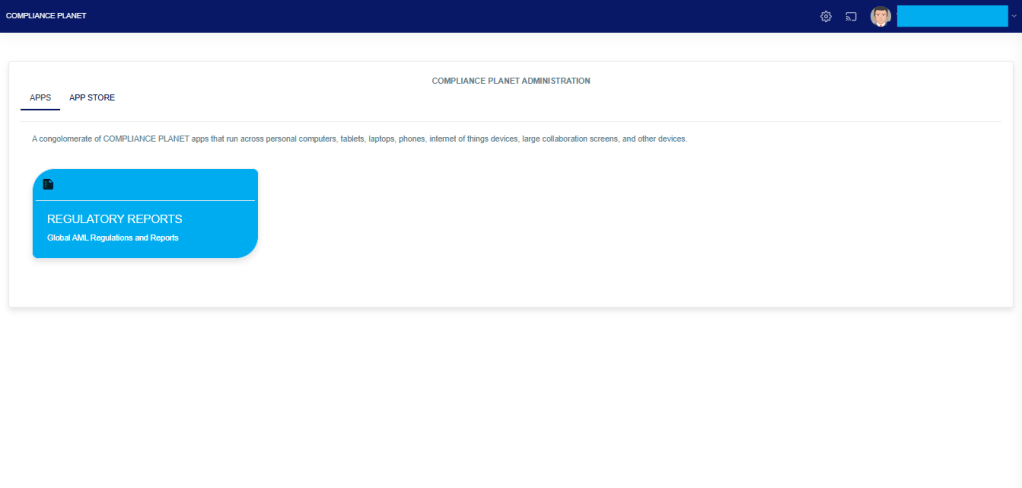
From the app dashboard, click on “REGULATORY REPORTS” as displayed in the image below.
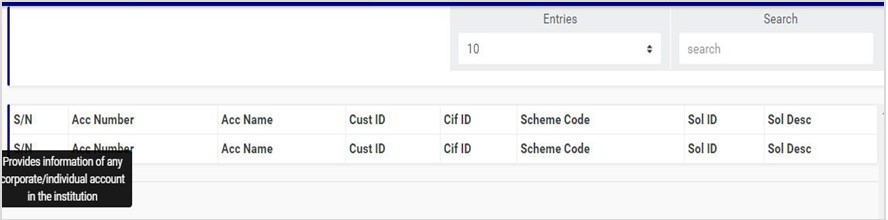
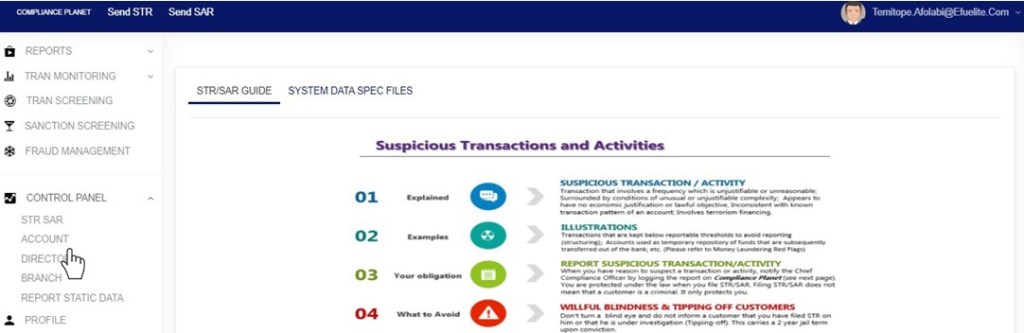
This will display a drop-down, as shown in image below. The drop-down menu lists the report types available on the Compliance Planet software.
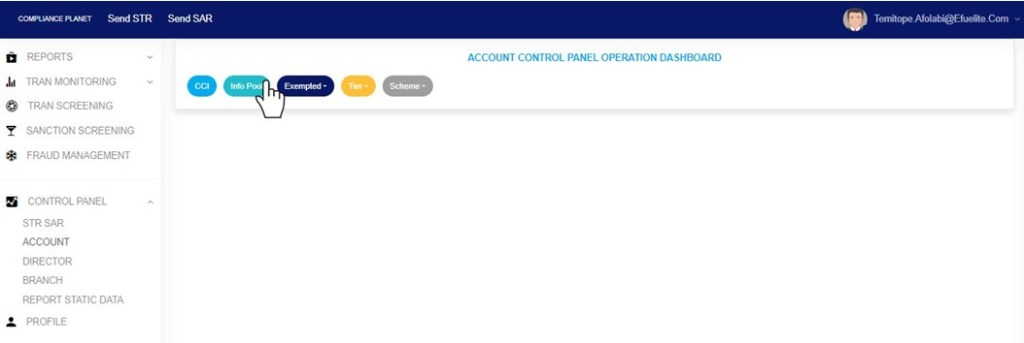
Click ‘NFIU STR/SAR’ on the drop-down list and display the STR/SAR page as displayed in the image below.
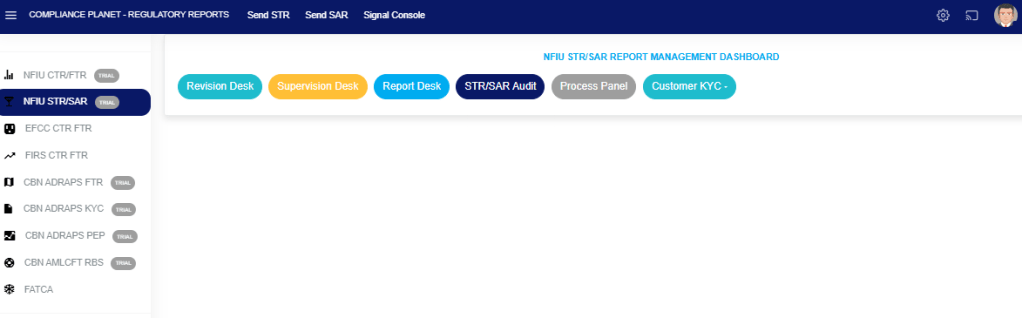
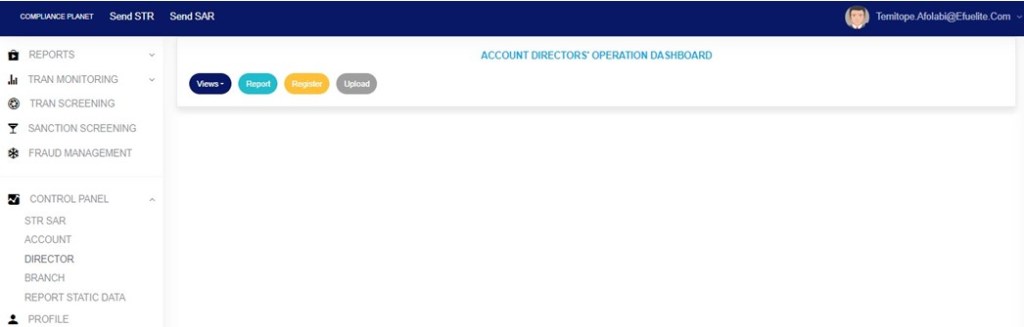
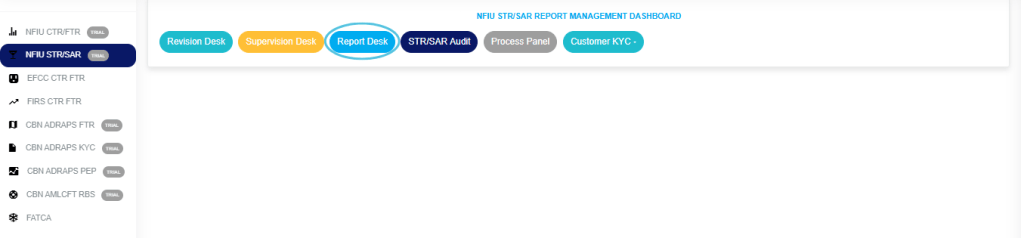
STEP 1: Click on “REPORT DESK” as displayed in the image below.
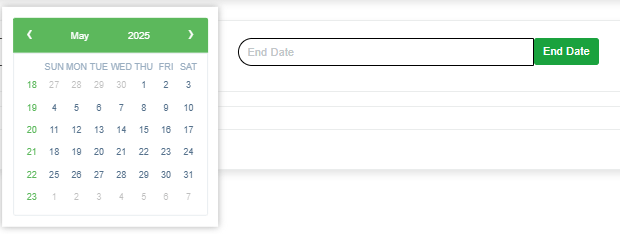
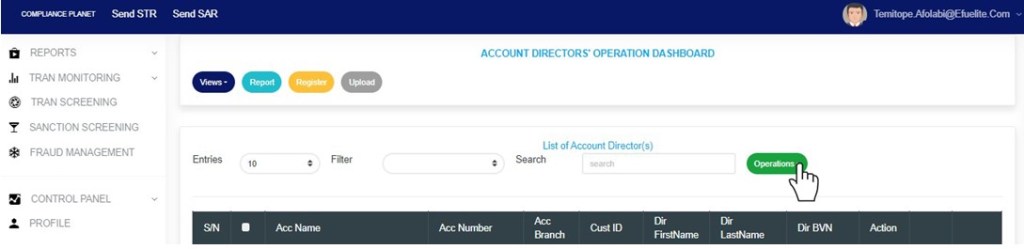
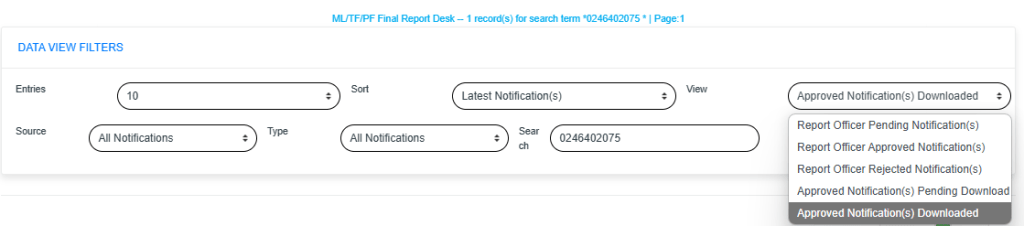
The above action will display the FINAL REPORT DESK PAGE as seen in the image below. Then select the “DATA VIEW FILTERS”.
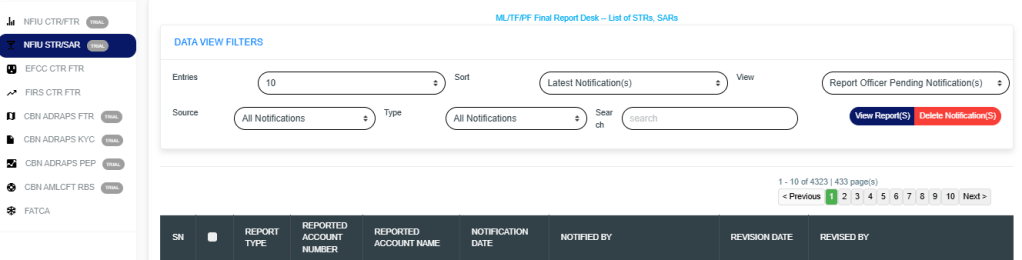
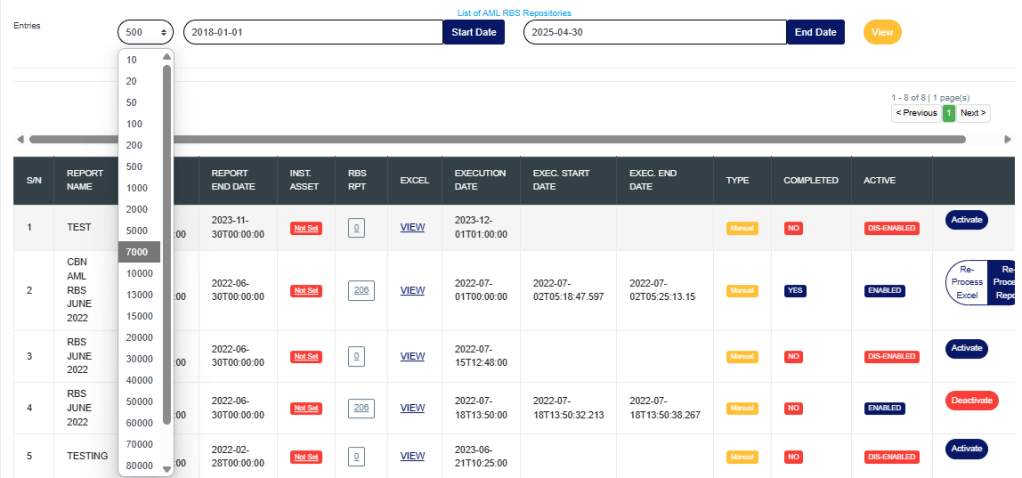
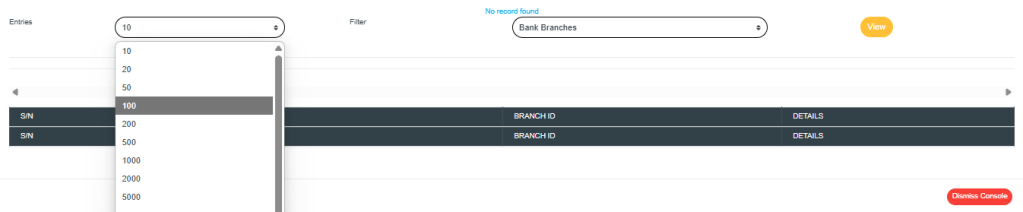
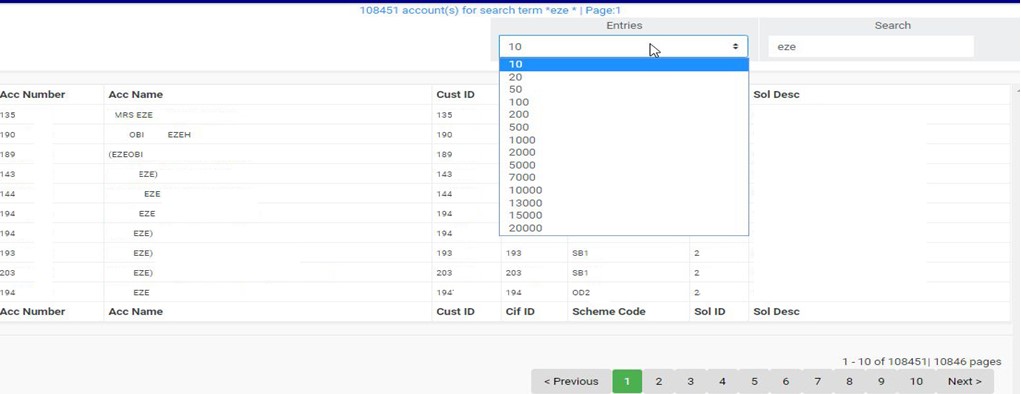
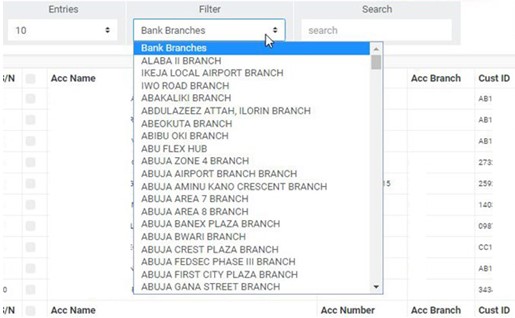
- Click on the “ENTRIES” box to increase the number of Notifications you want to see per page.
- Click on the “SORT” box to sort the notifications either by alphabetical order or from the latest to the earliest notifications or vice-versa as shown.
- Click on the “VIEW” box to see notifications classified according to the stage of processing they have gotten to.
- Click on the “SOURCE” box to select either All Notifications, Digital Surveillance Notification or Manually Filled Notifications.
- Click on the “TYPE” box to select either All Notification, Suspicious Transaction Notification and Suspicious Activity Notification.
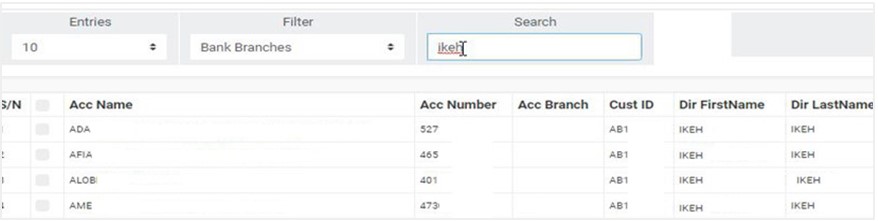
- Click on the “SEARCH” box to search for a particular notification by typing in the customer’s name or account number concerned. More details below.
- Click on the “VIEW REPORTS” button after selecting the class of Notification(s) from the VIEW box. This is to view the notifications from any of the selected class. This button is at the top-right corner of the page.
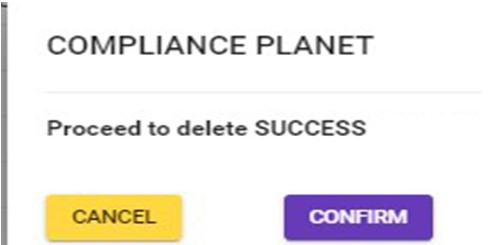
- Click on the “DELETE NOTIFICATIONS” to delete notifications.
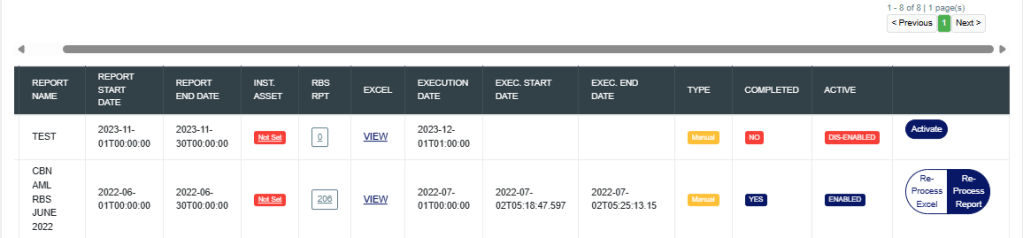
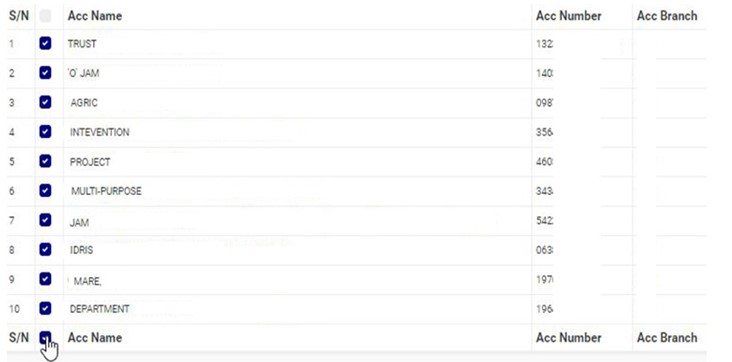
STEP 2: Click on the “VIEW” box on the reporting desk page and select ‘REPORT OFFICER APPROVED NOTIFICATION(S)’ or ‘APPROVED NOTIFICATION(S) PENDING DOWNLOAD.’ All approved Notifications will be displayed in the ‘REPORT OFFICER APPROVED NOTIFICATION(S) list irrespective of their download status. Notifications that have been downloaded previously will appear in the ‘APPROVED NOTIFICATION(S) DOWNLOADED’ list, while those yet to be downloaded at all will appear in the ‘APPROVED NOTIFICATION(S) PENDING DOWNLOAD’ list. See an example in the image below.

Click on ‘VIEW REPORTS’ to see the Notifications as in the image below.

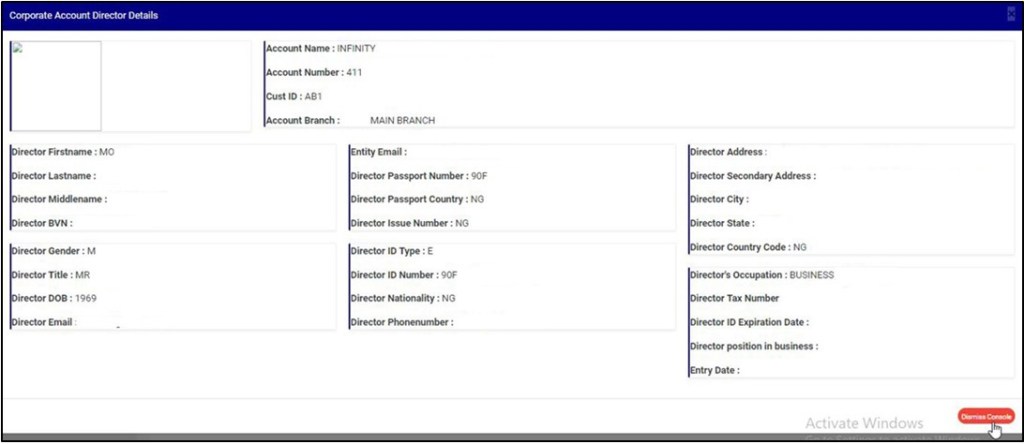
STEP 3: To see details of an STR/SAR Notification, click on ‘DETAILS’. It is the button at the end of each Notification row.
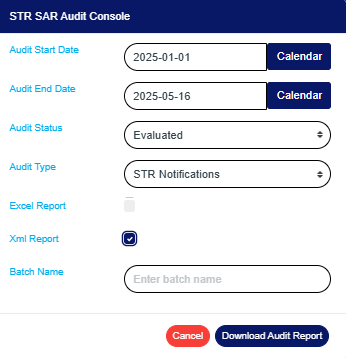
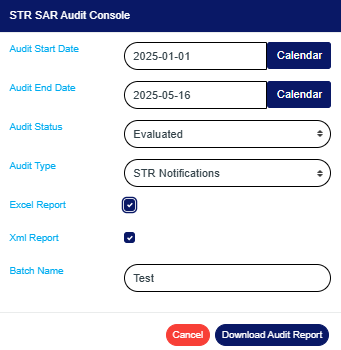
To download an STR/SAR, click ‘DOWNLOAD.’ This button is next to the ‘DETAILS’ button. See the image below.
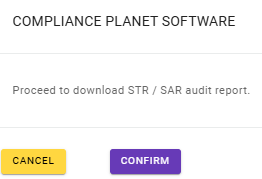
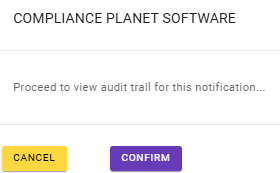
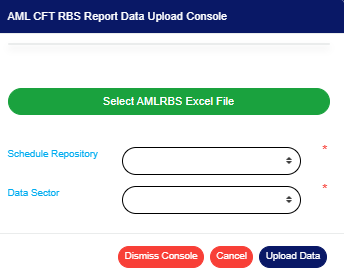
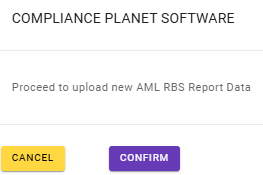
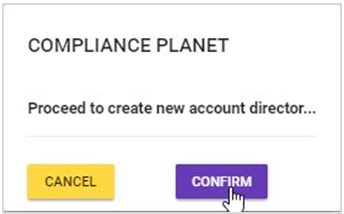
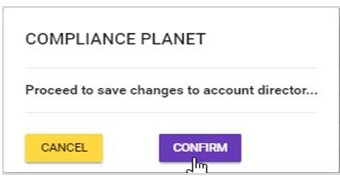
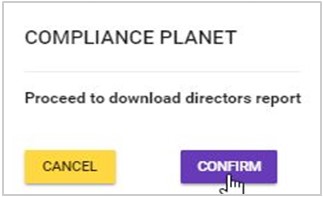
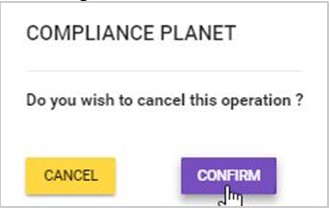
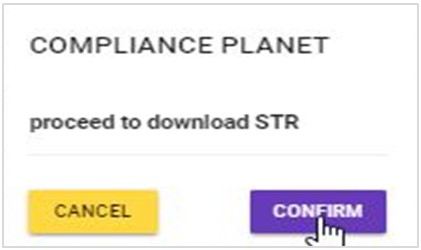
- By clicking on the ‘DOWNLOAD’ button, a confirmation console—shown in the image below—will appear on your screen. Click “CONFIRM” to proceed with the download, or “CANCEL” if you choose not to download the notification.
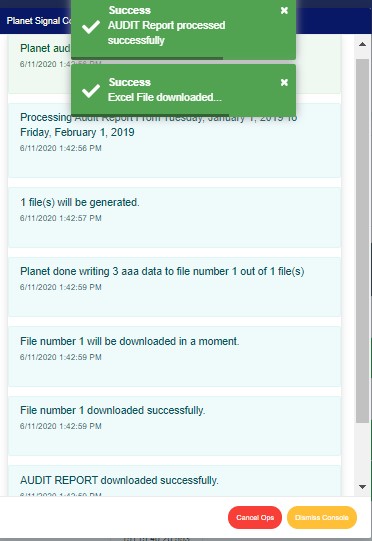
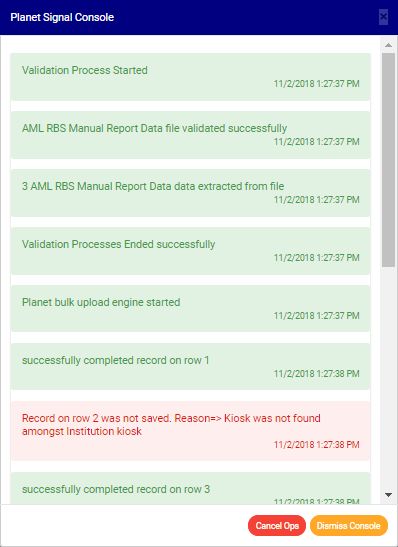
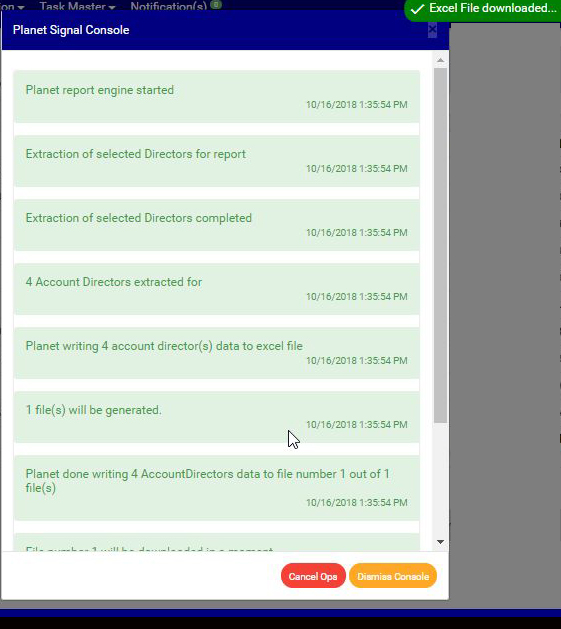
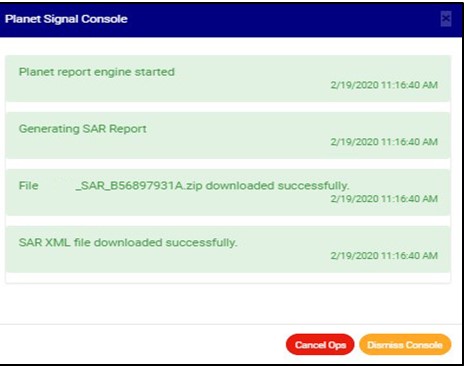
- The signal console shows ongoing processes, as shown below.
- After successful download, the Notification will move from the ‘APPROVED NOTIFICATION(S) PENDING DOWNLOAD’ list to the ‘APPROVED NOTIFICATION(S) DOWNLOADED’ list but still remain in the REPORTING OFFICER APPROVED NOTIFICATION(S) list.
- The final step is to submit the downloaded STR/SAR XML to the NFIU GOAML portal.
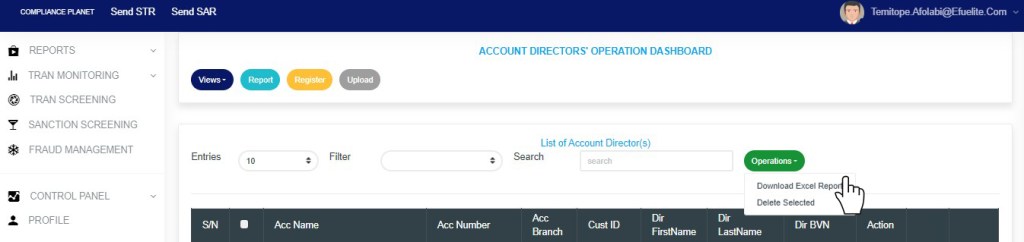
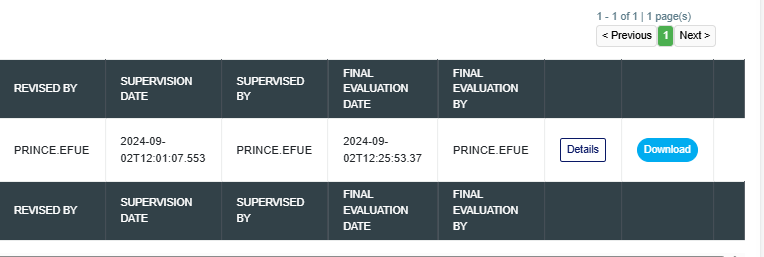
- You can check the download history of a notification by selecting ‘APPROVED NOTIFICATION(S) DOWNLOADED’ in the VIEW box, which is still on the reporting desk page. Then, click VIEW REPORTS to see a page, as shown in the image below.
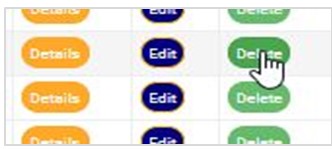
- As seen in the image below, the Notifications have three buttons at the end of their rows. These are the ‘DETAILS’ button, the ‘DOWNLOAD’ button, and the ‘DOWNLOAD HISTORY’ button.
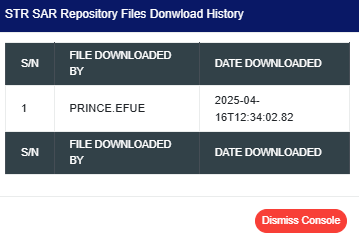
- Click on ‘DOWNLOAD HISTORY’ to see information about the date(s) the notification was downloaded and who downloaded it. See the cursor on the ‘DOWNLOAD HISTORY’ button in the image below.

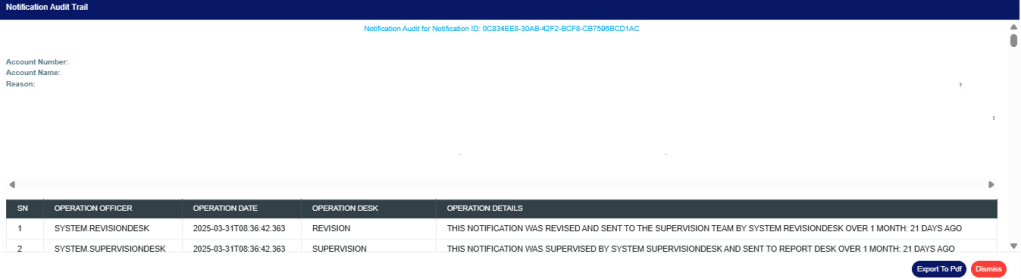
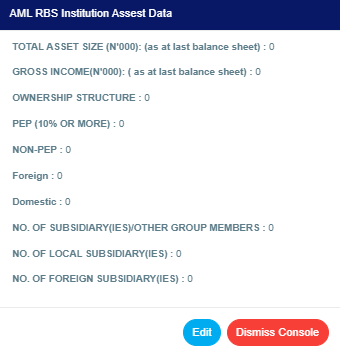
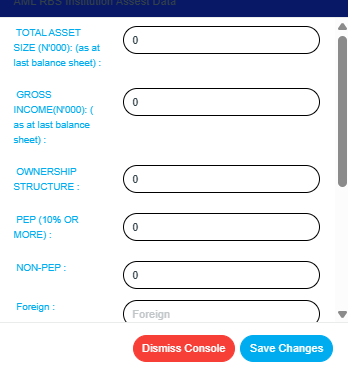
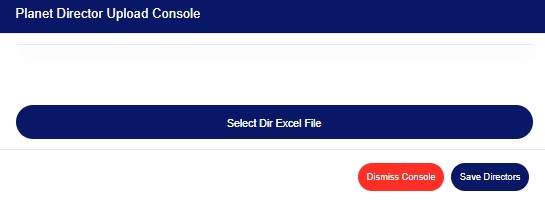
➔ by clicking the “DOWNLOAD HISTORY” button will display a console, as shown in the image below. To close the console after viewing it, click “DISMISS CONSOLE”, as illustrated in the example.
For further inquiries:
Tel: +234(0) 816 555 9818
Email: solutions@efuelite.com
Web: http://solutions.efuelite.com