The Compliance Planet Anti-Money Laundering (AML) and Core Banking Finance Software provides a seamless solution that integrates Global Real-Time Sanction Screening and PEP Monitoring within its operations. Through Global Screening Operations, users can instantly access worldwide watchlists, regulatory databases, and updated sanctions lists to ensure continuous compliance with international standards.
This guide provides a step-by-step overview of how to perform and utilize global real-time sanction screening/PEP screening within Compliance Planet, ensuring organizations remain proactive, compliant, and protected against financial crime risks.
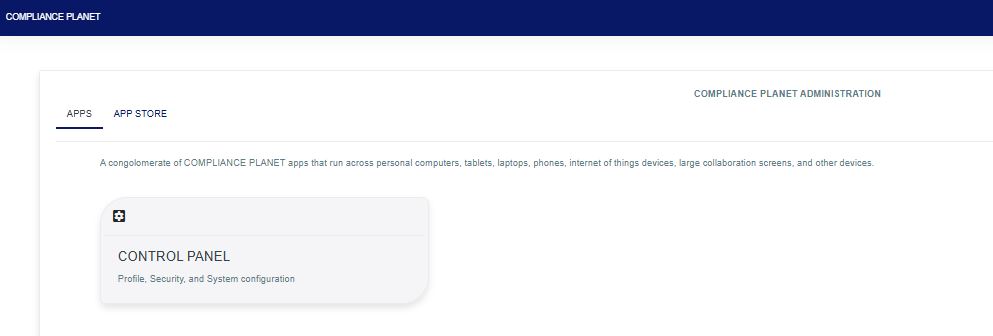
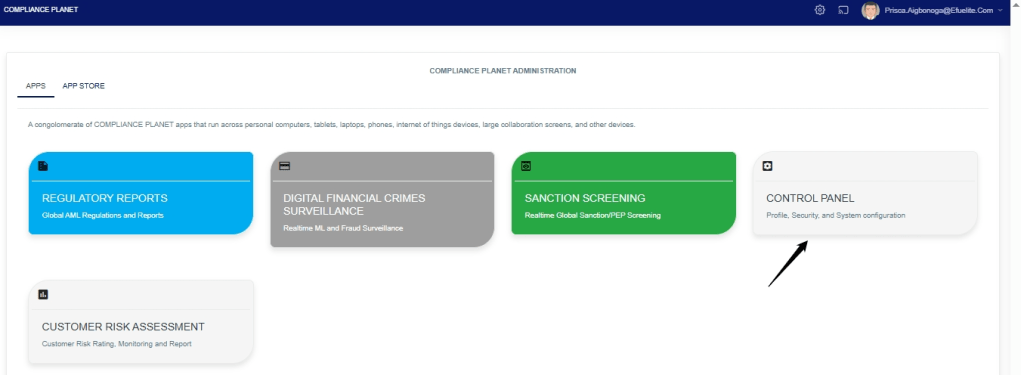
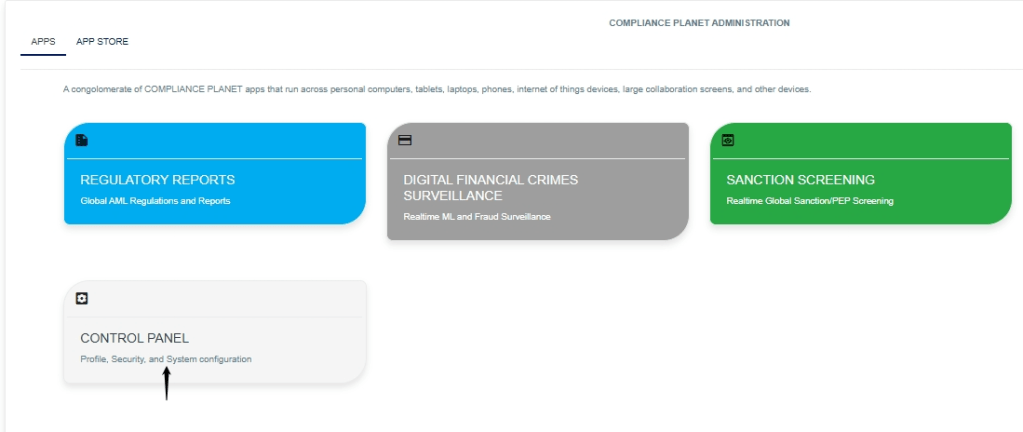
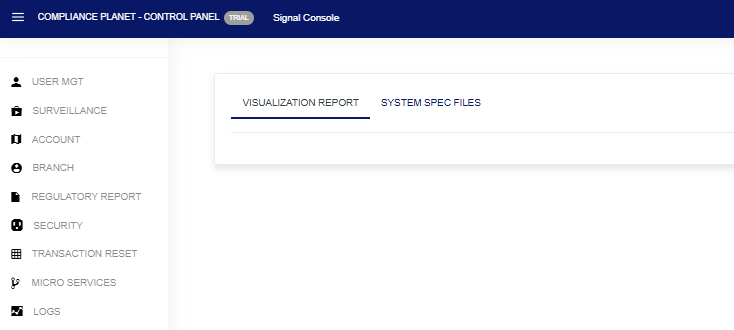
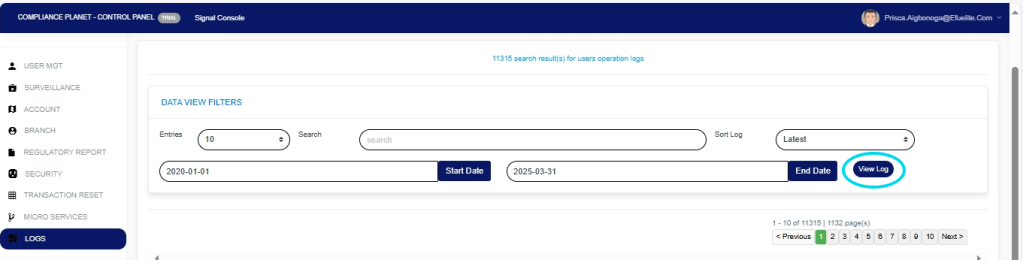
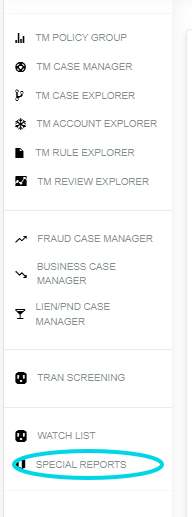
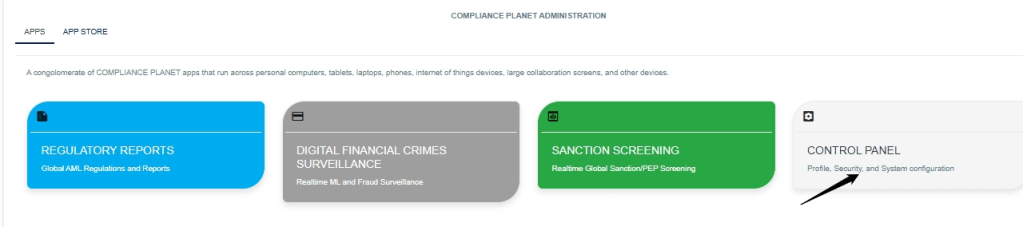
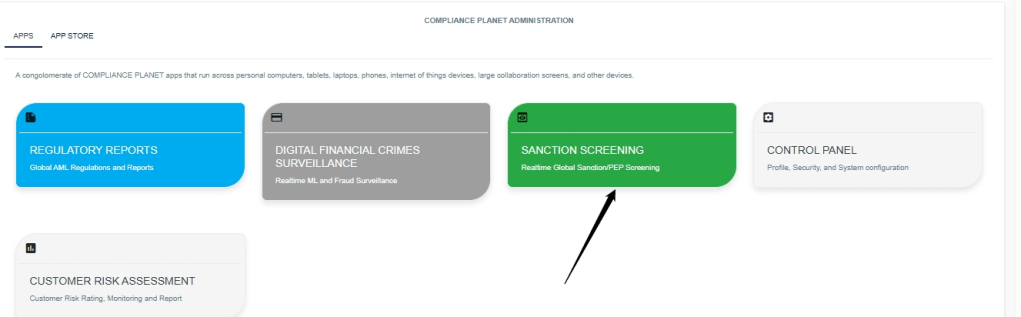
STEP 1: From the app dashboard, click “SANCTION SCREENING” as seen in Fig.8a. below.
Fig.8a.
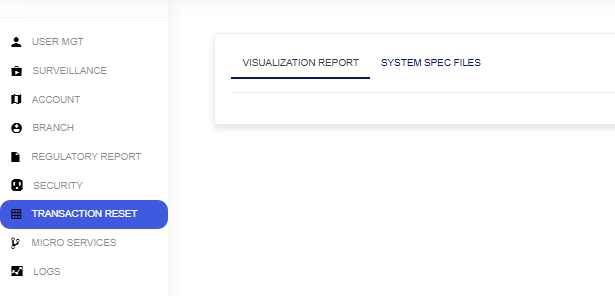
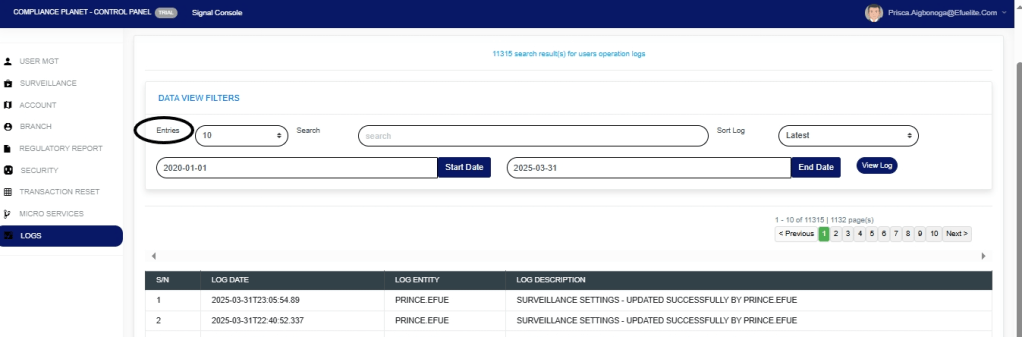
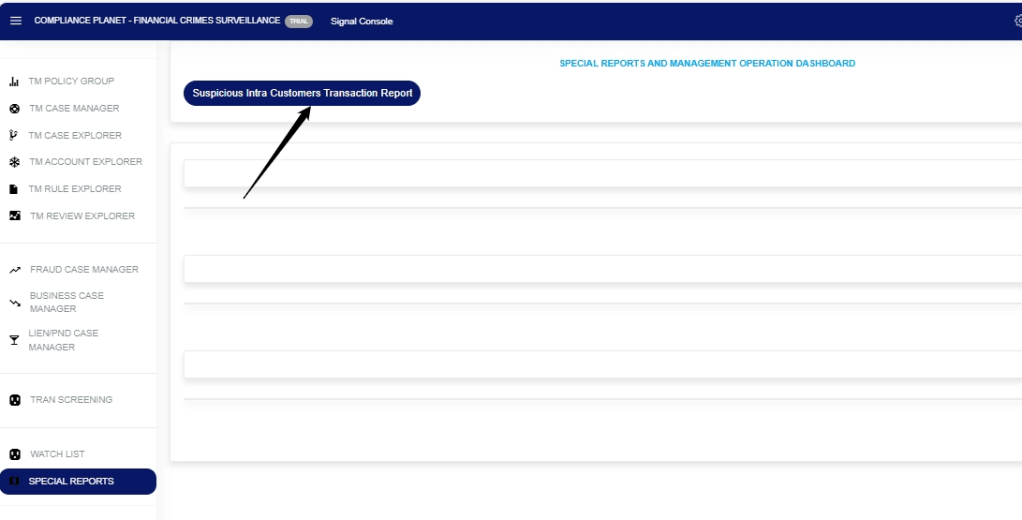
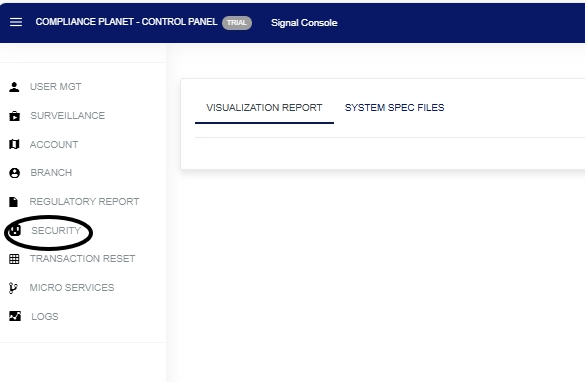
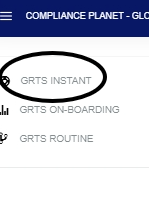
STEP 2: From the top-left menu, click “GRTS INSTANT,” as shown in Fig.8b below.
Fig.8b.
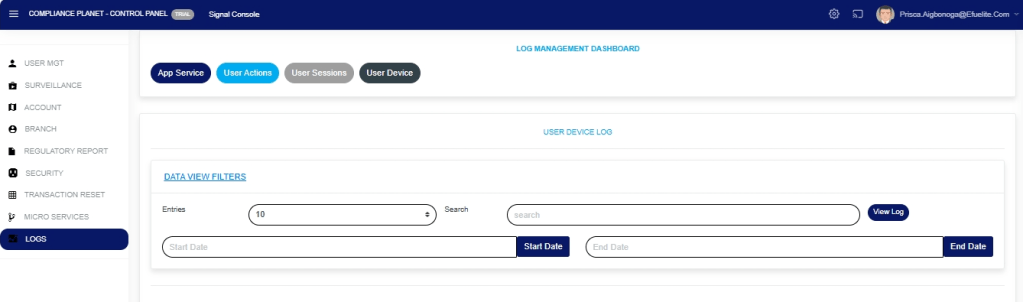
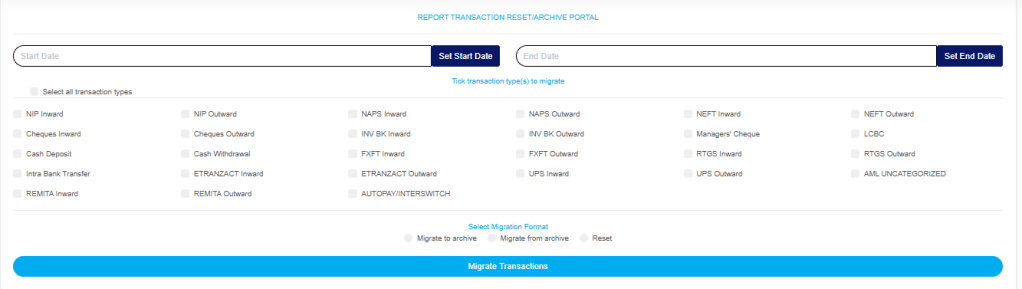
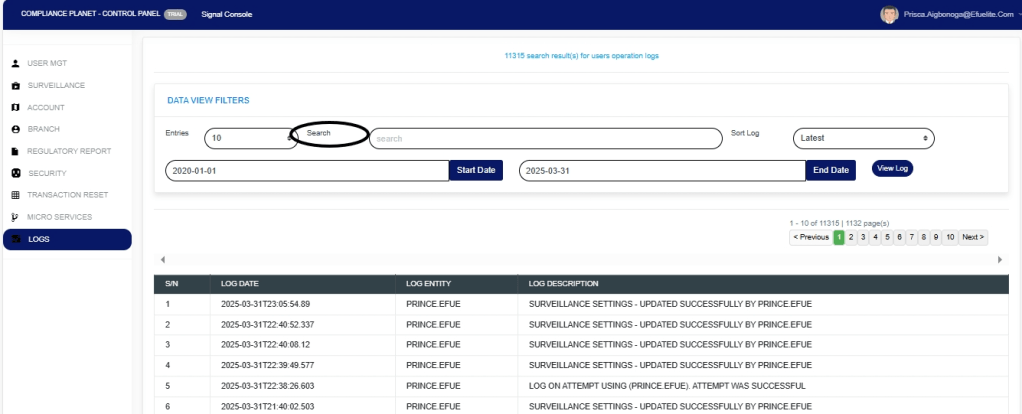
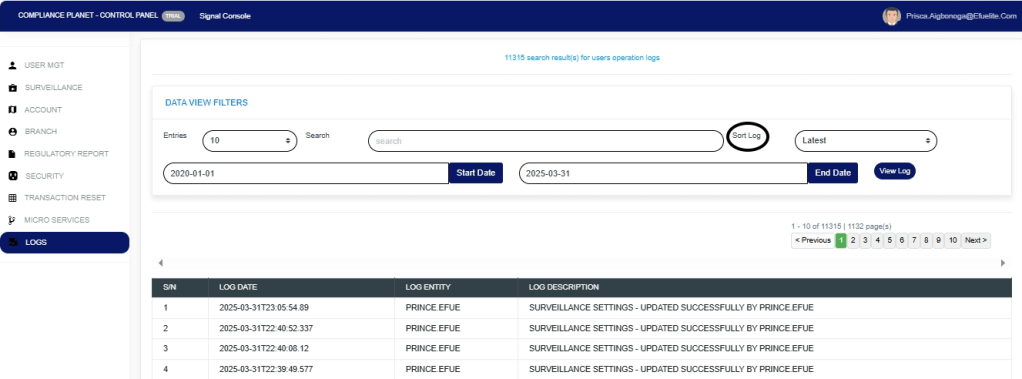
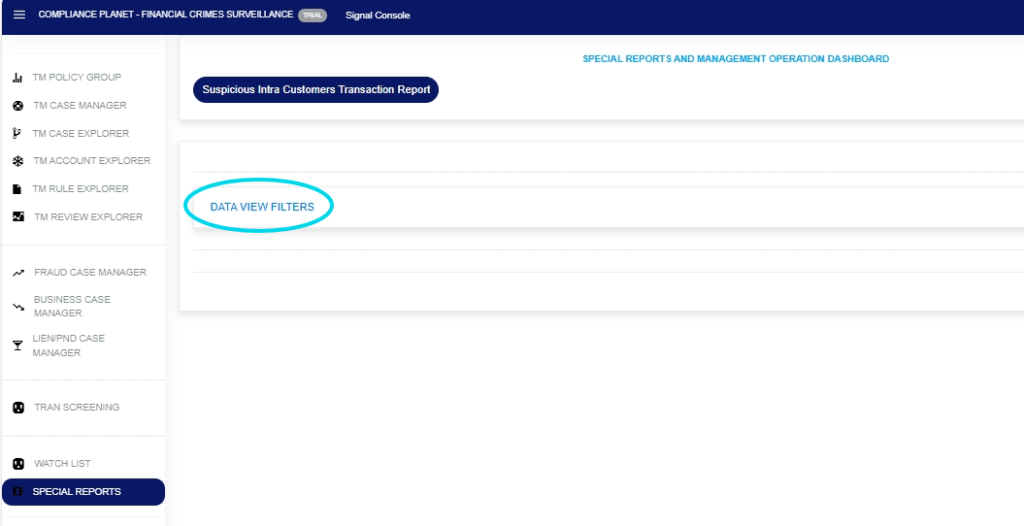
STEP 3: This will display the “GLOBAL REALTIME SANCTION/PEP SCREENING” page as seen in Fig.8c. below
Fig.8c.

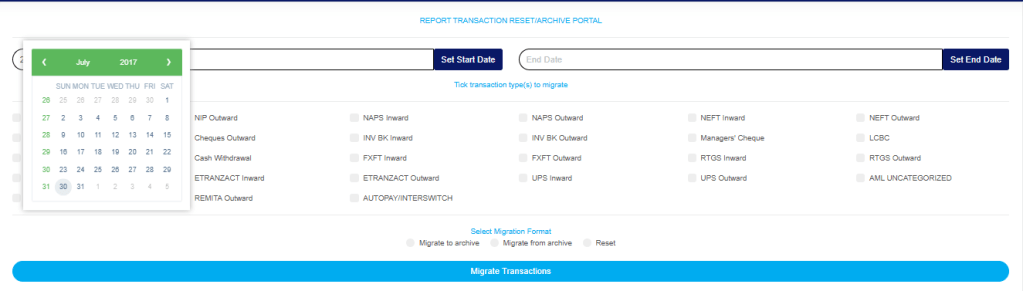
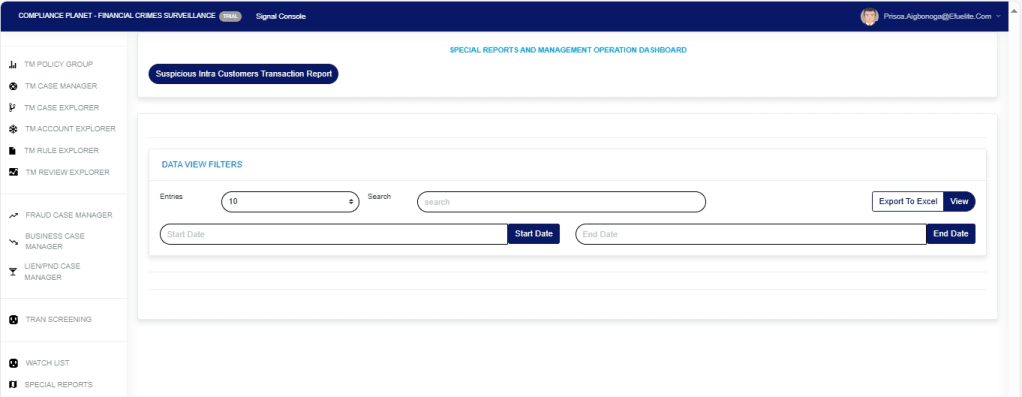
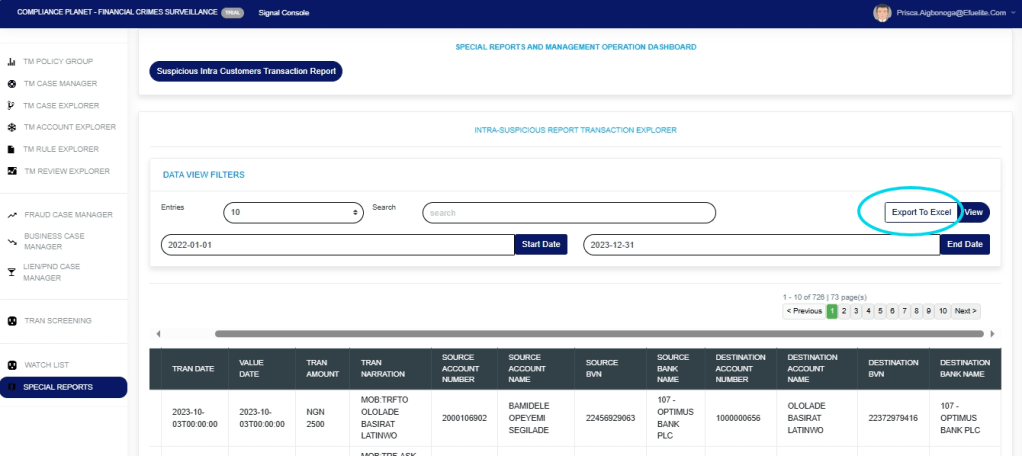
STEP 4: Fill in the fields on the “WATCHLIST, BLACKLIST, SANCTION SCREENING OPERATION DASHBOARD” page as seen in Fig.8d. below
SEARCH: The person’s name
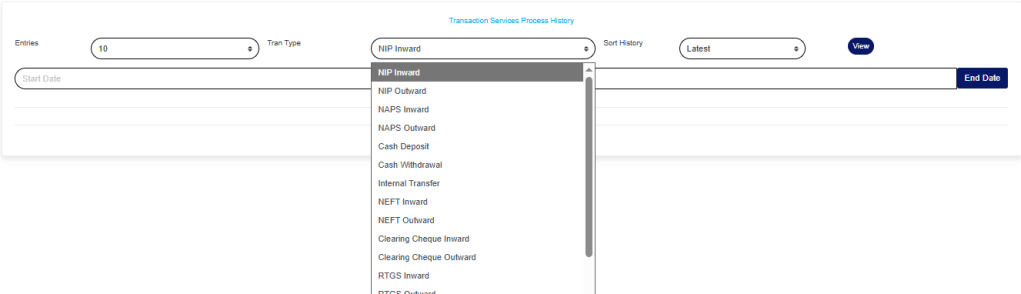
SCHEMA: The customer category, for which there is a dropdown for selection.
COUNTRY: The country of the customer, selected from a dropdown list.
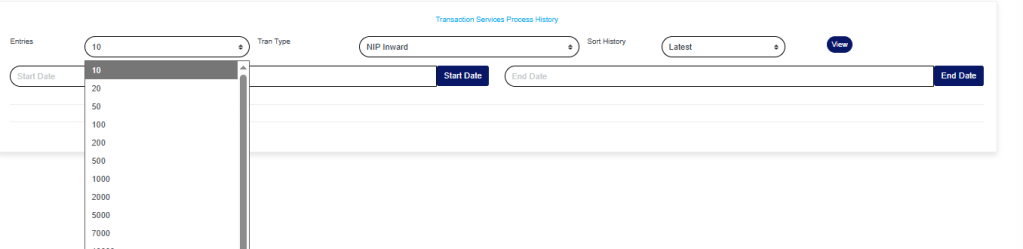
LIMIT: The number of search results you want to get. This is a dropdown to select from.
SCORE: How closely related you want your search result to match the customer you are searching for. This is a dropdown to select from.
SEARCH THE GLOBE: Click on the “Search the globe” button to spool results.
NOTE: If you are unsure of the customer’s “schema” and “country”, please leave these options as “none”.
Fig.8d.
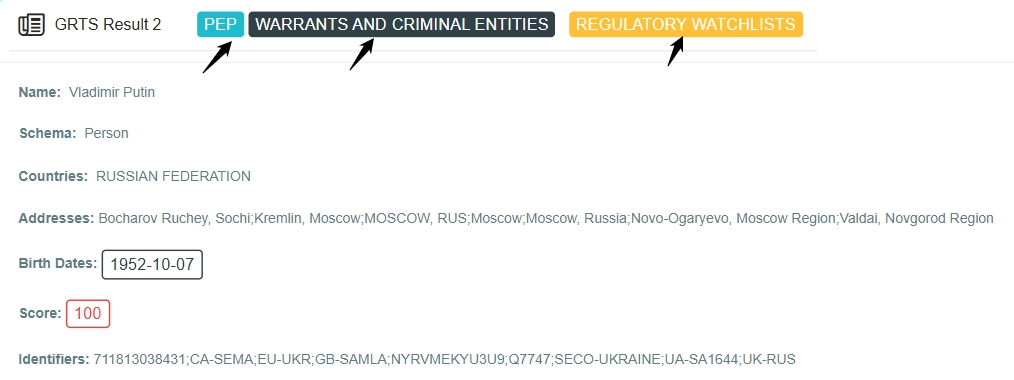
PEP: The search result confirms that the customer is a politically exposed person.
WARRANT AND CRIMINAL ENTITIES: The search result confirms that the customer has been identified under the warrant and criminal entity list.
REGULATORY WATCHLIST: The search result confirms that the customer has been identified under the regulatory watch list.
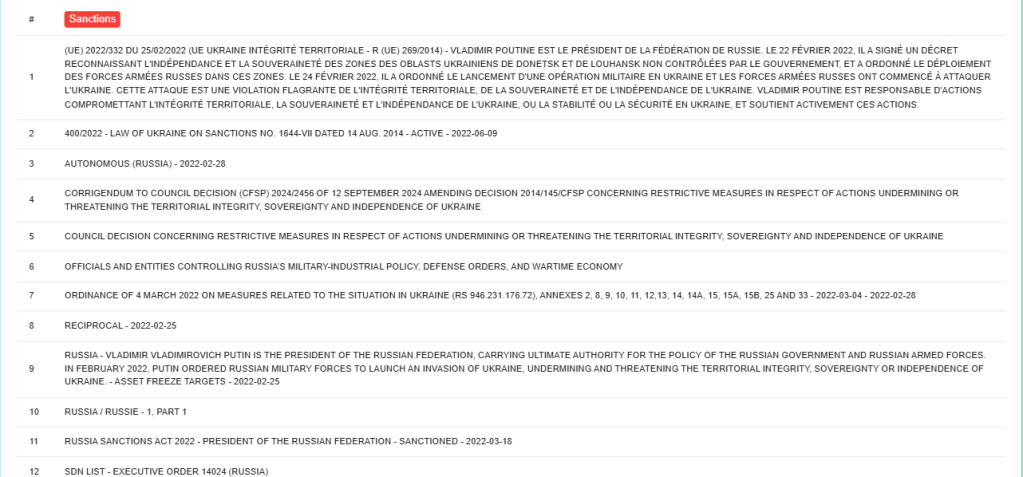
SANCTIONS: These are the sanction list tied to the customer’s name, as seen in Fig.8e below
Fig.8e.
SOURCES: These are the sources from which all the information about the customers is gathered, as shown in Fig. 8f. below
Fig.8f.

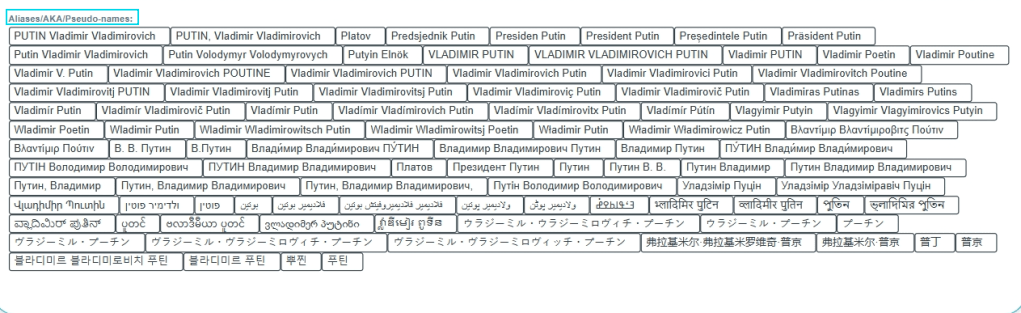
ALIASES/AKA/PSEUDO-NAMES: These are the other names and Aliases the customer is also known by, as shown in Fig. 8g. below
Fig.8g
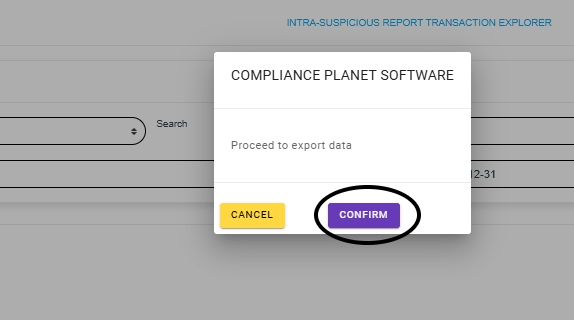
- Click on the “Print Result” on the top right of the page to print results as shown in Fig.8h below.
Fig.8h

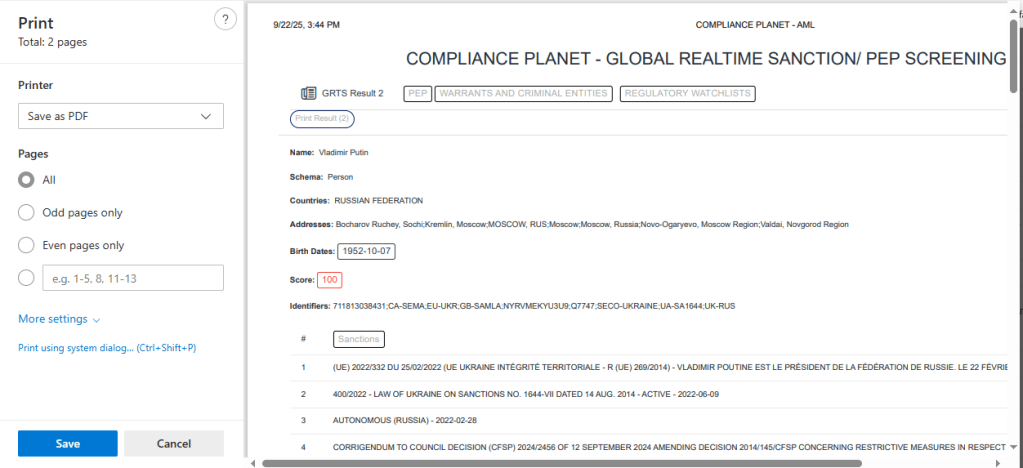
The following page will display Print information where you preview your search result, as shown in Fig.8i
Fig.8i
Click on the “save” button to save the result.
MANUAL INSTANT SCREENING
This refers to the process where individuals or customers are evaluated manually, often in real-time. During the manual instant screening process, the app will review data, assess data, documents, or transactions belonging to the customer in order to identify potential compliance risk or issues, as this includes:
- Politically Exposed Persons (PEP)
- Customers on the sanctioned list
- Customers in warrant and criminal entities
- customers in the regulatory watchlist
AUTOMATIC SCREENING OF NEW CUSTOMERS DURING ONBOARDING PROCESS
The app helps to streamline and automate the customer onboarding process. This makes it faster and more efficient. As accounts are being opened for new customers, the compliance planet software automatically screens the customer’s account name, signatory, and directors to ensure that they are not implicated or indicted on the sanctions list. The App also does the following;
- It gives notifications if customers are indicted.
- It provides notifications with a high degree of accuracy if customers are politically exposed persons (PEPs).
AUTOMATIC ROUTINE SCREENING OF EXISTING CUSTOMERS.
The app regularly reviews and assesses customers’ data, transactions, and behavior to identify potential risks, detect suspicious activity, or related compliance issues, which helps ensure regulatory adherence. Customers at onboarding may not be sanctioned; they may be sanctioned a year later. This is why the app must screen the database periodically to inform compliance personnel if a customer is on the sanctioned list or is a global PEP.
- The App screens the customers’ database from time to time to let the compliance personnel know if the customer is found with high accuracy as a close match to individuals, corporate firms, or entities on the sanctions list or as a global PEP.
For further enquiries:
Tel: +234(0) 816 555 9818
Email: solutions@efuelite.com
Web: http://solutions.efuelite.com