This section provides a guide on how to execute the STR notification HTML controls on the Compliance Planet, with step-by-step instructions and pictures.
NOTE: Only person(s) profiled as deputy supreme admin can carry out these operations
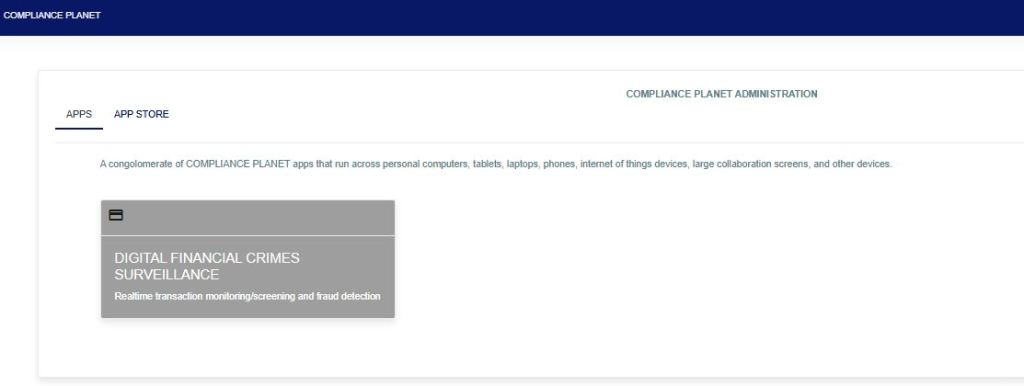
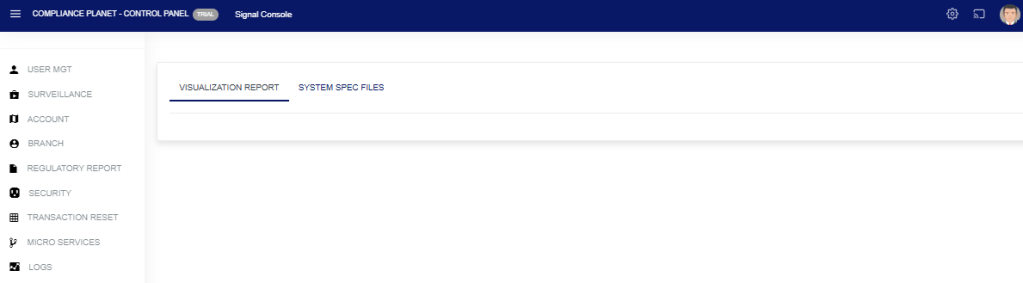
STEP 1: From the app dashboard, click ‘Control panel’ as in Fig. 21.2a.
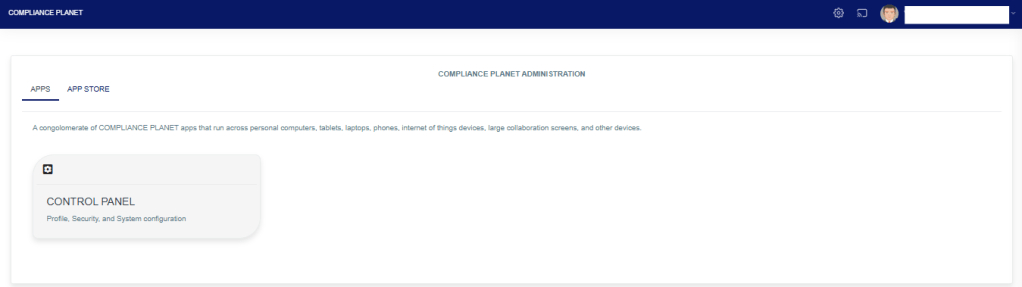
Fig 21.2a
- This will display a drop-down as shown below.
STEP 2: Select ‘SURVEILLANCE’ on the drop-down list and click on ‘Page Design’. See an example in Fig. 21.2b below.
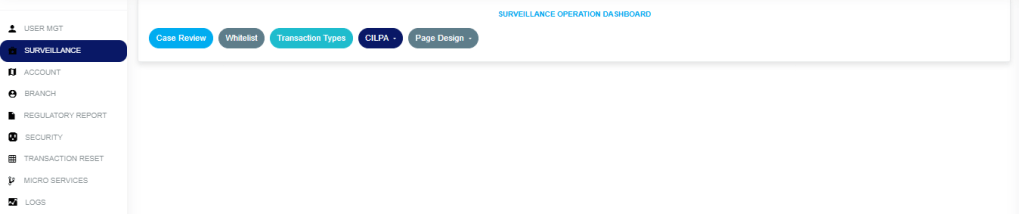
Fig 21.2b
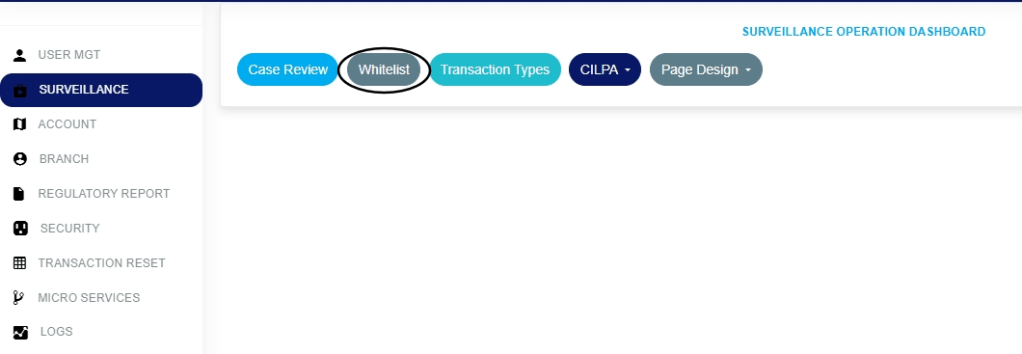
STEP 3: In the Page Design drop-down option, select the ‘STR’ as in Fig. 21.2c below.

Fig. 21.2c
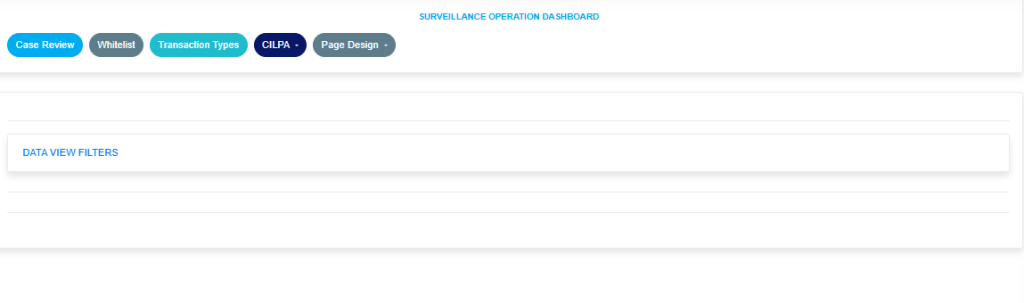
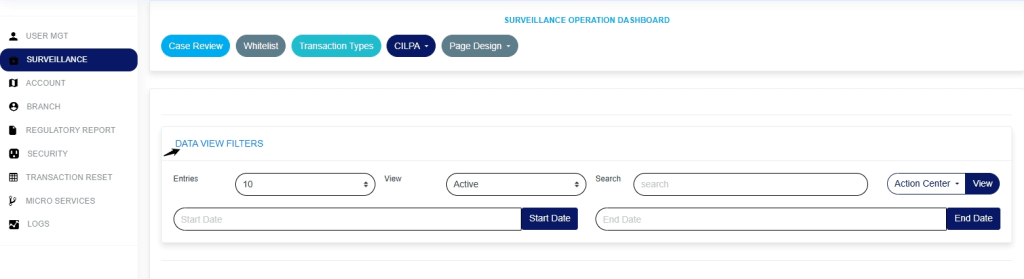
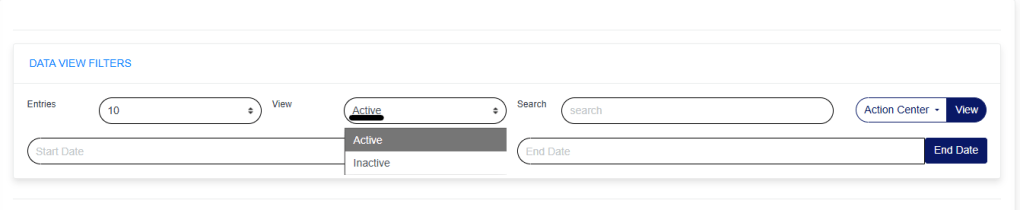
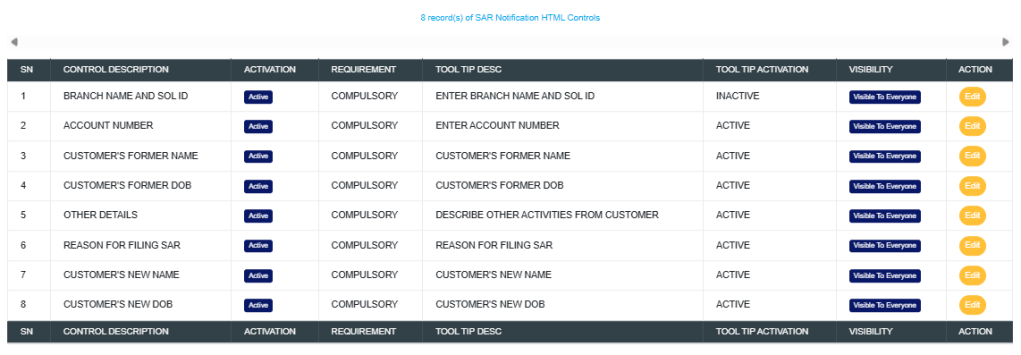
- This displays a page showing a list of all ‘STR SAR Notification Html Control’ options that have been created and are available on the software. See Fig. 21.2d for an example.
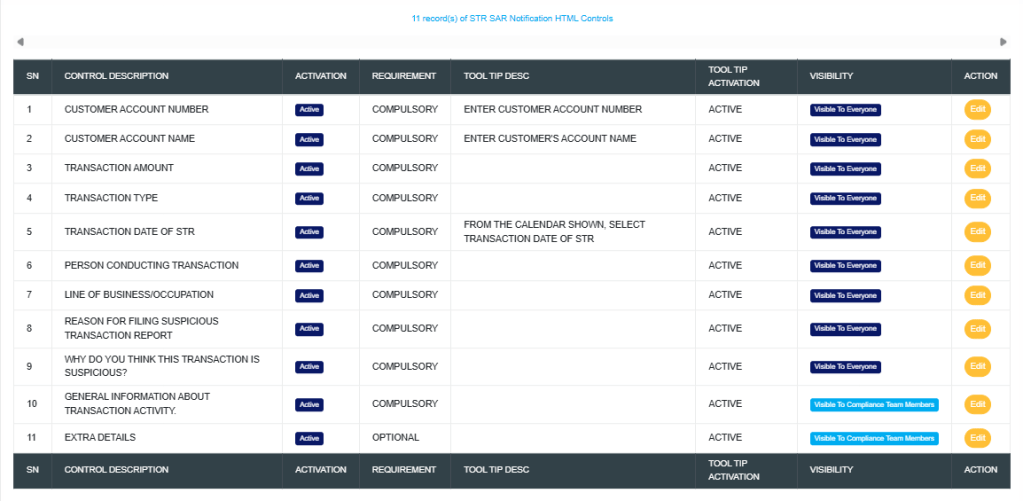
Fig. 21.2d
How to edit an STR notification
This refers to changing the description or status of the STR notification. Here is how to do this.
STEP 1: Click on the ‘EDIT’ button in the action column. See Fig. 21.2e for an example.

Fig. 21.2e
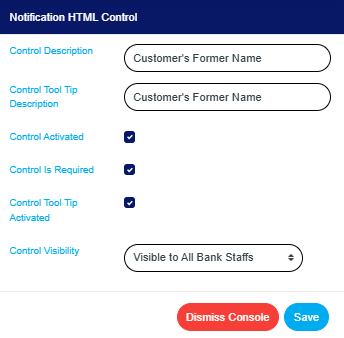
- Clicking the edit button will display a console titled ‘Notification HTML Control’ as shown in Fig. 21.2f below.
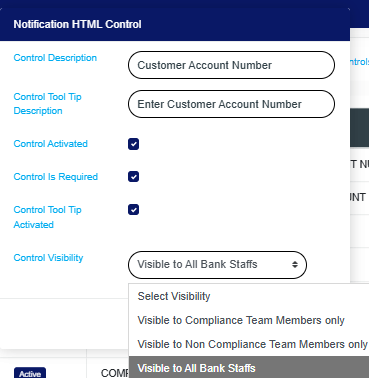
Fig. 21.2f
Control Description: Click on the “Control Description box” and enter the name of the control field that should appear on the STR notification form.
Control Tool Tip Description: Click on the “Control Tool Tip Description box” and input a brief instruction that will appear when working on a STR notification.
Control Activated: Tick the “Control Activated box to enable and display the control on the STR notification form.
Control Is Required: Tick the “Control Is Required box to make the control field mandatory for STR submission.
Control Tool Tip Activated: Tick the “Control Tool Tip Activated box so the tool tip appears when users focus or hover on the control.
Control Visibility: Click on the “Control Visibility dropdown and select whether the control should be visible to compliance team members only, non-compliance team members only, or all bank staff.
- STEP 2: Click on the ‘save’ button to save the edit or click ‘dismiss console’ to cancel the operation. See Fig. 21.2g for an example.
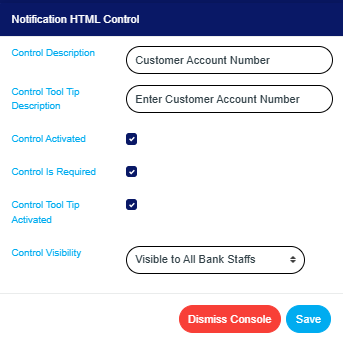
Fig. 21.2g
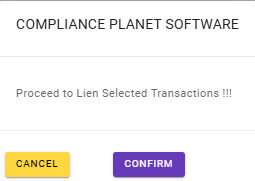
- This displays a confirmation console as in Fig. 21.2h below

Fig. 21.2h
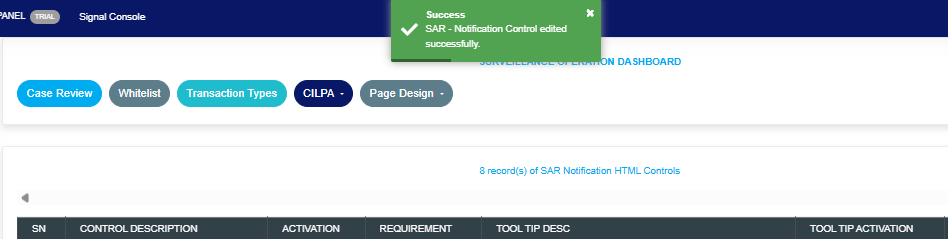
- A notification, as in Fig. 21.2i, will be displayed at the top of the page.
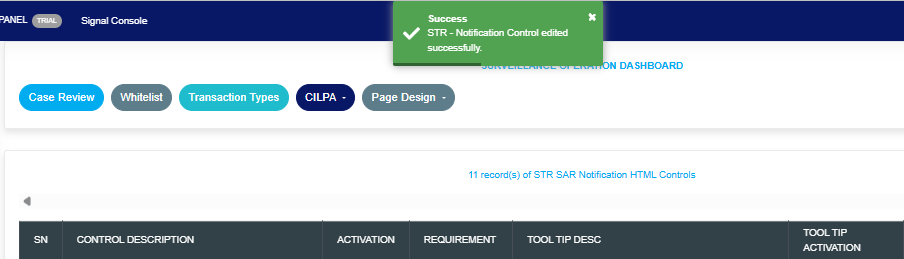
Fig. 21.2i
For further enquiries:
Tel: +234(0) 816 555 9818
Email: solutions@efuelite.com
Web: https://solutions.efuelite.com