The Security section of the Compliance Planet AML Software is designed with features that give the administrator options to set multiple layers of security.
How to carry out security operations on the Compliance Planet AML software.
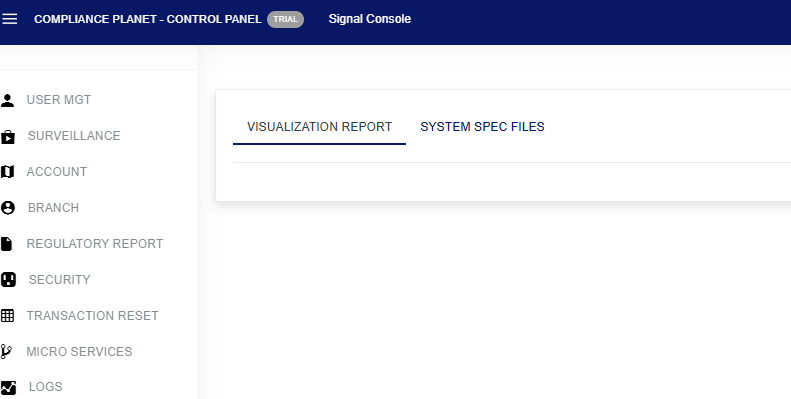
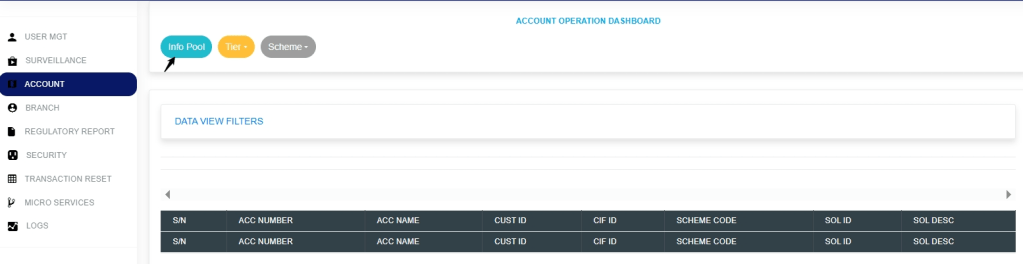
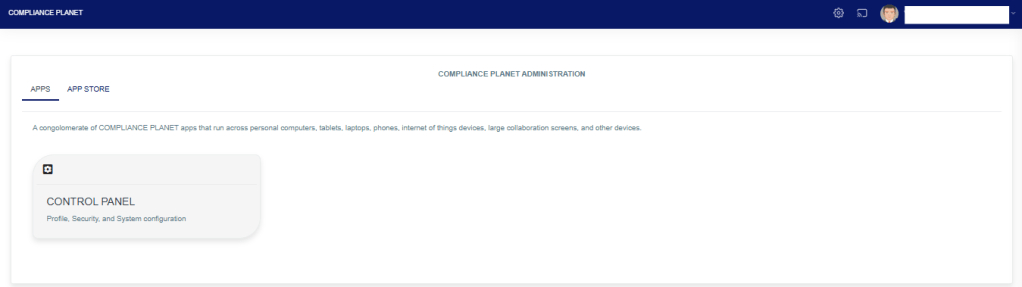
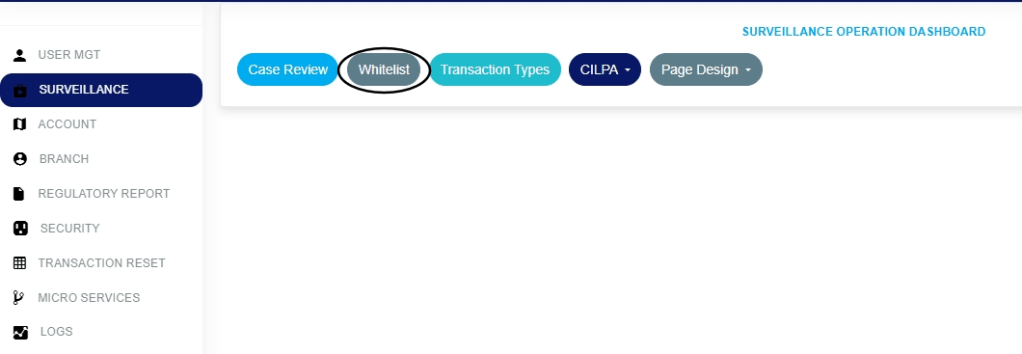
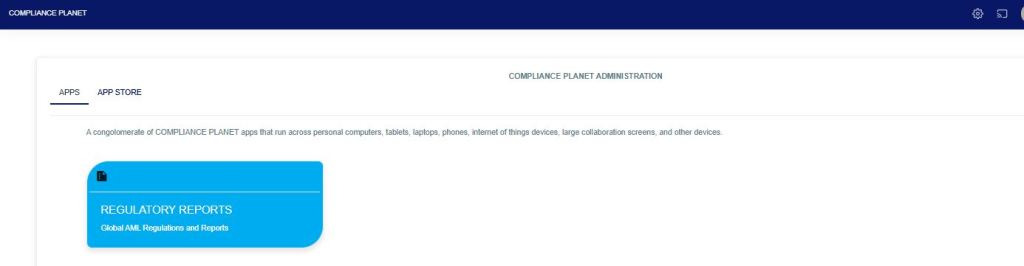
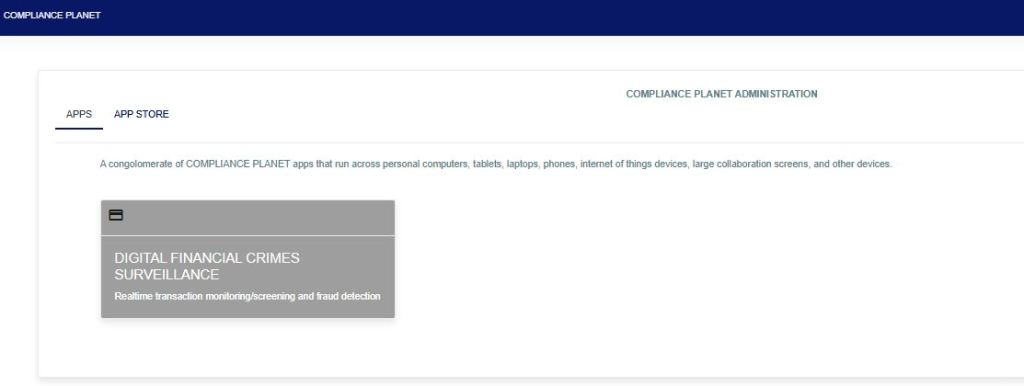
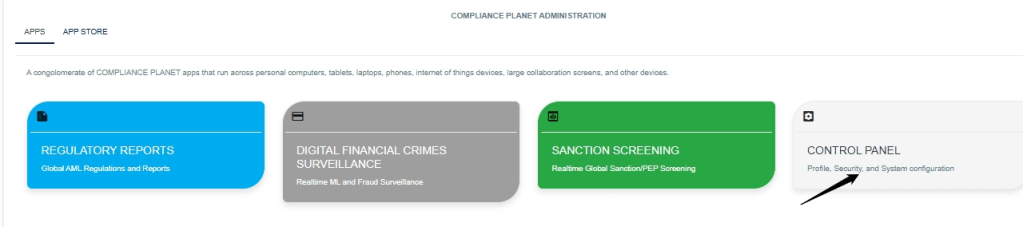
STEP 1: From the app dashboard, click ‘Control panel’ as in Fig. 21.2a.
Fig. 21.2a.
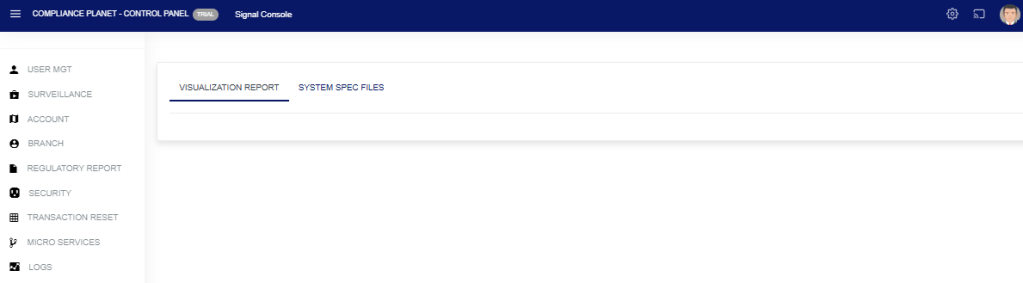
STEP 2: Click “Security” from the control panel drop-down as in Fig. 21.2b below
Fig. 21.2b
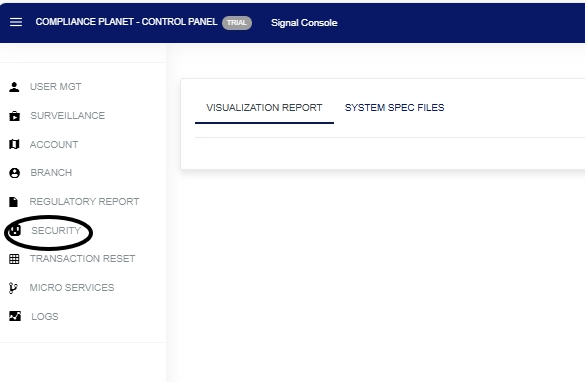
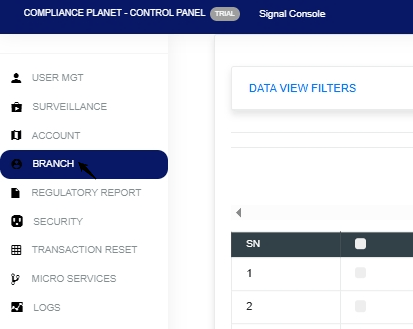
STEP 2: Click “Security” from the control panel drop-down, as in Fig. 21.2c below:
Fig.21.2c.
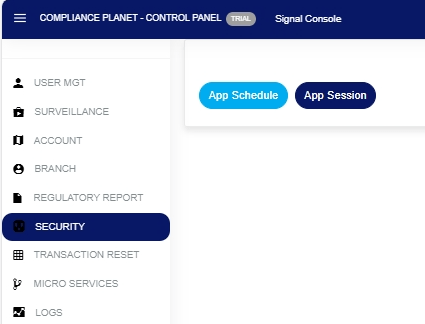
STEP 3: Click “App Schedule” from the control panel drop-down, as in Fig. 21.2d, and a page will display below:
Fig. 21.2d
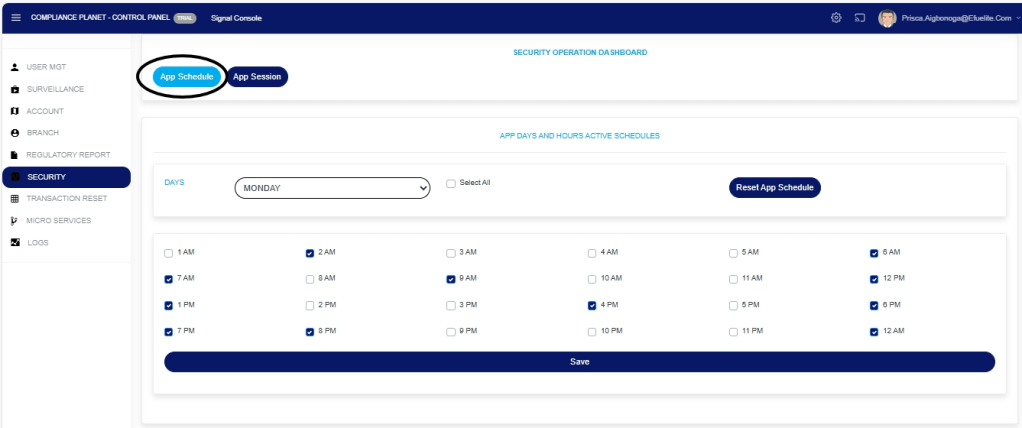
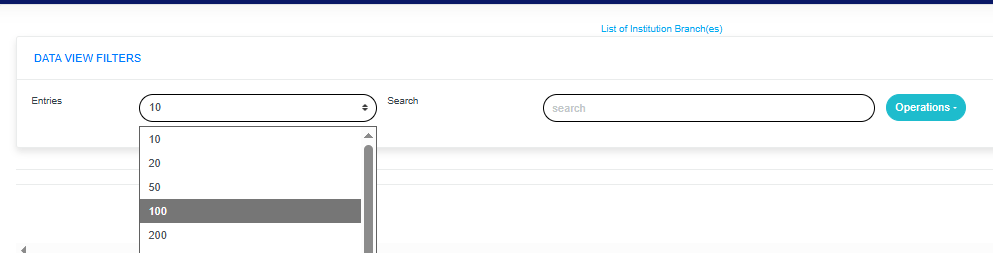
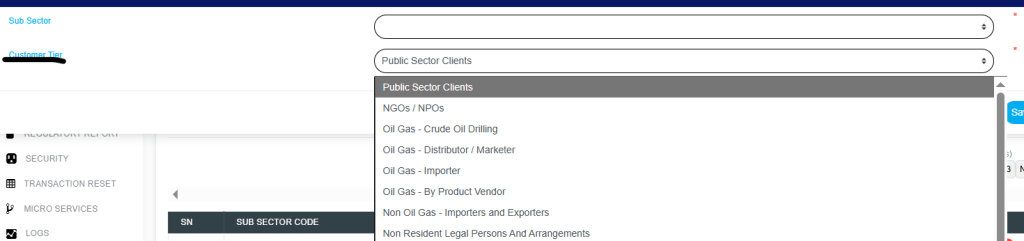
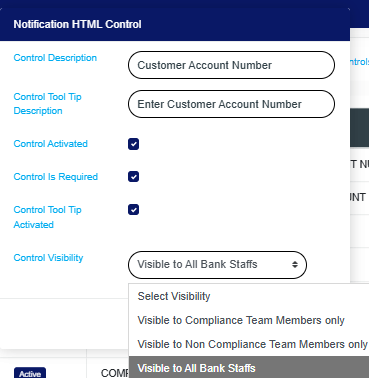
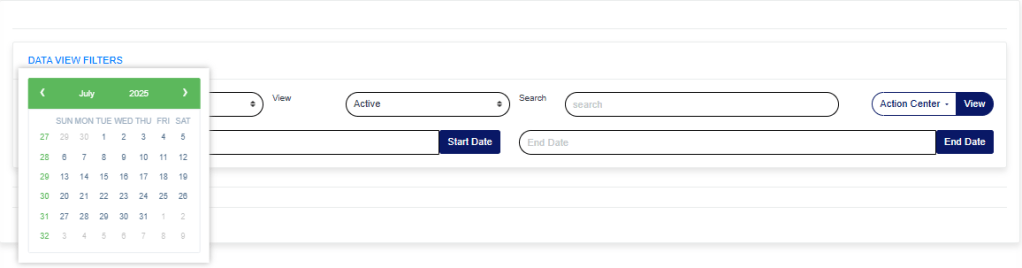
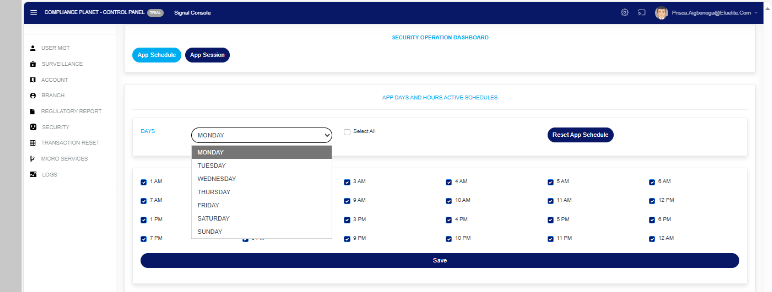
STEP 4: DAY: Click on the ‘Day’ drop-down to filter and select the day you want to schedule for as shown in Fig.21.2e. below:
Fig.21.2e.
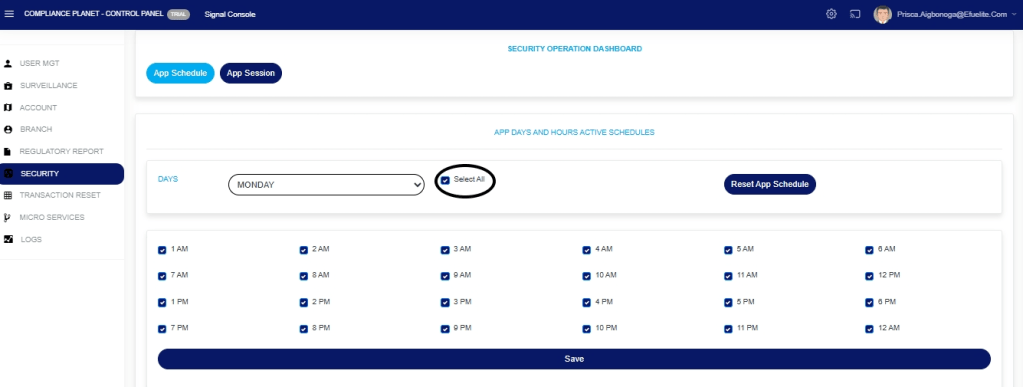
STEP 5: SELECT ALL: Tuggle on the ‘SELECT ALL‘ button to select all the time you want to schedule for, as shown in Fig.21.2g. below:
Fig.21.2g.
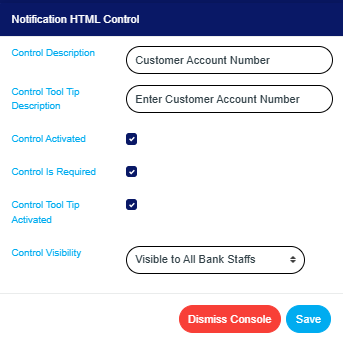
STEP 6: SAVE: Click on the ‘Save’ button to save your changes as shown in Fig.21.2h. below:
Fig.21.2h.

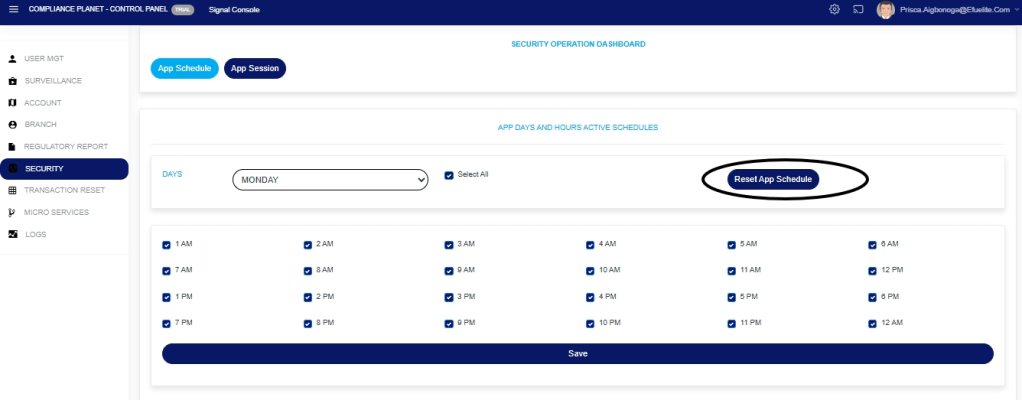
STEP 7: Click on the ‘Reset App Schedule’ button to save your changes as shown in Fig.21.2i. below:
Fig.21.2i
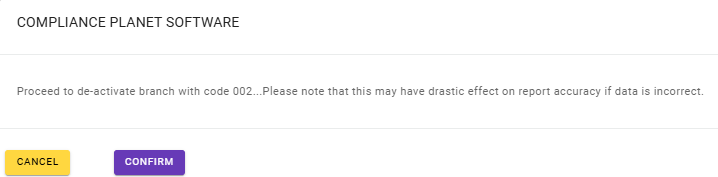
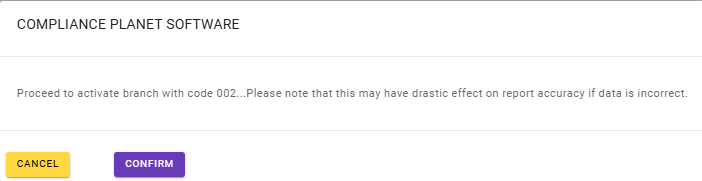
STEP 8: Click on the ‘confirm’ button to effect your change as shown in Fig.21.2j. below:
Fig.21.2j

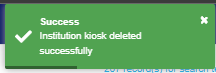
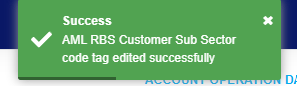
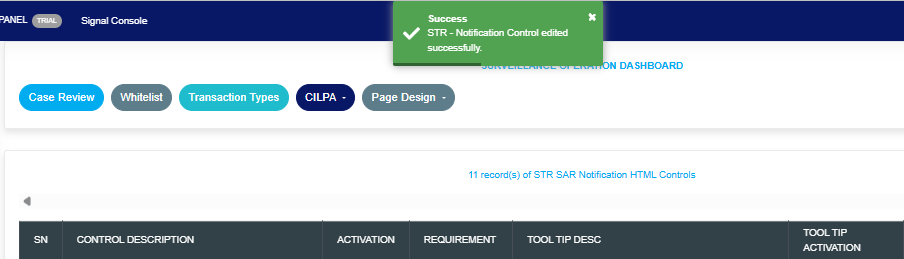
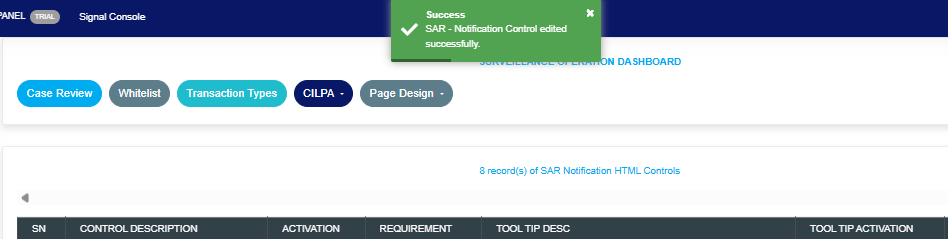
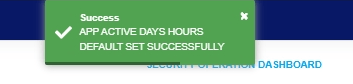
A notification, as in Fig. 21.2k, will be displayed at the top of the page.
Fig. 21.2k.
How to Carry Out App Session
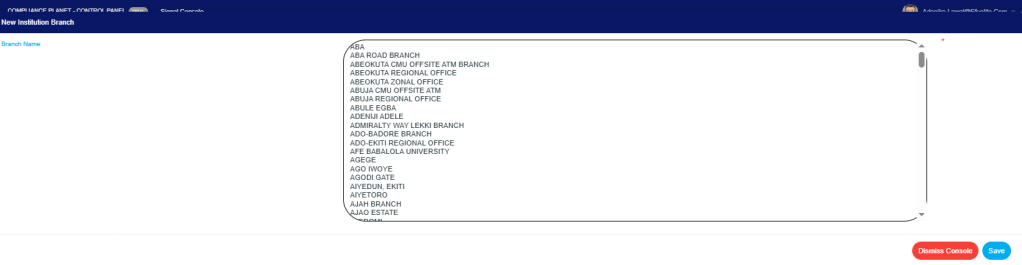
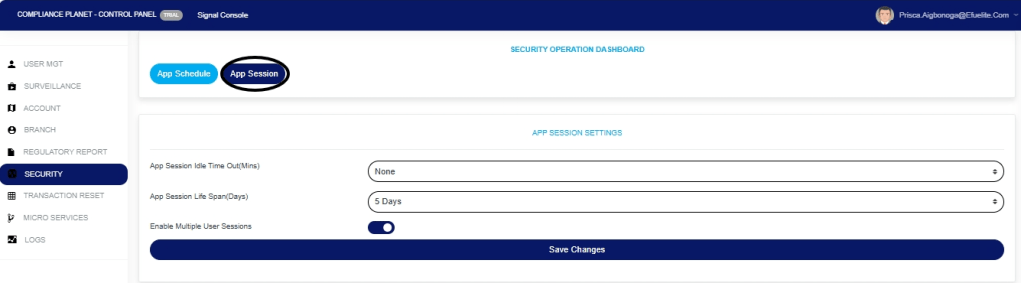
STEP 1: Click “App Session” from the control panel drop-down, as in Fig. 21.2l, and a page will display below:
Fig. 21.2l
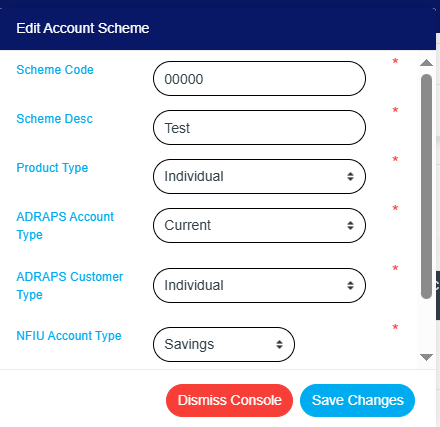
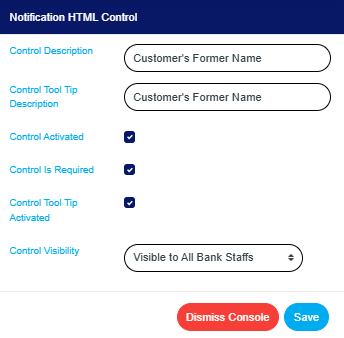
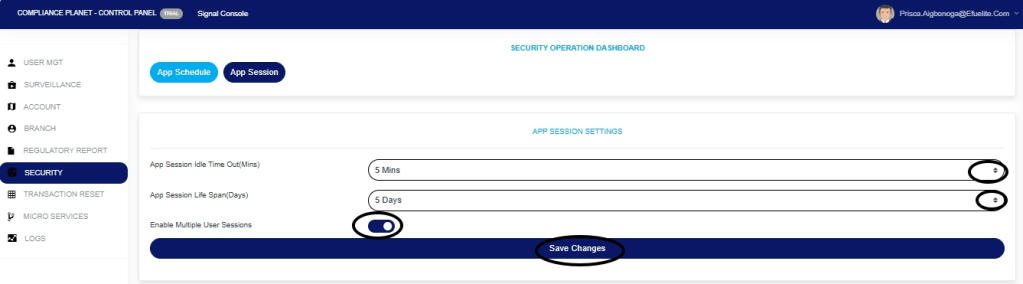
STEP 2: Enter all the parameters and click Save Changes as shown in Fig.21.2n. below:
App Session Idle Time Out(Mins): Click on the ‘App Session Idle Time Out(Mins)’ drop-down to select the time you want to set.
App Session Life Span(Days): Click on the ‘App Session Life Span(Days)‘ drop-down to select the days you want to set.
Enable Multiple User Sessions: Tuggle on the ‘Enable Multiple User Sessions‘ button to enable multiple users.
Save Changes: Click on the ‘save changes’ button
Fig.21.2n.
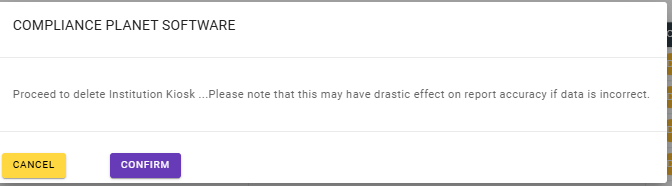
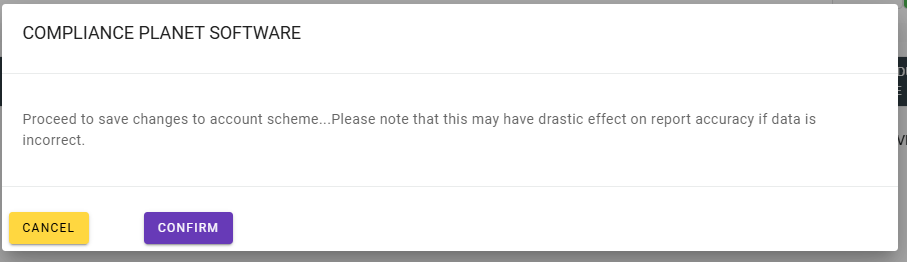
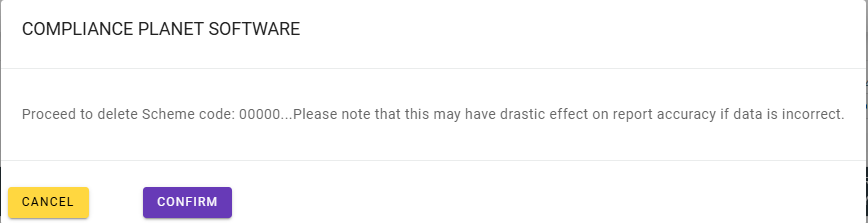
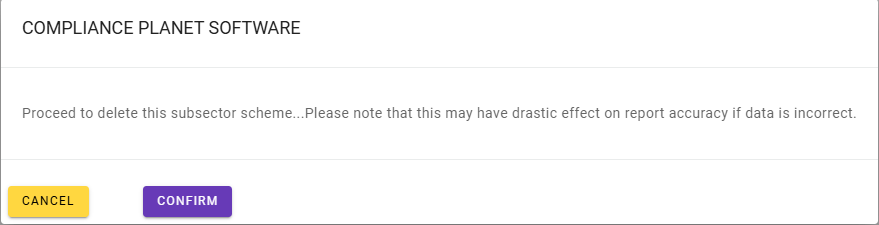
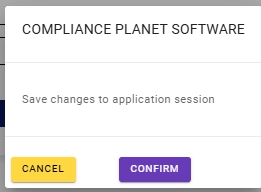
Click “Confirm” to proceed or “Cancel” to dismiss the console as shown in Fig.21.2o below:
Fig.21.2o
Tel +234(0) 816 555 9818
Email solutions@efuelite.com
Web https://solutions.efuelite.com