Note: This operation requires the Administrator or Auditor permission.
The PEP screening helps to scan an institution for likely PEPs, and if a match is found, it further tells if the Scan Results(A customer account) has already been profiled as PEP in the system or not.
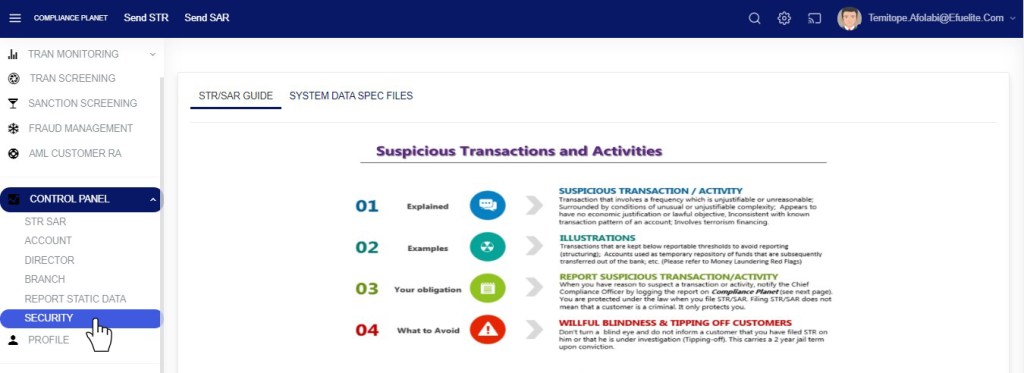
How to Create a Screening Parameter
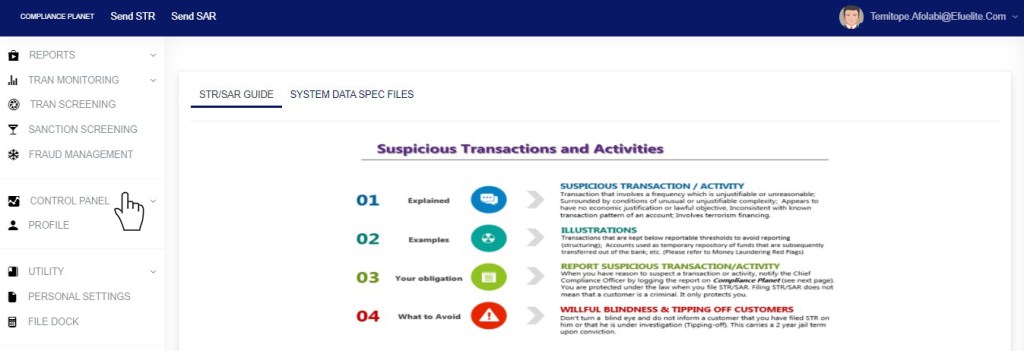
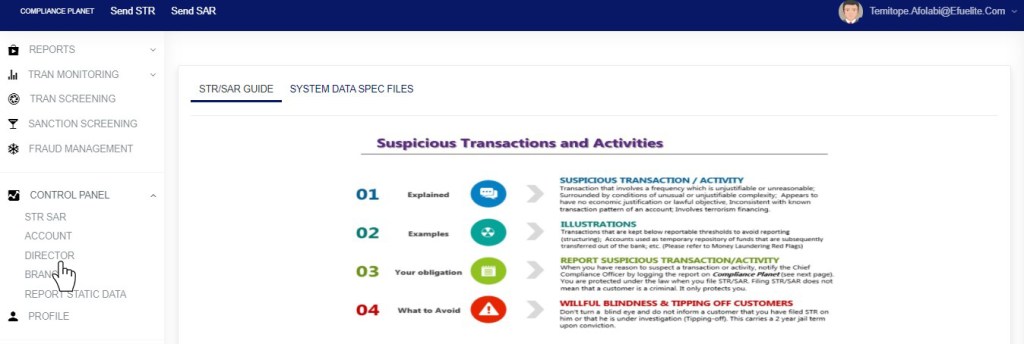
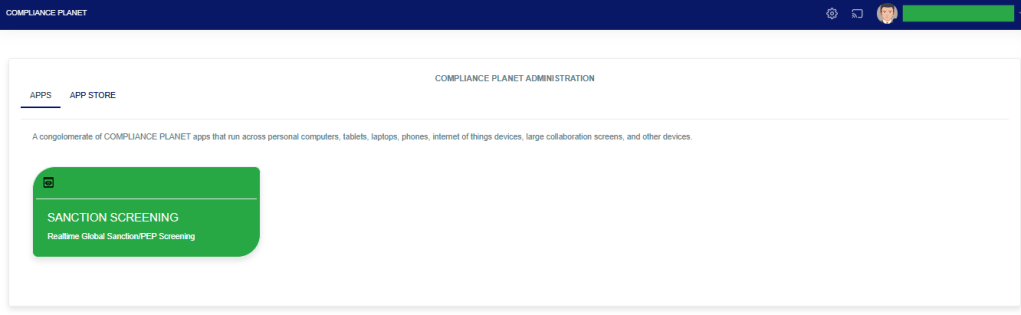
STEP 1: From the app dashboard, click “SANCTION SCREENING” as seen below.
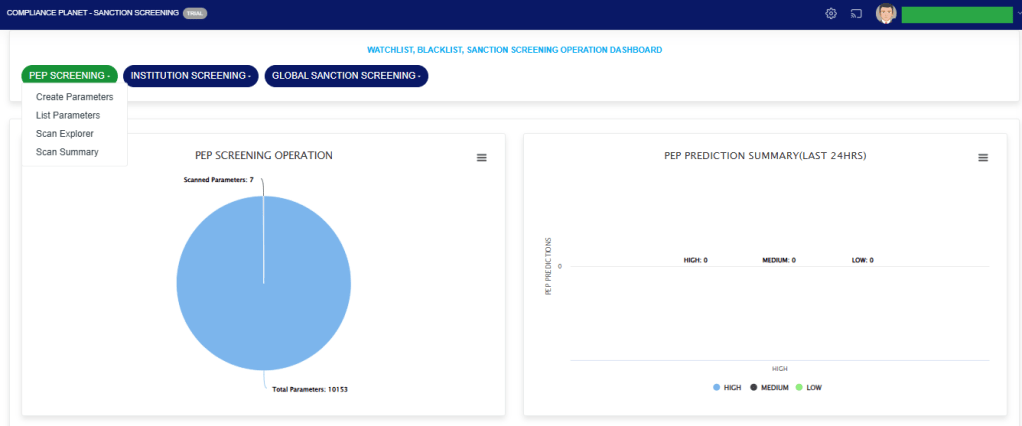
STEP 2: From the top menu, click “PEP Screening.” This action will display a dropdown menu, as seen in the image below. From the dropdown menu, click “Create Parameters”.

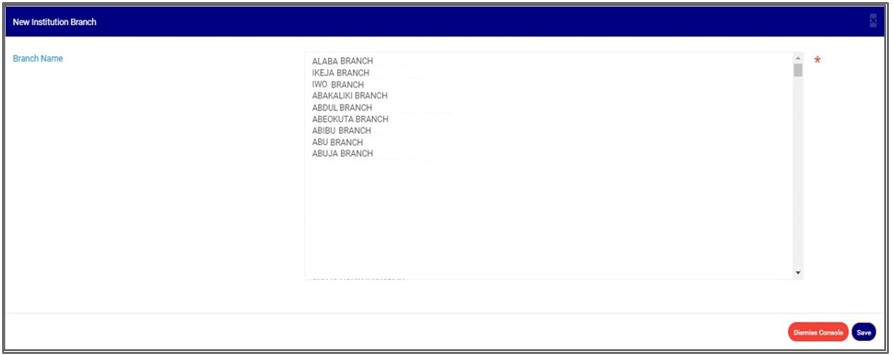
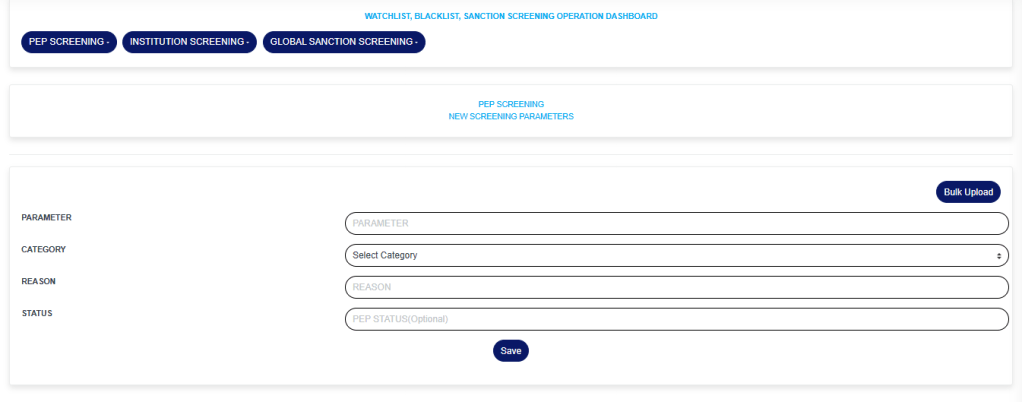
STEP 3: Fill in the fields on the NEW SCREENING PARAMETERS page.
PARAMETER: The parameter you want to scan
CATEGORY: The category of the parameter, this is a dropdown to select from.
REASON: The reason for scanning the parameter.
STATUS: The status of the PEP; this field is optional.
You can also bulk upload parameters already prepared in Excel by clicking the “Bulk Upload” button.
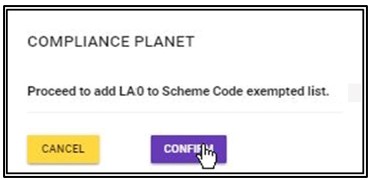
Click on the “Save” button to save the parameter.
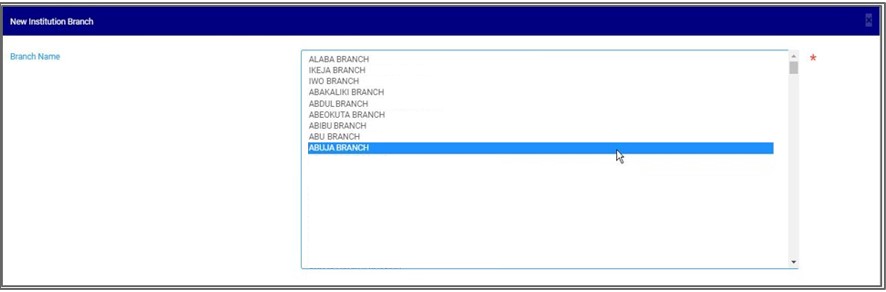
Note: The category selected determines the parameter to enter. E.g., if the category selected is “NAME”, then the parameter should be a name. If the category selected is “EMAIL,” then the parameter should be an email address.
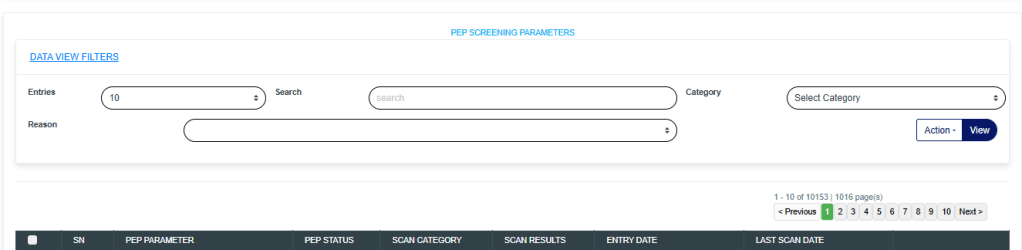
How to List PEP Screening Parameters
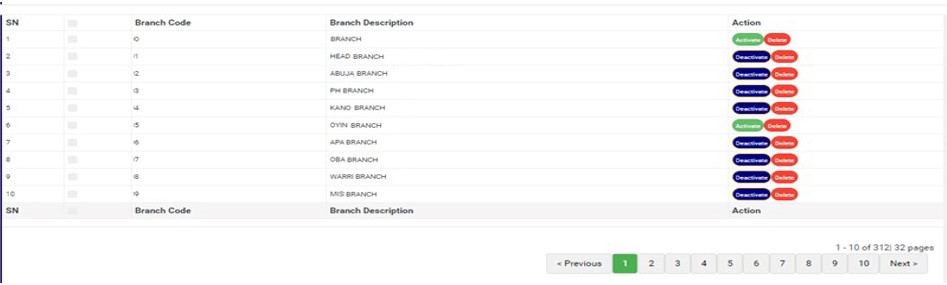
STEP 4: Click on “List Parameters” to see the list of parameters entered into the software.

STEP 5: The “PEP SCREENING PARAMETERS” page shows the list of parameters that have been entered into the software and their scan status.
Select Category: To view parameters having the same Category, select the desired Category from the Select Category dropdown and click on the View button.
Instant Scan: To instantly scan a parameter, click on the “Scan” button for the parameter you want to instantly scan. This will perform an instant scan of the parameter, and the “Scan Result Column” will be updated in real-time for the parameter.
Reasons: To view parameters having the same scan reason, select the desired Reason from the Reasons dropdown and click on the View button.
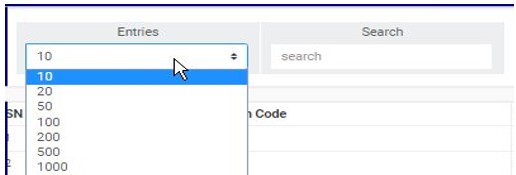
Entries: The number of parameters to see on the page.
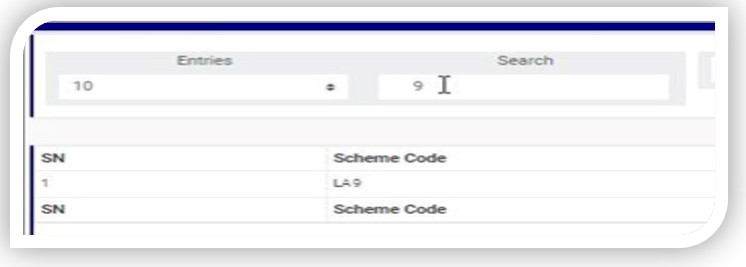
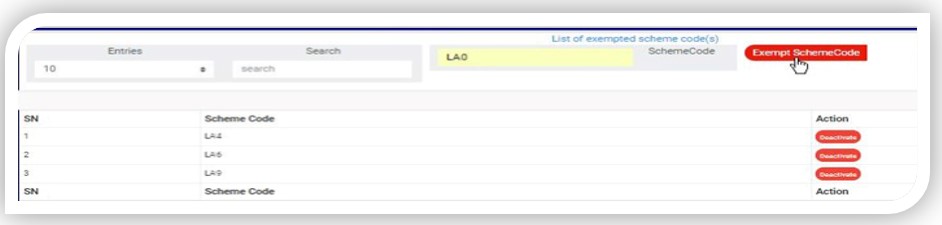
Search: To search for the parameter(s).
Export To Excel: To export the list of parameters to Excel, click on the ‘Action‘ dropdown button and select “Export To Excel”
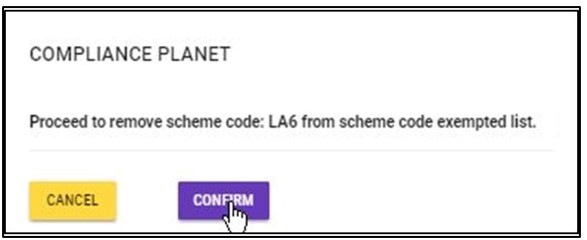
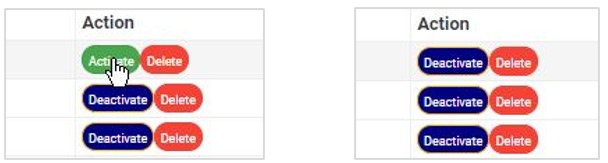
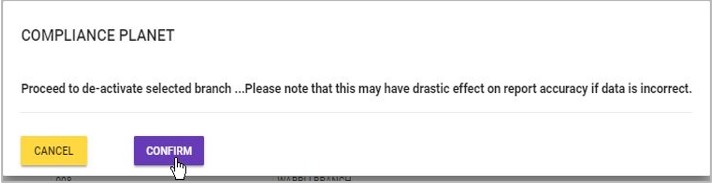
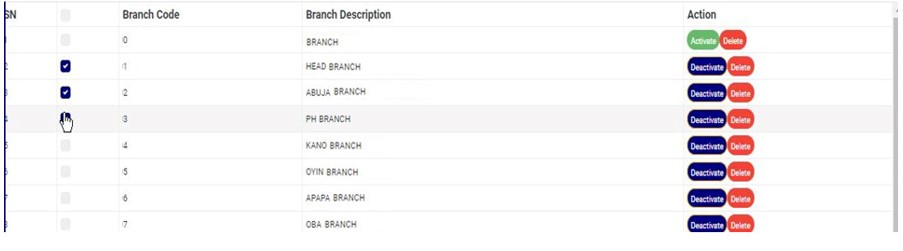
Delete Parameter(Single): To delete a parameter, click the red “Delete” button on the parameter you want to delete.
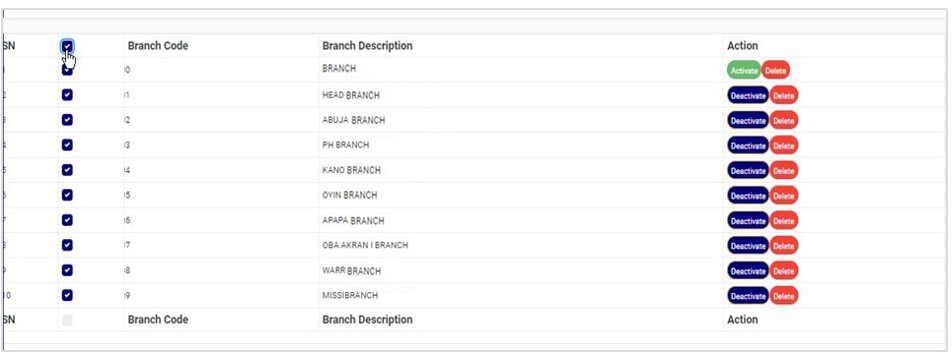
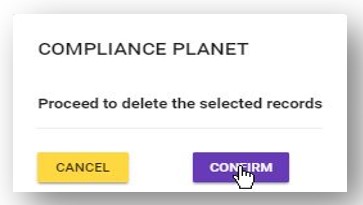
Delete Parameter(Bulk): To bulk delete parameters, select the parameters you want to delete by checking the checkbox on each row(This checkbox is before the SN column. After checking the boxes, click on the ‘Action‘ dropdown button and select “Delete Selected Records.”
The Scan Results Column in the table shows the number of matches found for a parameter. To view the results, click on the result number.
How to view the PEP scan explorer
Step 1: Click the PEP Screening dropdown button and select the “Scan Explorer” option.
The above action will display a page, as seen in the image below.
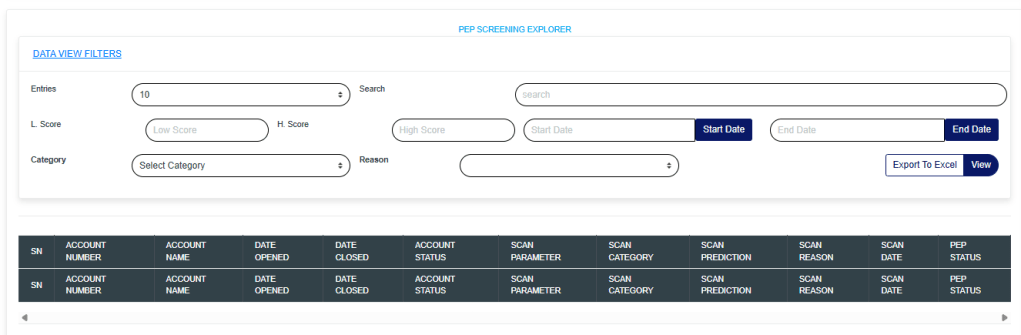
The Scan Explorer provides details of scan results across various date ranges. These results can be filtered down to only results that are meaningful to you when applying various scan filters.
The function of the scan filters is explained below;
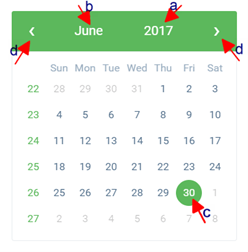
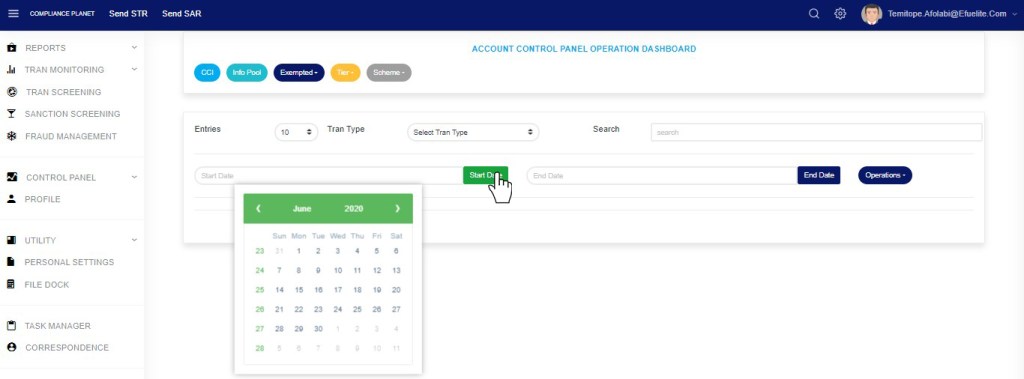
Start Date and End Date: This filters the scan results list to a desired date range. The date range refers to the dates the parameters were scanned. This filter is mandatory.
Category: To view scan results having the same Category, select the desired Category from the Category dropdown and click on the View button.
Reasons: To view scan results having the same scan reason, select the desired Reason from the Reasons dropdown and click on the View button.
Entries: The number of scan results to see on the page.
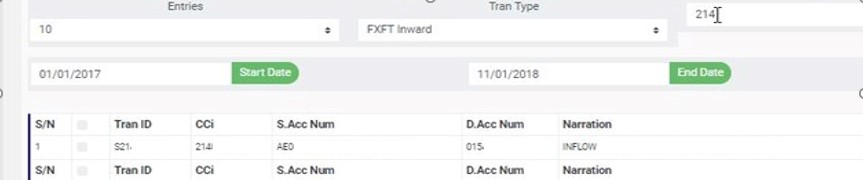
Search: To search for the parameter(s).
L. Score and H. Score: The low score and high score work together to filter the results based on score prediction. The L. Score entered must be less than the H. Score. After entering your desired score prediction range, click the View button to see the result.
Export To Excel: To export the list of scan results to Excel, click on the ‘Action‘ dropdown button and select “Export To Excel”
The data representation of the columns is explained below;

Account Number: The account number that the scan parameter matched.
Account Name: The account name that the scan parameter matched.
Date Opened: The date the matched account was opened.
Date Closed: The date the matched account was closed(This field is empty if the account is still open).
Account Status: The status of the matched account.
Scan Parameter: The actual scan parameter entered into the system
Scan Category: The category the scan parameter falls under. e.g. Name, BVN, Email, etc…
Scan Prediction: This is the system prediction score for each parameter.
Scan Reason: This is why it was entered alongside the scan parameter.
Scan Date: The date the parameter was scanned.
How to View the PEP Scan Summary
Step 1: Click the PEP Screening dropdown and select the “Scan Summary” option.

The above action will display a page, as seen in the image below.
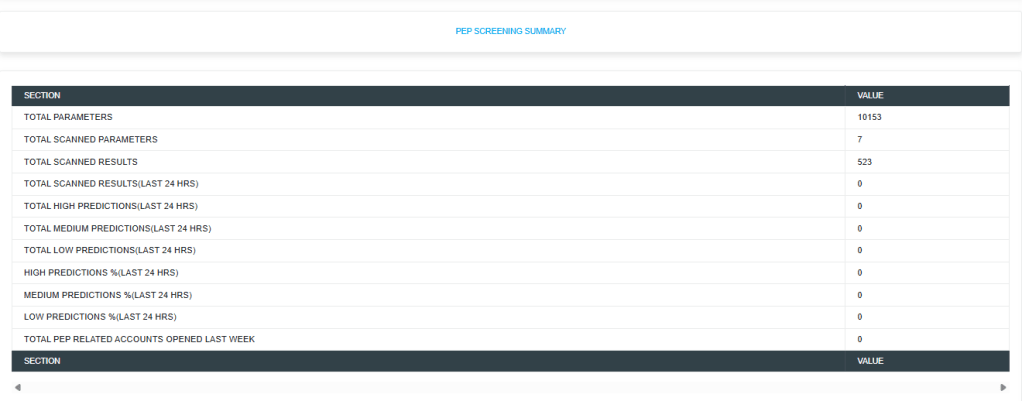
TOTAL PARAMETERS: This Section Value quickly informs the reviewer of the number of parameters uploaded into the system for scanning/screening purposes.
Parameters include BVN, NAMES, ID Numbers, PHONE NUMBERS, or EMAILS.
TOTAL SCANNED PARAMETERS: This Section Value informs the reviewer how many parameters have been scanned thus far. This number would increase daily.
TOTAL SCANNED RESULTS: This Section Value informs the reviewer how many results are present from all parameters that have been scanned.
TOTAL SCANNED RESULTS(LAST 24 HRS): This Section Value informs the reviewer of the total number of new results from the scan conducted in the last 24 hours.
This aids the reviewer who may be reviewing daily scans, focusing on the newer ones, and helping to achieve a thorough review process. There are explorers where these scan results can be targeted by the date the scan results were entered by the software.
TOTAL HIGH PREDICTIONS(LAST 24 HRS): This Section Value plays a very important role as the software uses artificial intelligence and Machine Learning to learn the data from Scan results and give scores on how sure it is about the matches. The lowest score is 1, and the highest is 100.
100 means that the software is extremely confident that the scan result (a customer’s account) matches the scanned parameter.
This enables the reviewer to focus more closely on high matches and easily sort them out, thereby avoiding time wasted on false positives.
The software categorizes HIGH PREDICTIONS as scan results that score 80 and above. Furthermore, providing high predictions for the last 24 hours informs the reviewer how many records should be prioritized out of the total scanned results from the previous 24 hours.
This further makes the review process faster. Predictions in this category are colored red for easy identification.
TOTAL MEDIUM PREDICTIONS(LAST 24 HRS): The software categorizes MEDIUM PREDICTIONS as scan results that score between 50 and 79. Predictions in this category are colored yellow for easy identification.
TOTAL LOW PREDICTIONS(LAST 24 HRS): The software categorizes LOW PREDICTIONS as scan results that score between 1 and 49. Predictions in this category are colored blue for easy identification.
HIGH PREDICTIONS%(LAST 24 HRS): This tells the percentage of high predictions in the scan results from scans conducted in the last 24 hours.
MEDIUM PREDICTIONS% (LAST 24 HRS): This indicates the percentage of medium predictions in the scan results from scans conducted within the last 24 hours.
LOW PREDICTIONS%(LAST 24 HRS): This tells the percentage of low predictions in the scan results from scans conducted in the last 24 hours.
The software gives a special prediction score of 81 to scan parameters it detects as Names of individuals that match the Signatory/Director of corporate accounts.
With the software’s artificial intelligence and machine learning ability to scan and predict the probability of match accuracy in scores, reviewing these scan results is easier than expected.
TOTAL PEP-RELATED ACCOUNTS OPENED LAST WEEK: This tells the number of PEP-related accounts opened in the last 7 days. The software periodically uses the BVN of already profiled PEPs to scan the institution CBA of accounts linked to the profiled PEPs BVN and automatically profiled as PEP.
These profiled PEPs can be seen in the PEP Account Repository. The link below talks about how to view these profiled PEPs.
For further enquiries:
Tel: +234(0) 816 555 9818
Email: solutions@efuelite.com
Web: http://solutions.efuelite.com