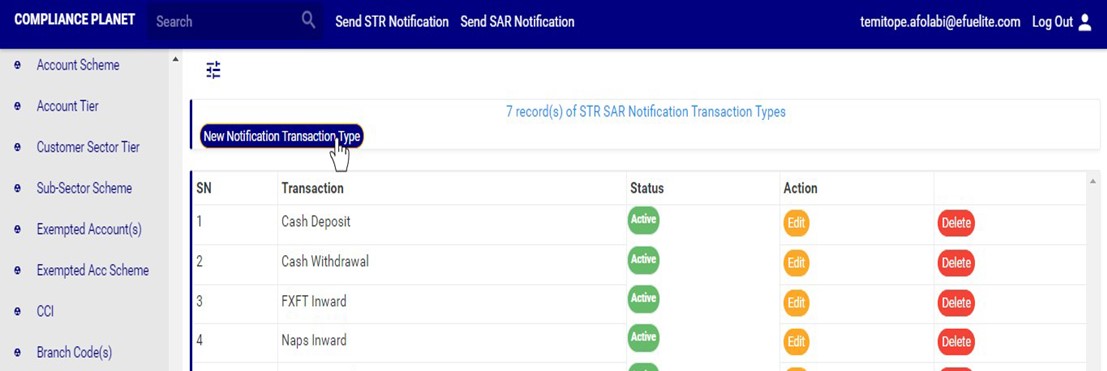
Under this feature, the software provides a list of the branch codes of the financial institution and their descriptions. The operations pertaining to branch codes on the planet include creating a new branch, activating or deactivating a branch and deleting a branch, with options to carry out bulk operations also.
Note: Only person(s) profiled as deputy supreme admin can carry out these operations
To perform any of the operations on branch codes;
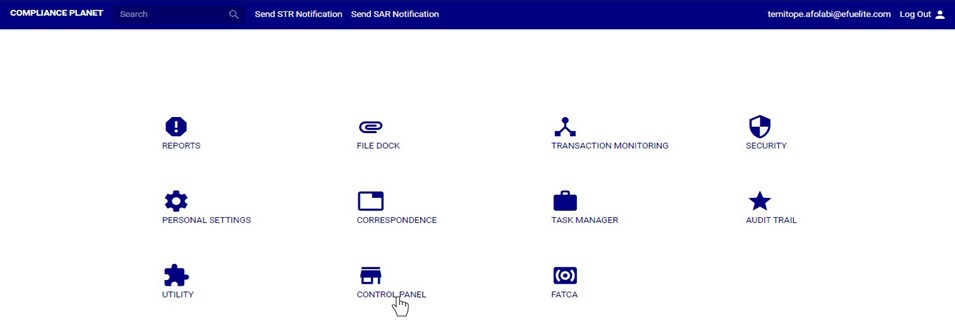
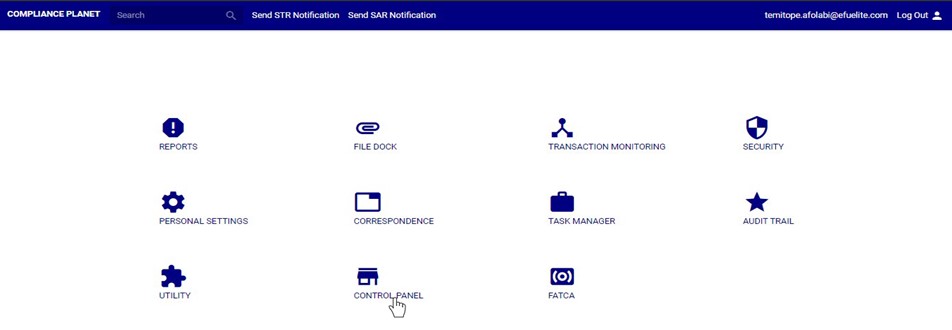
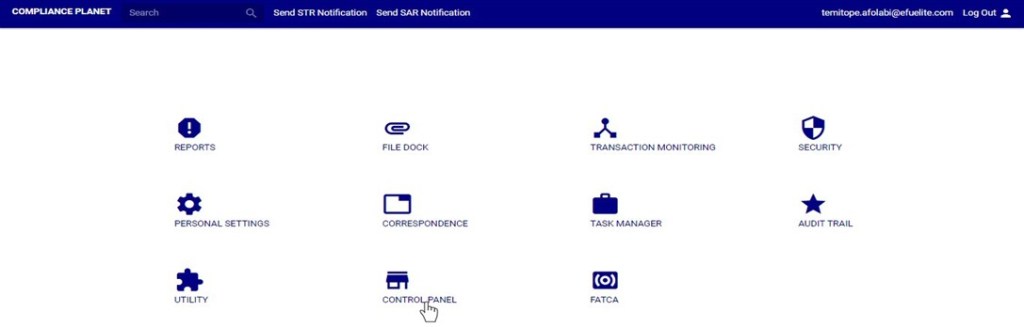
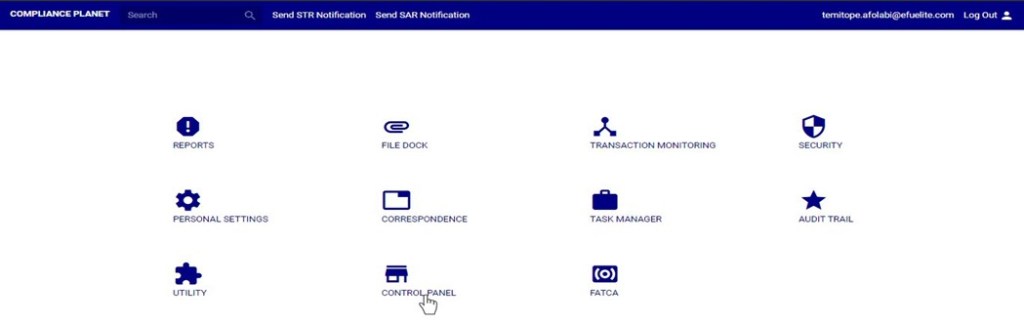
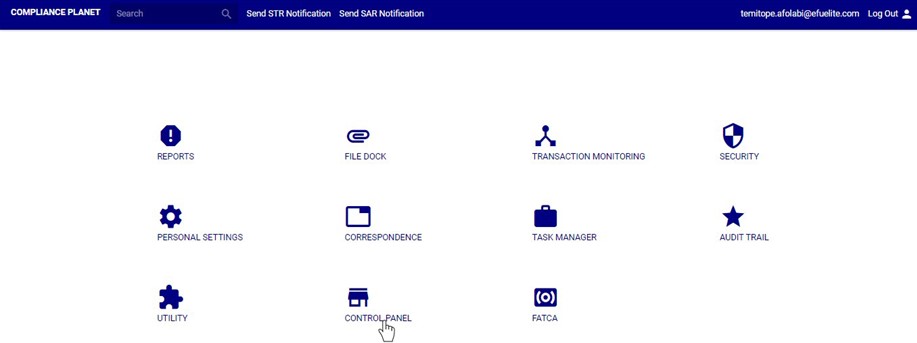
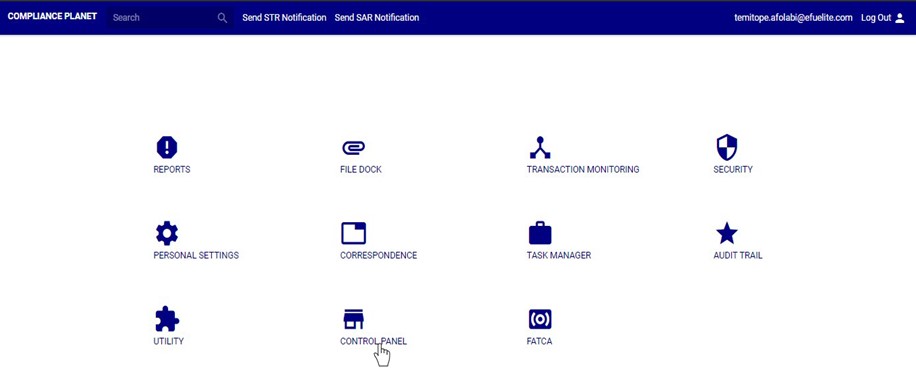
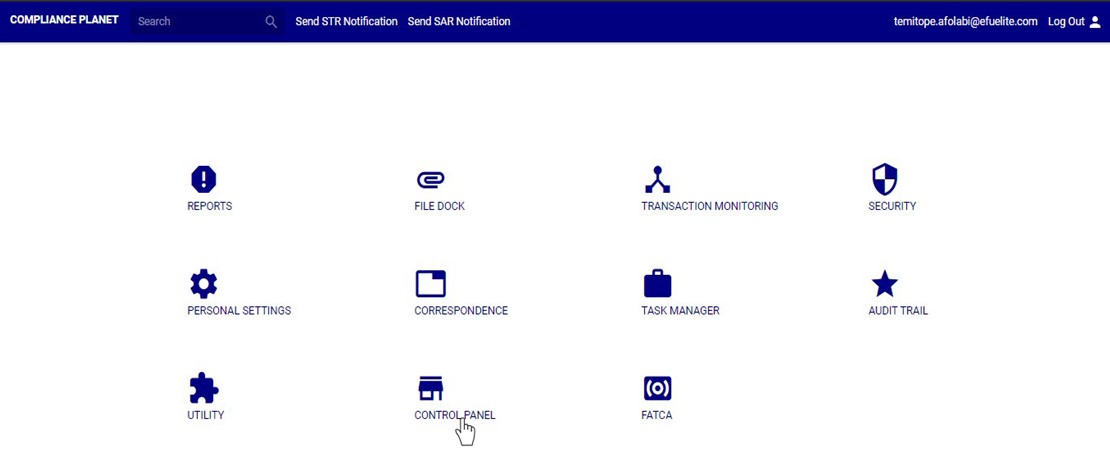
STEP 1: From the main dashboard, click ‘CONTROL PANEL’ as in fig 19.2a below.
(fig. 19.2a)
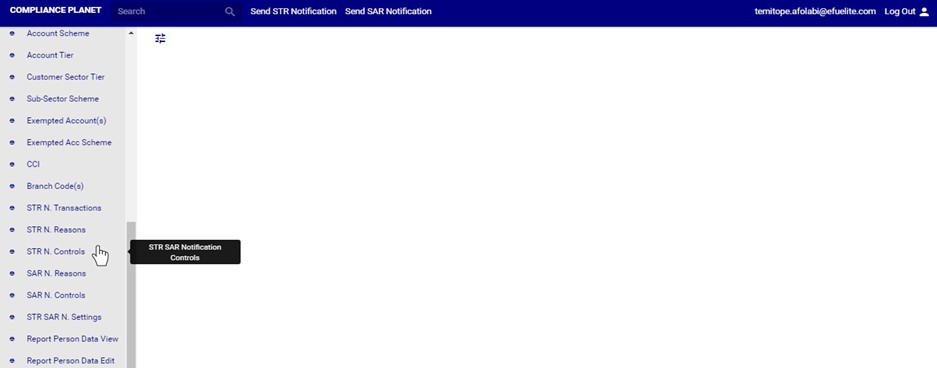
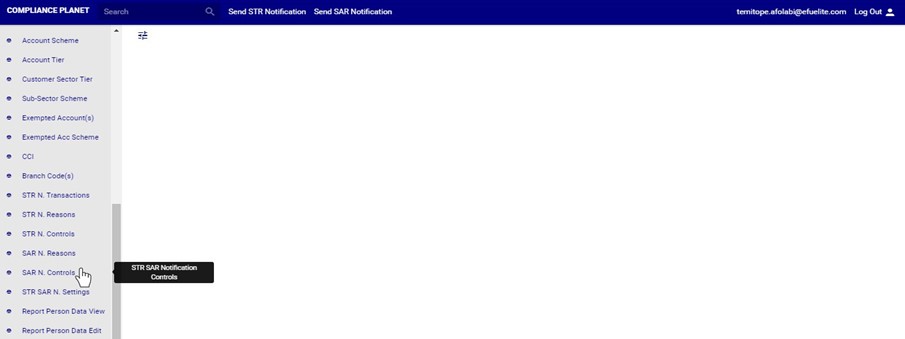
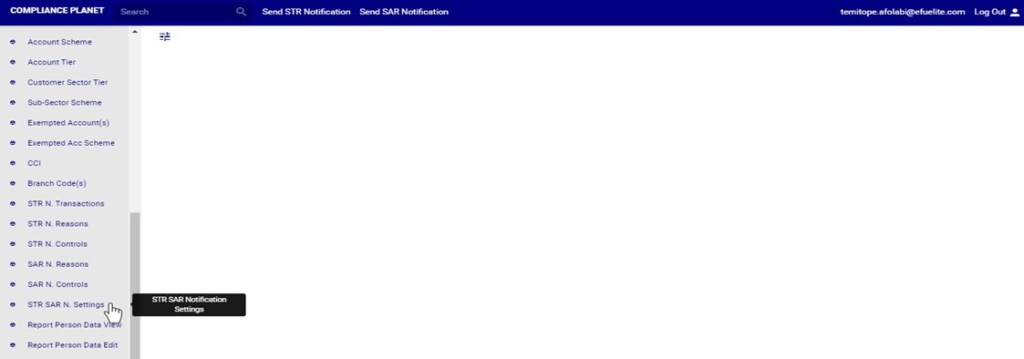
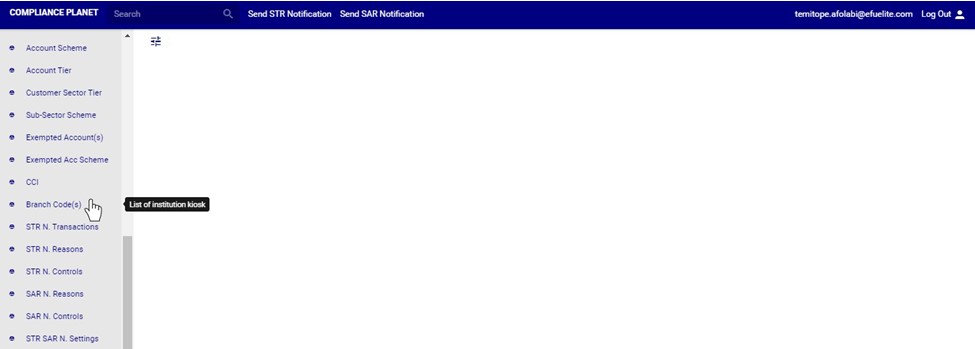
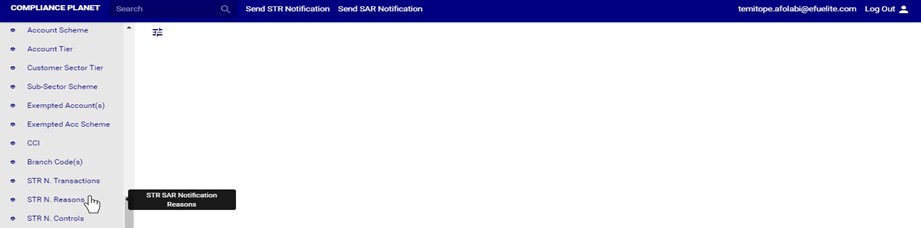
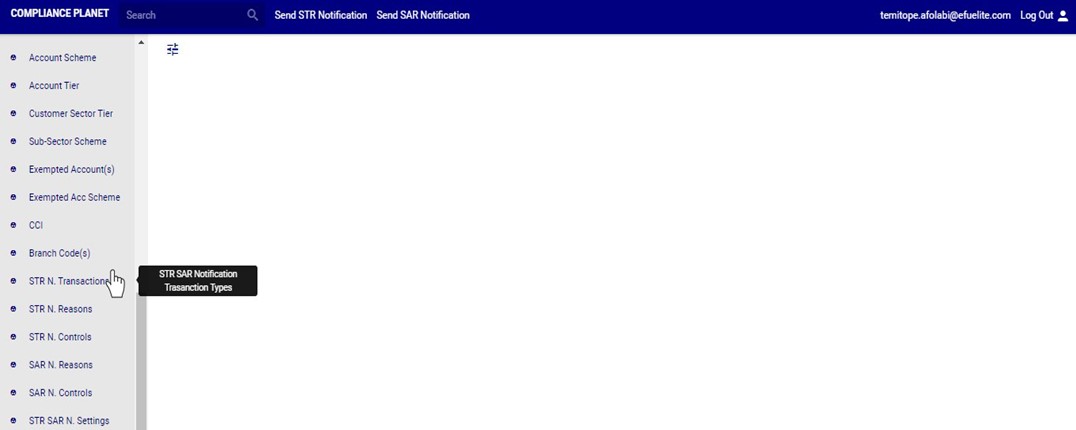
➔ STEP 2: Click on ‘BRANCH CODE(S)’ from the left hand side menu as in fig. 19.2b below.
(fig. 19.2b)
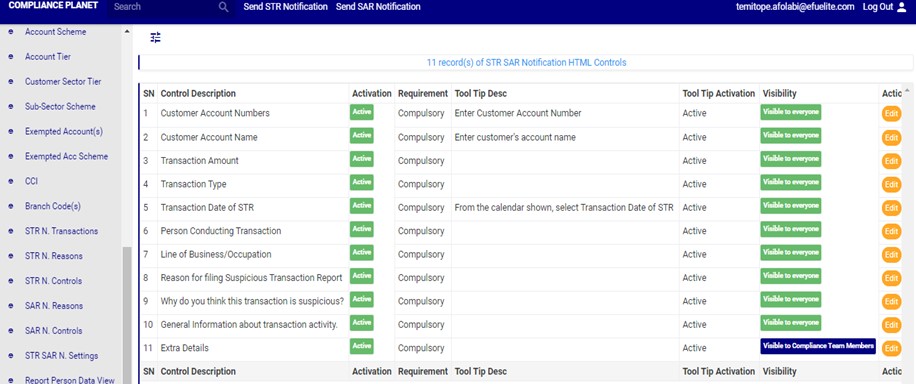
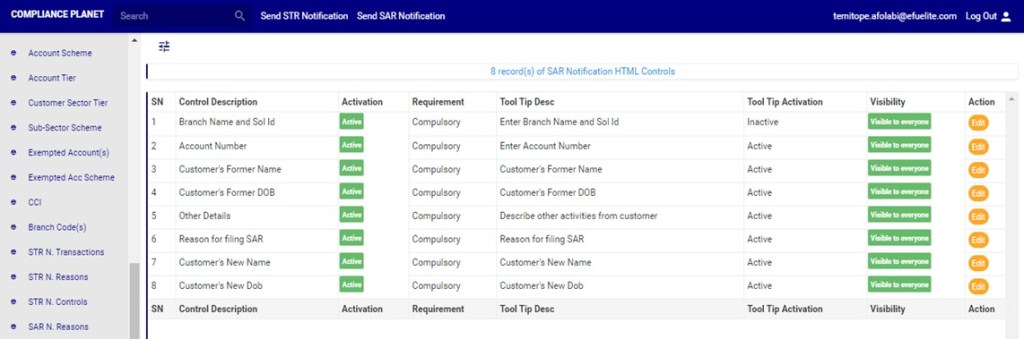
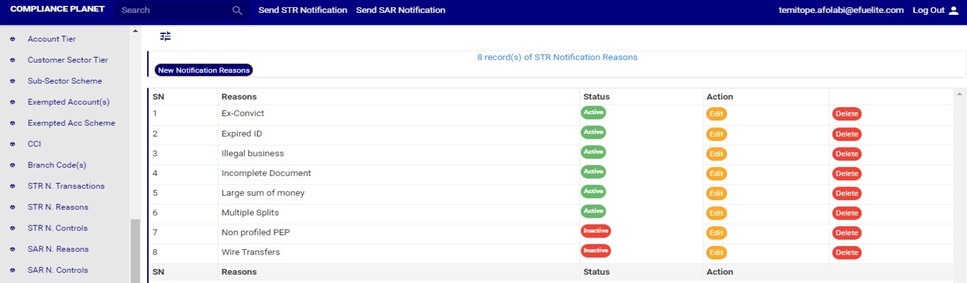
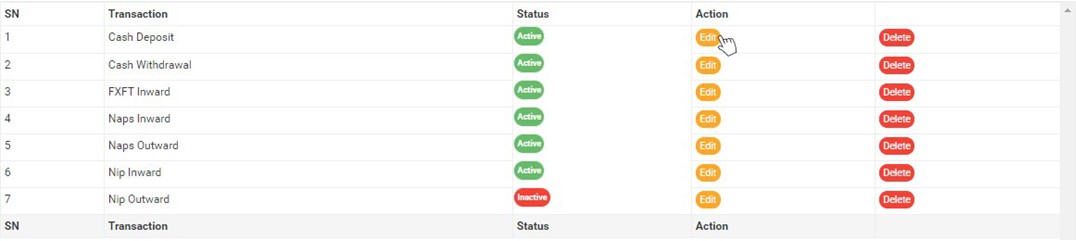
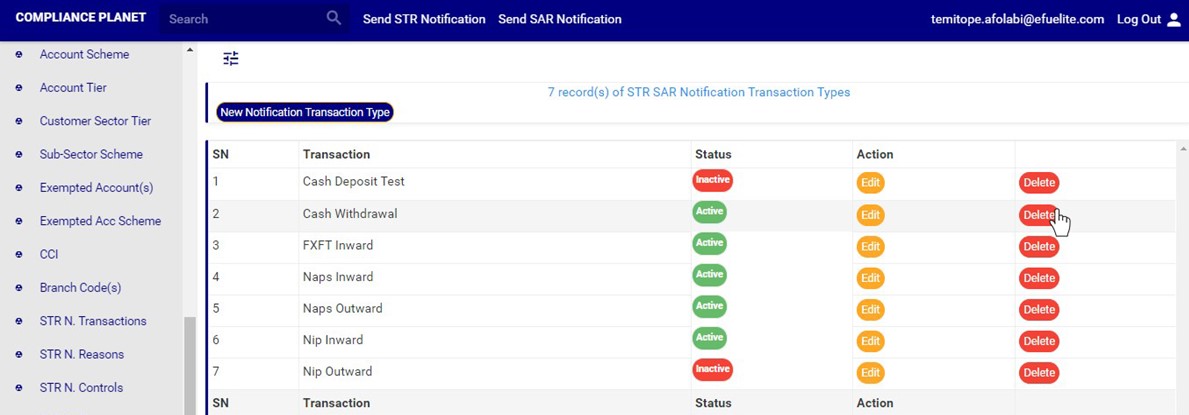
➔ This displays a page showing a list of all the financial institution’s branch codes and their descriptions as in fig. 19.2c.
(fig. 19.2c)
➔ At the bottom-right corner of the page, the software gives information about the number of pages of the list, with the page numbers written out. Click on any page number, to go that particular page. Click on ‘NEXT’ to go to the next page or ‘PREVIOUS’ to go to the page before the current page.
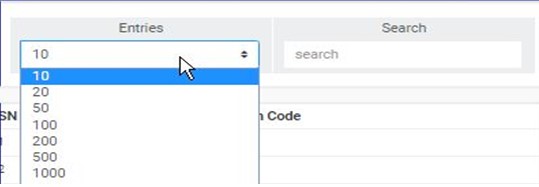
➔ Click on the ‘ENTRIES’ box as in fig. 19.2d to adjust the number of branches you see per page.
(fig. 19.2d)
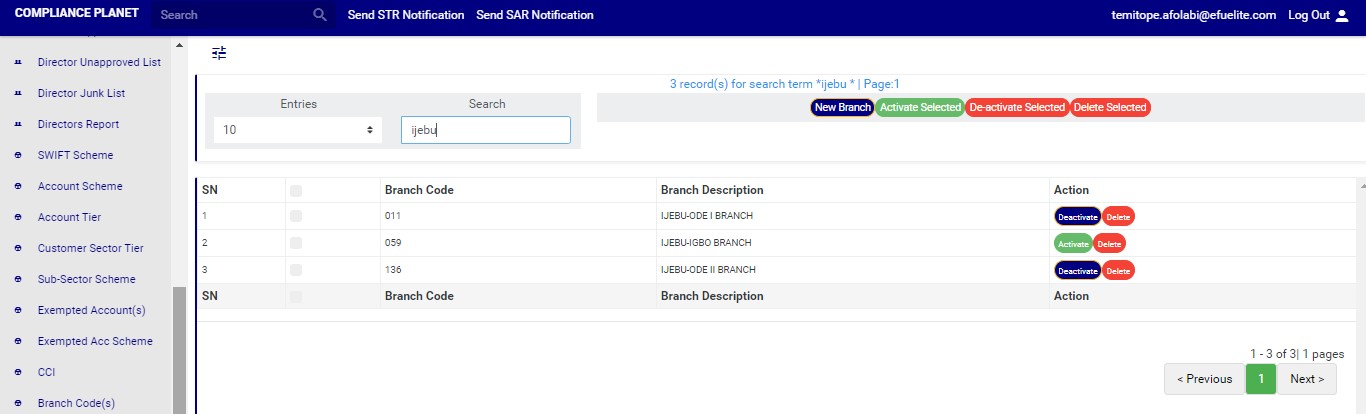
➔ Search for branches by inputting the branch code or branch description in the search box. Search results will be displayed as soon as a character is typed in the search box. See fig. 19.2e below for an example.
(fig. 19.2e)
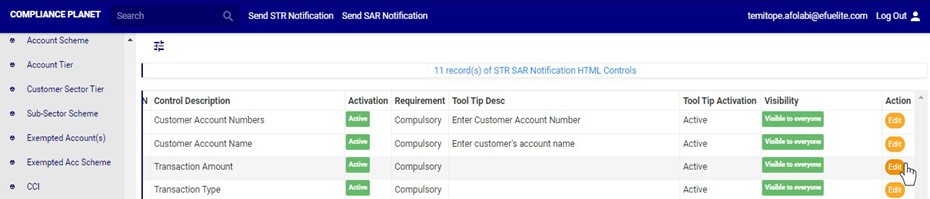
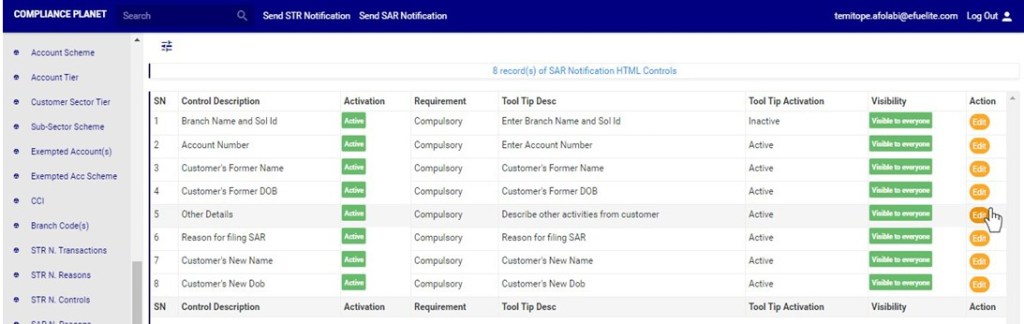
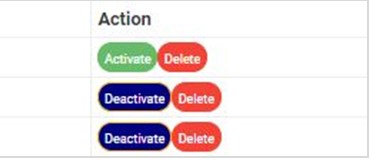
➔ Each branch entry has two (2) action buttons; ‘Activate/Deactivate’ toggle button and ‘Delete’ button. See these buttons in fig. 19.2f.
(fig. 19.2f)
➔ The buttons for the other operations are at the top-right area of the page.
(fig. 19.2g)
➔ The different operations are explained below.
How to Activate or Deactivate An Existing Branch
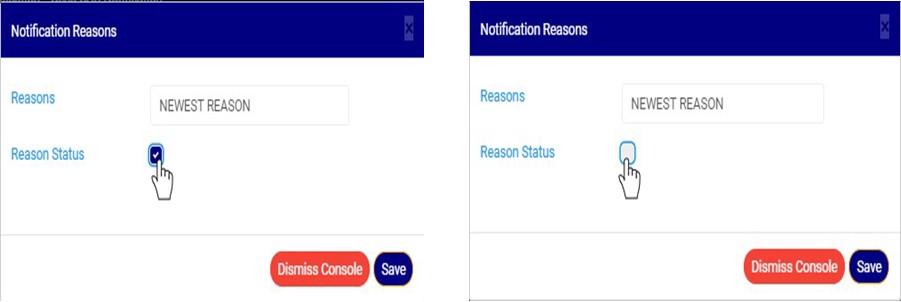
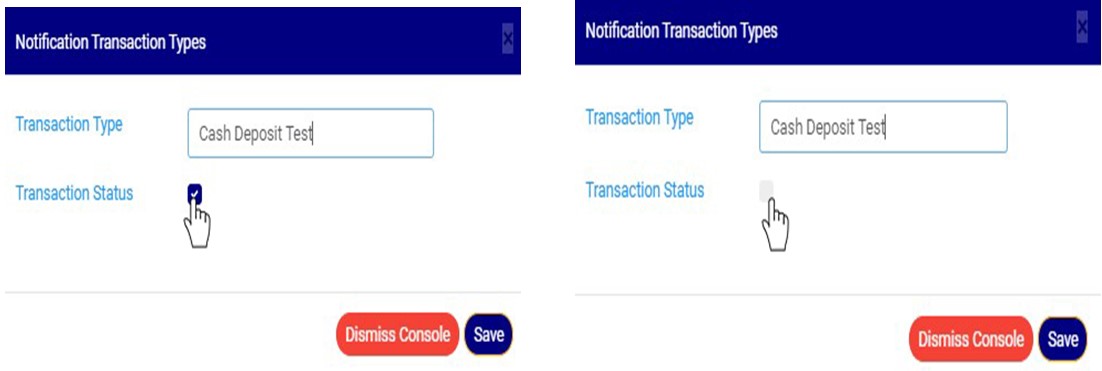
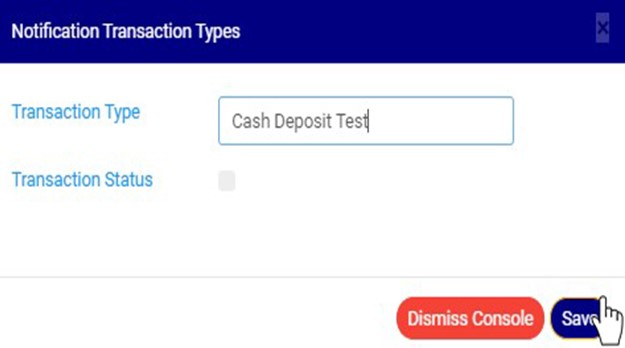
A branch information can either be active or inactive. For branches that are active, their action buttons will read, ‘DEACTIVATE’ and branches that are inactive will have ‘ACTIVATE’ buttons. The ACTIVATE/DEACTIVATE button is a toggle switch that either activates or deactivates a branch information depending on its current status. Here is how to make use of the button.
A. How to Activate A Branch
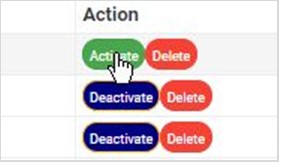
STEP 1: Click on ‘ACTIVATE’ as in fig. 19.3a.
(fig. 19.3a)
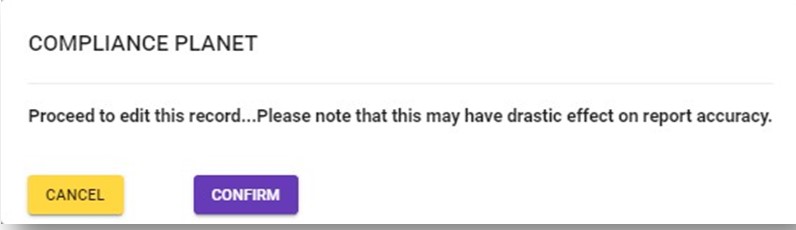
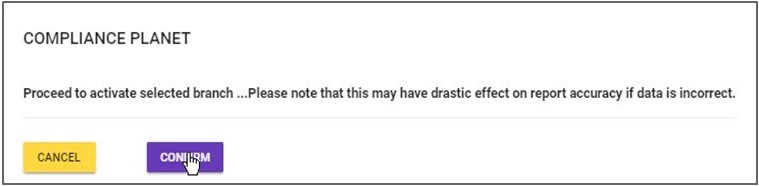
➔ This displays a confirmation console to confirm your request to activate the branch
STEP 2: Click on ‘CONFIRM’ as in fig. 19.3b to proceed or ‘CANCEL’ to discontinue.
(fig. 19.3b)
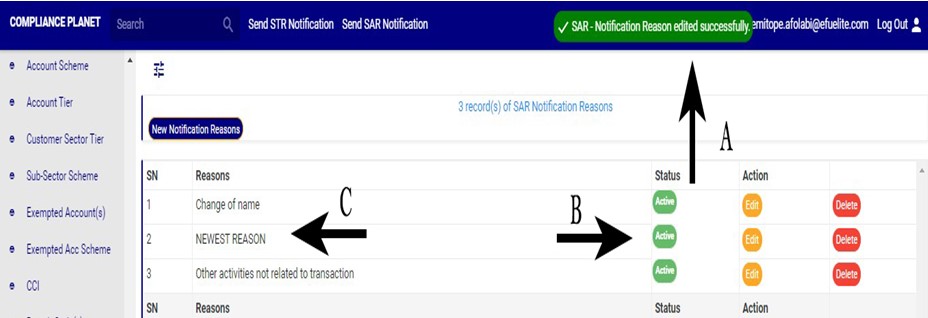
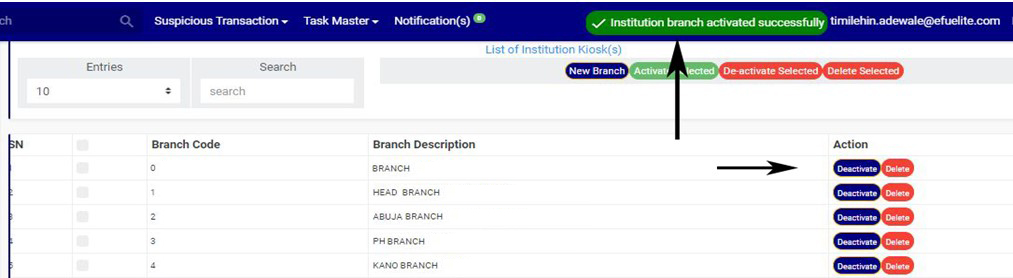
➔ A notification will be displayed at the top of the page when the activation is successful. See fig. 19.3c for an example.
(fig. 19.3c)
➔ When a branch information has been successfully activated, the action button changes from ‘ACTIVATE’ to ‘DEACTIVATE’. See fig. 19.3d and fig. 19.3e for an example.
(fig. 19.3d) (fig. 19.3e)
How to Deactivate A Branch
STEP 1: Click on ‘DEACTIVATE’ as in fig. 19.3f.
(fig. 19.3f)
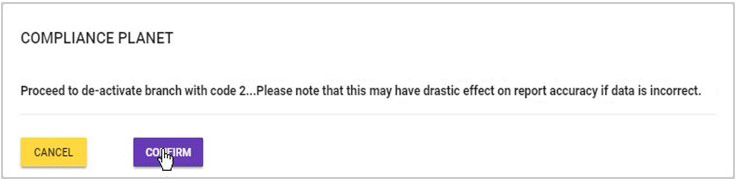
➔ This displays a confirmation console to confirm your request to deactivate the branch
STEP 2: Click on ‘CONFIRM’ as in fig. 19.3g to proceed or ‘CANCEL’ to discontinue.
(fig. 19.3g)
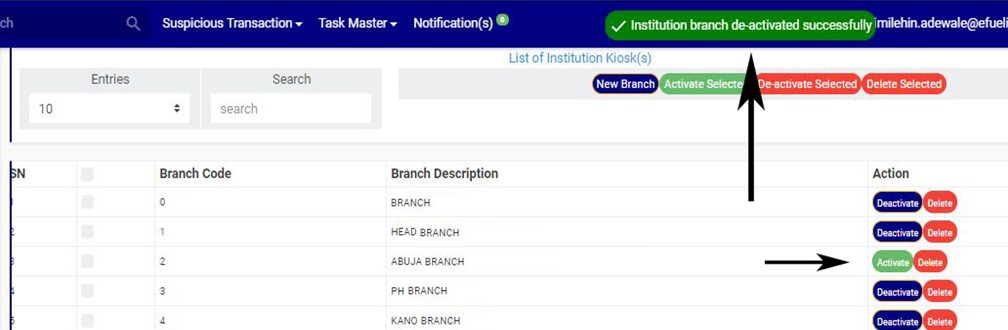
➔ A notification will be displayed at the top of the page when the deactivation is successful. See fig. 19.3h for an example.
(fig. 19.3h)
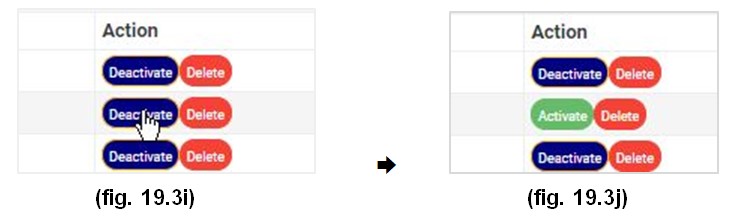
➔ When a branch has been successfully deactivated, the action button changes from ‘DEACTIVATE’ to ‘ACTIVATE’. See fig. 19.3i and fig. 19.3j for an example.
(fig. 19.3i) (fig. 19.3j)
How to Delete A Branch
This refers to deleting a branch’s information from the software. Here is how to delete a branch information.
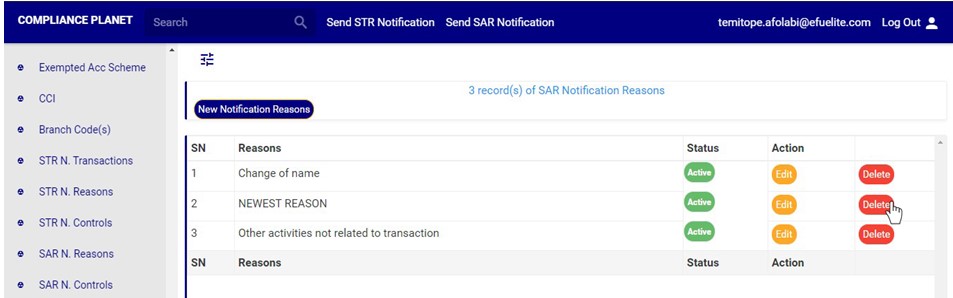
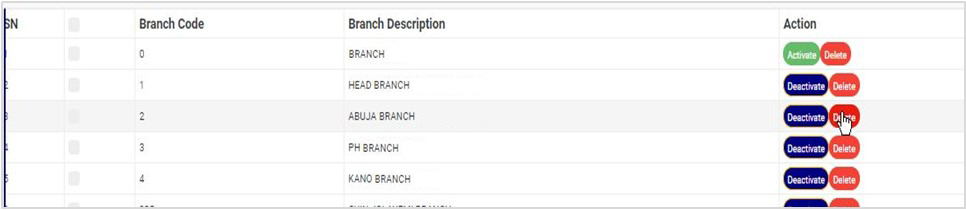
STEP 1: Click on the ‘DELETE’ button of the branch information as in fig. 19.4a.

(fig. 19.4a)
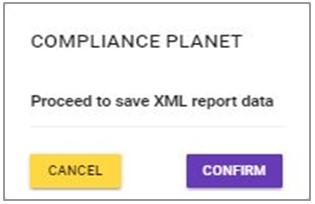
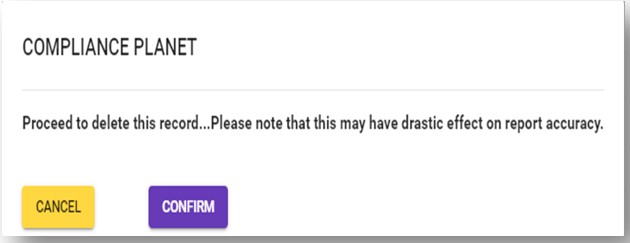
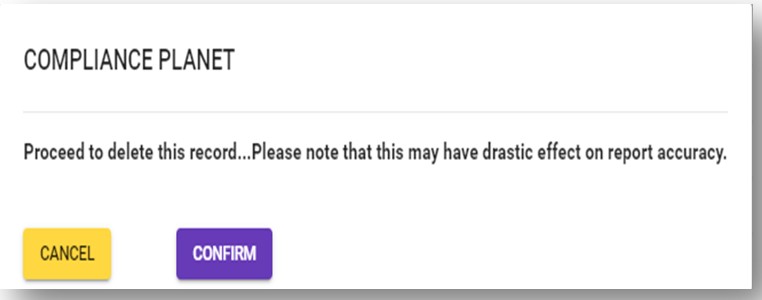
➔ This displays a confirmation console to confirm your request to delete the branch
STEP 2: Click on ‘CONFIRM’ as in fig. 19.4b to proceed or ‘CANCEL’ to discontinue.

(fig. 19.4b)
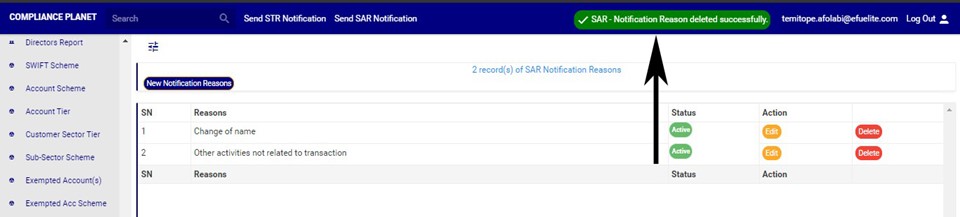
➔ A notification will be displayed at the top of the page when the delete operation is complete.
How To Create A New Branch
This refers to creating a new branch on the software. Here is how to do this;
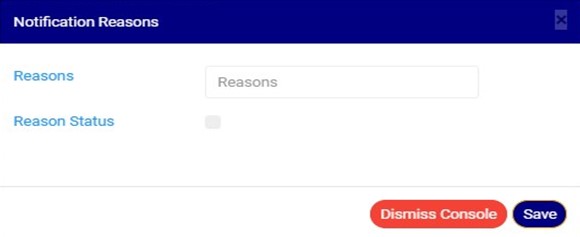
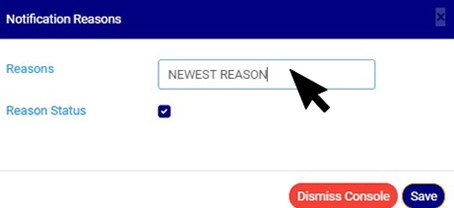
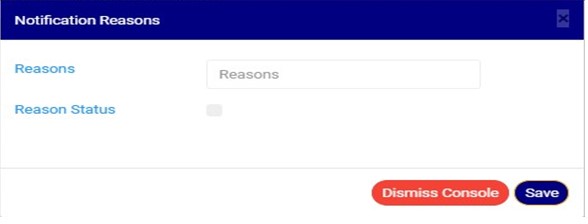
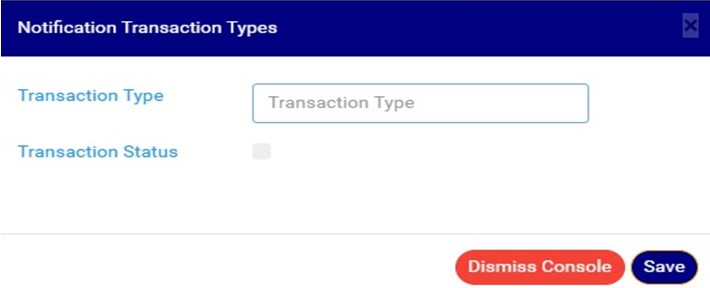
STEP 1: Click on ‘NEW BRANCH’ as shown in fig. 19.5a.

(fig. 19.5a)
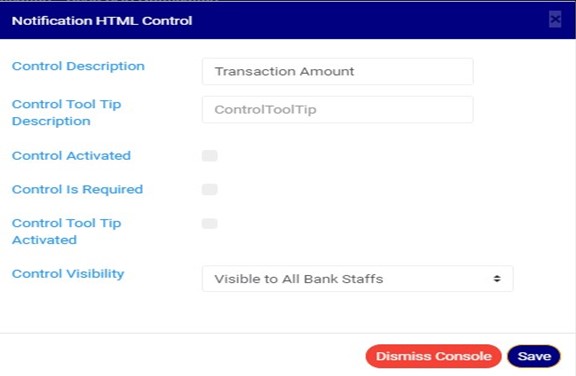
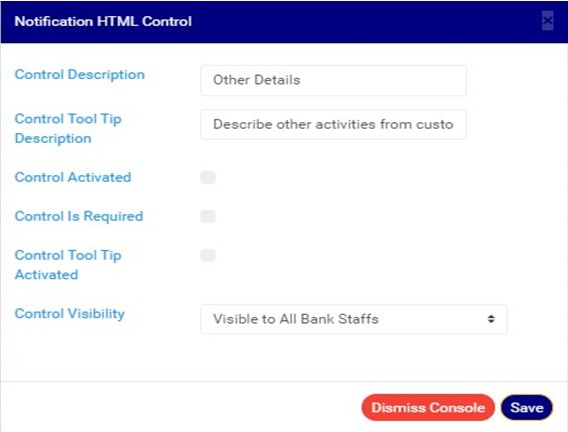
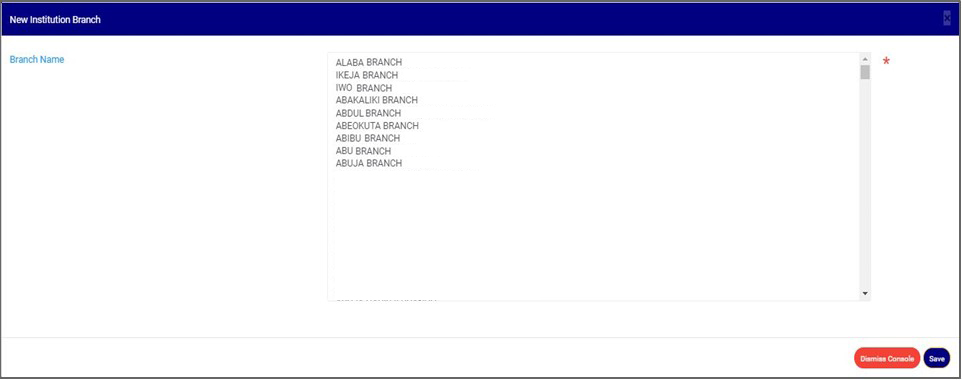
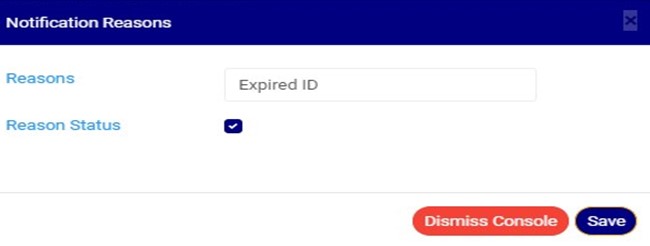
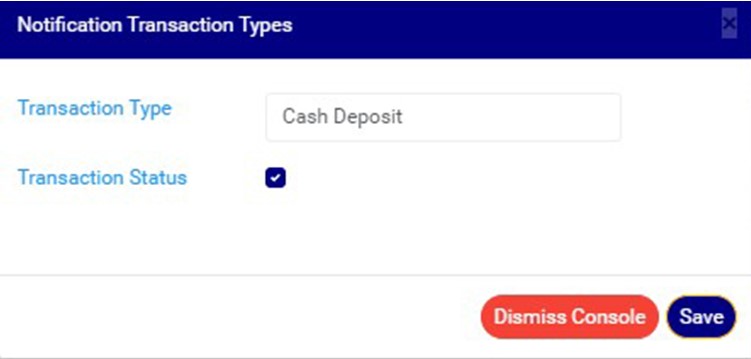
➔ A console as in fig. 19.5b will be displayed. Here, you are to select the branch description.

(fig. 19.5b)
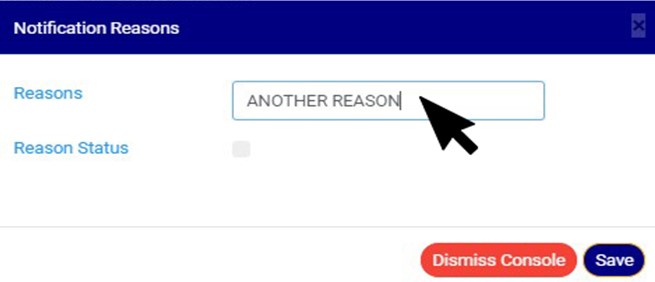
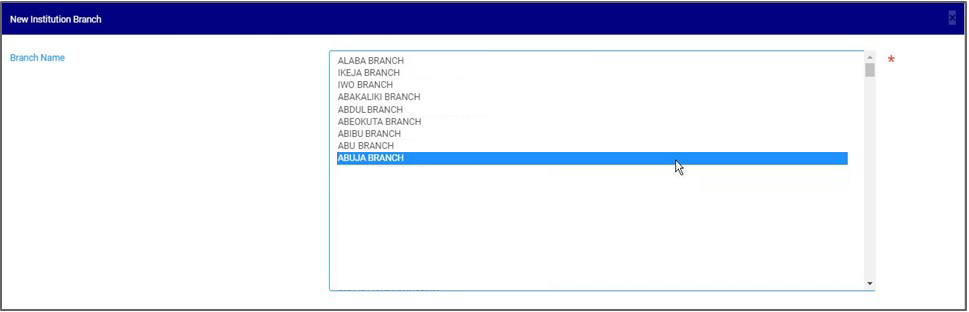
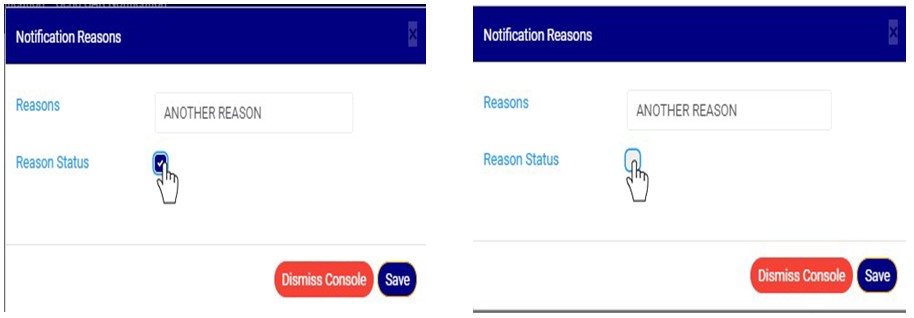
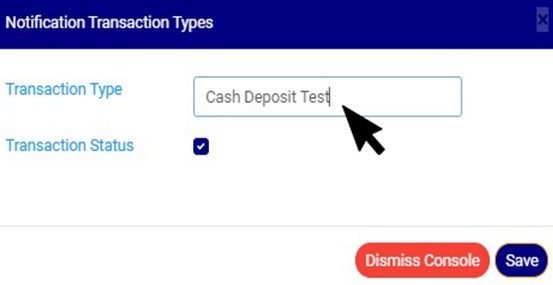
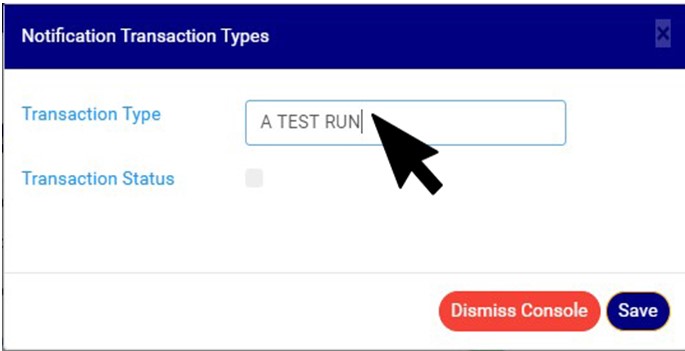
STEP 2: Select branch name as shown in fig. 19.5c.

(fig. 19.5c)
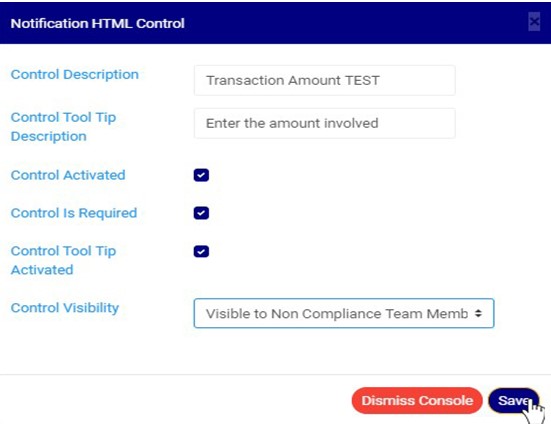
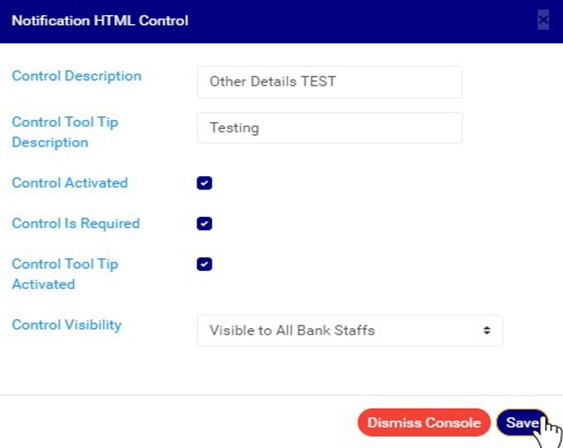
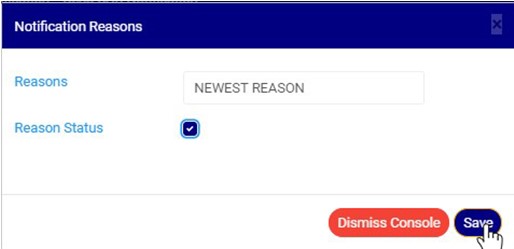
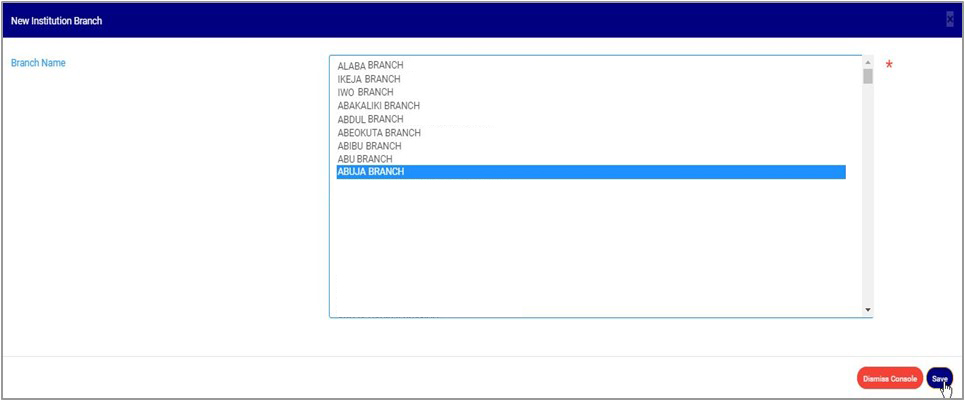
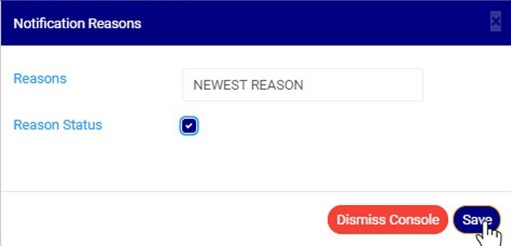
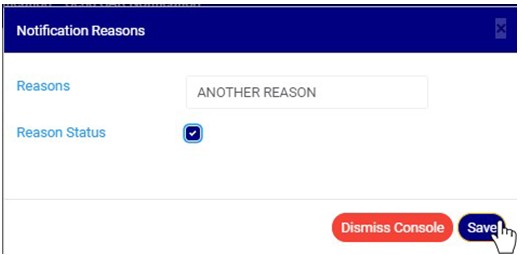
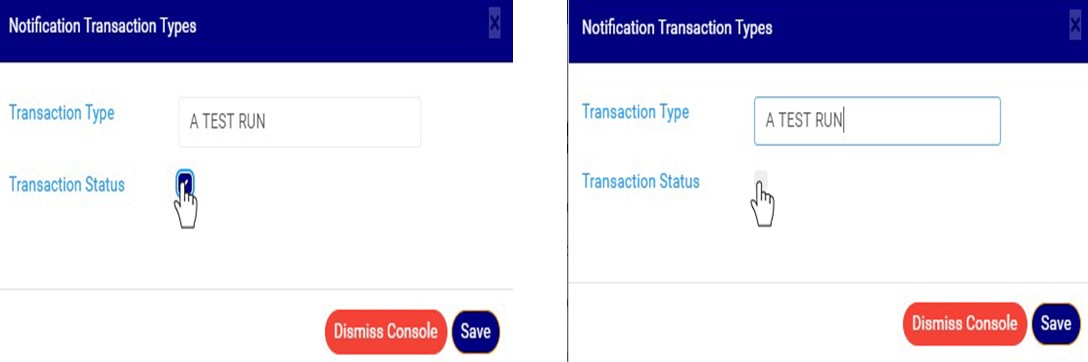
STEP 3: Click on ‘SAVE’ as in fig. 19.5d to save new branch information. Click on ‘DISMISS CONSOLE’ to close the console.
(fig. 19.5d)
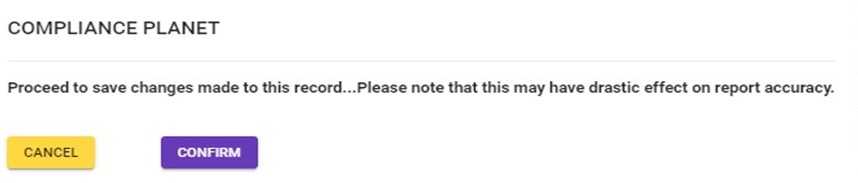
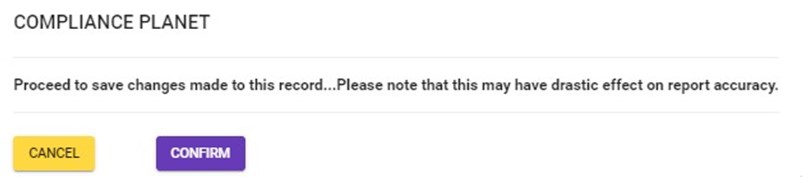
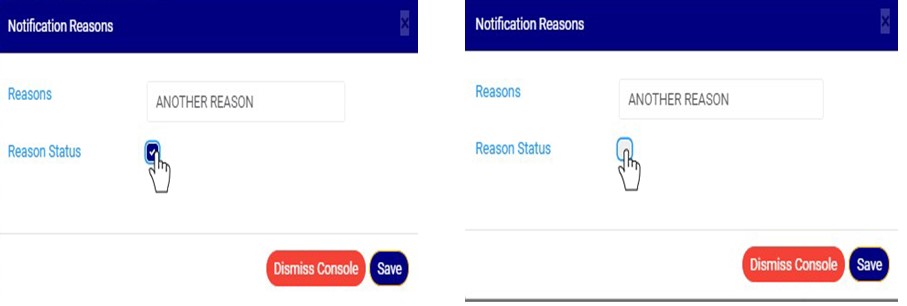
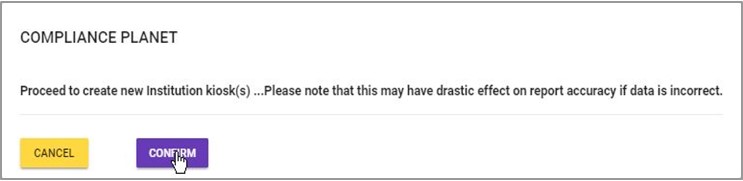
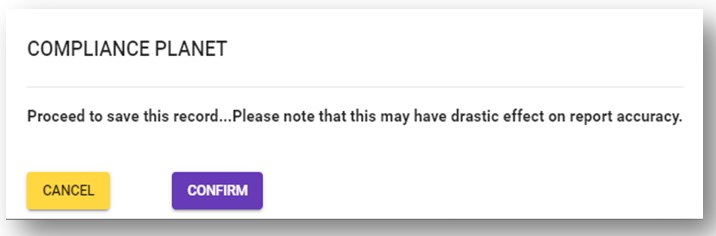
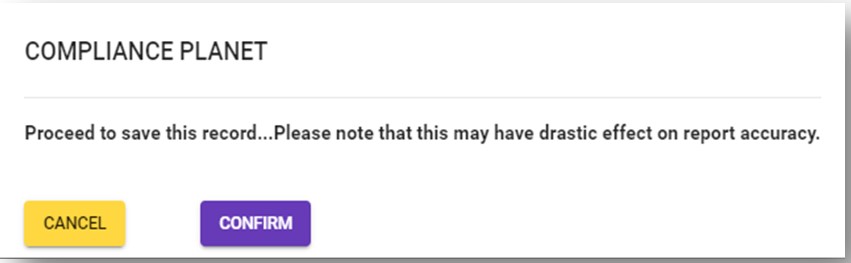
➔ This displays a confirmation console to confirm your request.
STEP 4: Click on ‘CONFIRM’ as in fig. 19.5e to proceed or ‘CANCEL’ to discontinue.
(fig. 19.5e)
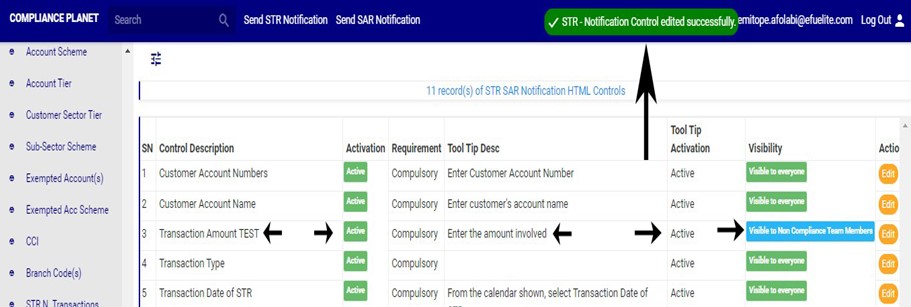
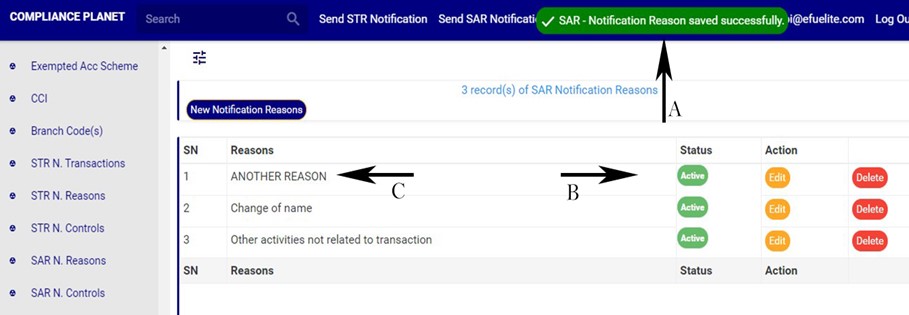
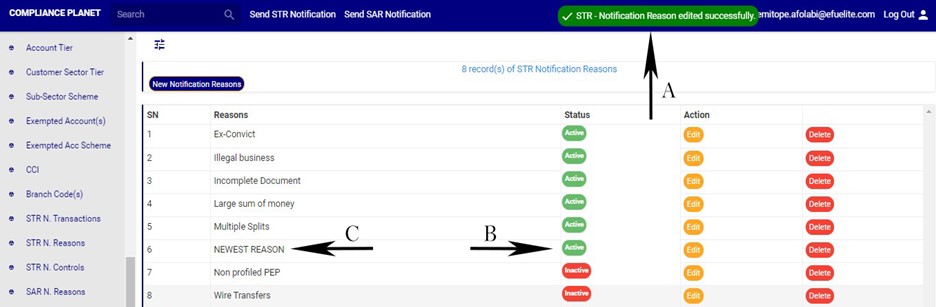
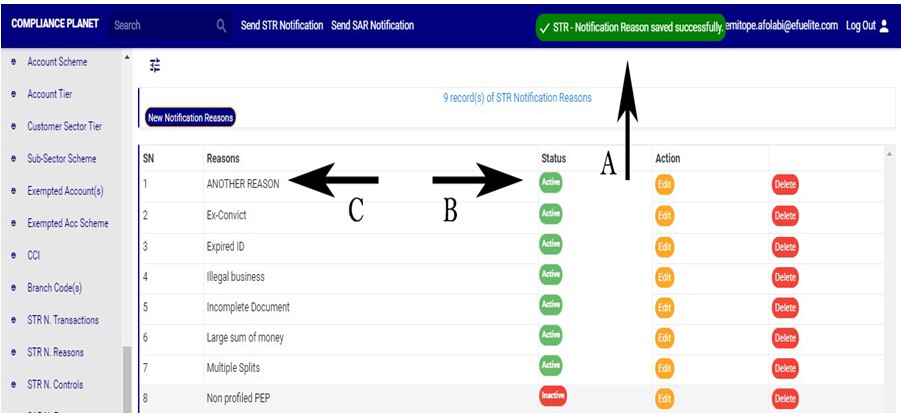
➔ A notification will be displayed at the top of the page when the operation is complete.
How To carry out bulk activation of branches
This refers to activating more than one branch and here is how to do this.
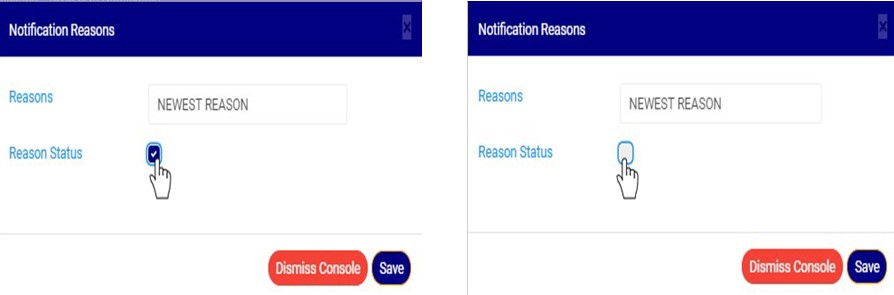
STEP 1: Select the deactivated branches to be activated by clicking on their check boxes as shown in fig. 19.6a below. An inactive branch has an ‘ACTIVATE’ action button.
(fig. 19.6a)
STEP 2: Click on ‘ACTIVATE SELECTED’ as in fig. 19.6b.
(fig. 19.6b)
➔ This displays a confirmation console to confirm your request.
STEP 3: Click on ‘CONFIRM’ as in fig. 19.6c to proceed or ‘CANCEL’ to discontinue.
(fig. 19.6c)
➔ When the operation is successful, a notification will be displayed at the top of the page and the Activate/Deactivate toggle button of the selected branch information will change from ‘ACTIVATE’ to ‘DEACTIVATE’. See fig. 19.6d below for an example.
(fig. 19.6d)
How To Carry Out Bulk Deactivation of Branches
This refers to deactivating more than one branch information. Here is how to do this.
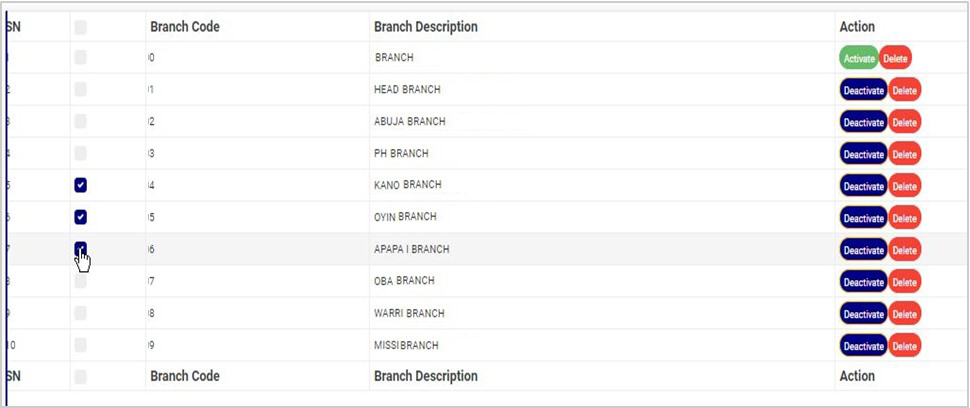
STEP 1: Select the branches to be deactivated by clicking on their check boxes as shown in fig. 19.7a below. An active branch has a ‘DEACTIVATE’ action button.
(fig. 19.7a)
STEP 2: Click on ‘DEACTIVATE SELECTED’ as in fig. 19.7b.
(fig. 19.7b)
➔ This displays a confirmation console to confirm your request.
STEP 3: Click on ‘CONFIRM’ as in fig. 19.7c to proceed or ‘CANCEL’ to discontinue.
(fig. 19.7c)
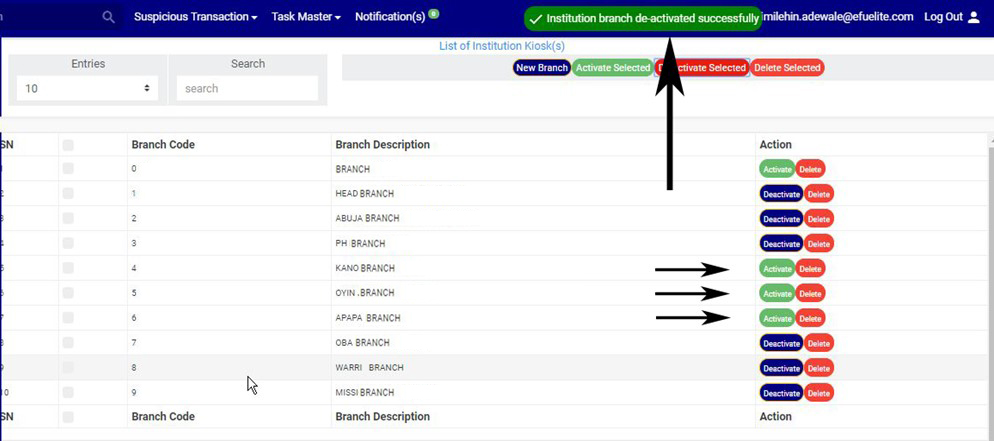
➔ When the operation is successful, a notification will be displayed at the top of the page and the Activate/Deactivate button of the selected branch will change from ‘DEACTIVATE’ to ‘ACTIVATE’. See fig. 19.7d below for an example.
(fig. 19.7d)
How to Carry Out Bulk Delete Of Branches
This refers to deleting more than one branch information. Here is how to carry out a bulk delete.
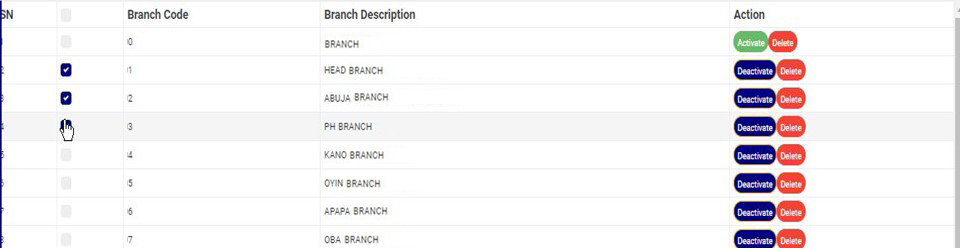
STEP 1: Select the branch information to be deleted by clicking on their check boxes as shown in fig. 19.8a below. Both active and inactive branches can be deleted.
(fig. 19.8a)
➔ To select or deselect all the entries on a page, click on the checkbox on the table title bar, that is, the checkbox between ‘S/N’ and ‘BRANCH CODE’. See fig. 19.8b for an example.
(fig. 19.8b)
STEP 2: Click on the ‘DELETE SELECTED’ as in fig. 19.8c.
(fig. 19.8c)
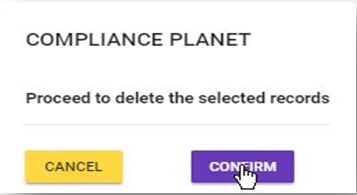
➔ This displays a confirmation console to confirm your request to delete the branches selected.
STEP 3: Click on ‘CONFIRM’ as in fig. 19.8d to proceed or ‘CANCEL’ to discontinue.
(fig. 19.8d)
➔ A notification will be displayed at the top of the page when the operation is complete.
(fig. 19.8e)
For further enquiries :
Tel +234(0) 816 555 9818
Email solutions@efuelite.com
Web http://solutions.efuelite.com