Here, the operations are;
1. previewing list of CCI for transaction report,
2. Editing a CCI,
3. Deleting a CCI.
4. Adding a new CCI,
5. Downloading a CCI and
6. Bulk Delete
NOTE: Only person(s) profiled as deputy supreme admin can carry out these operations
To perform any of the operations;
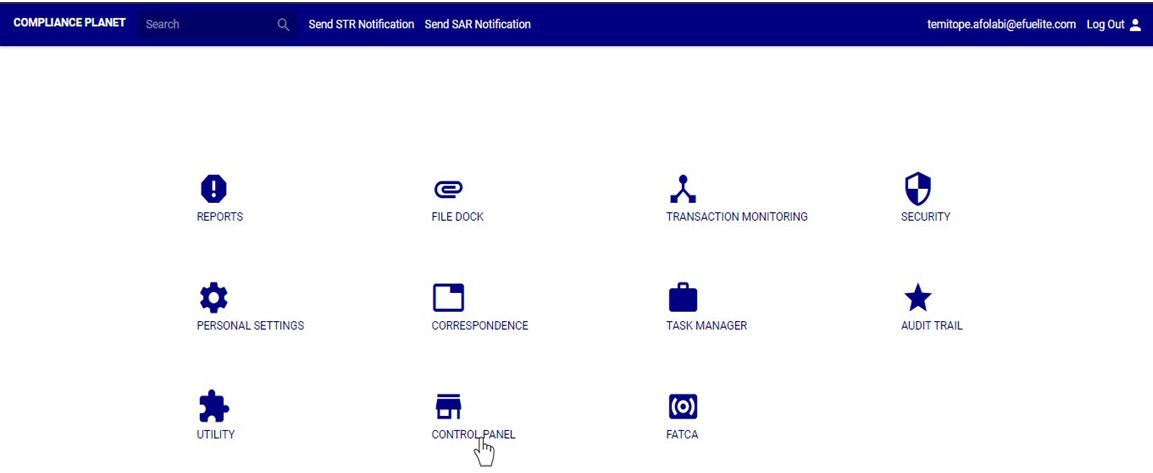
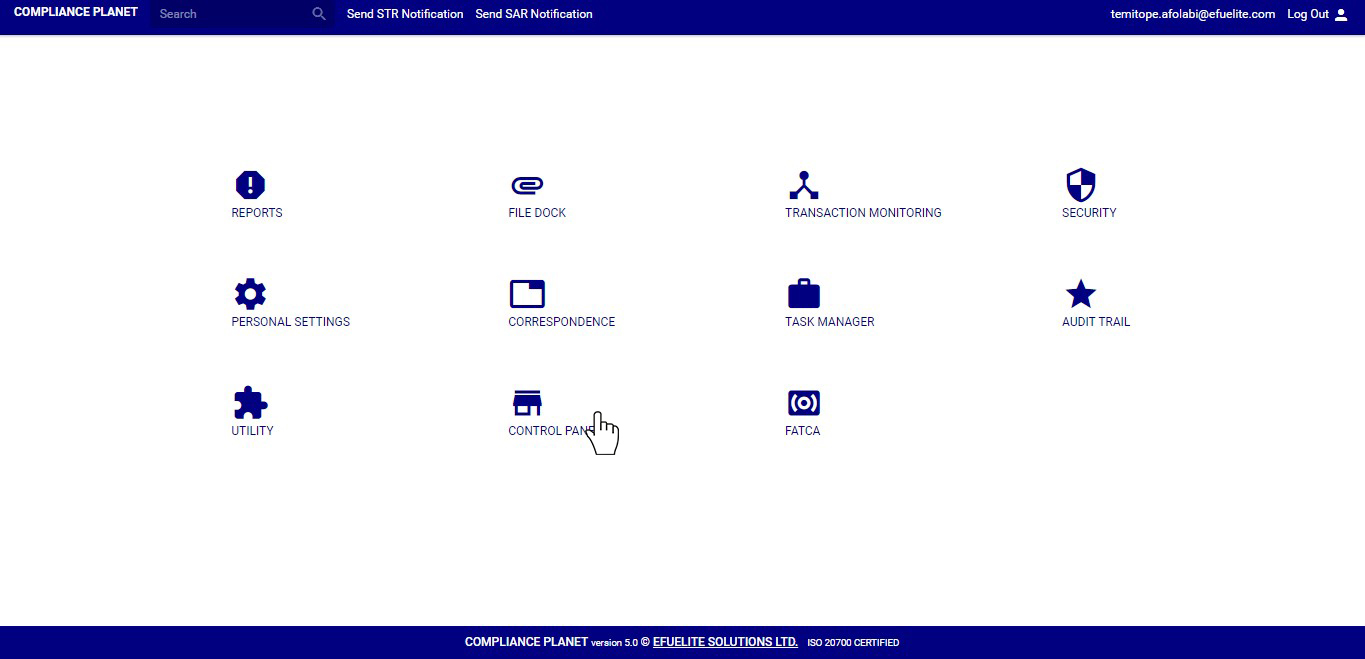
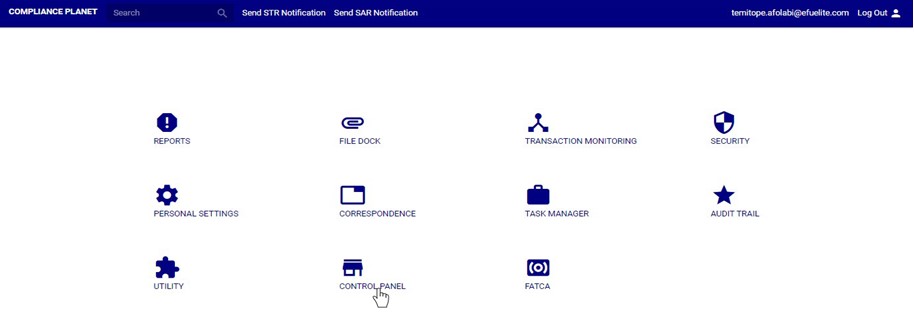
STEP 1: From the main dashboard, click ‘CONTROLPANEL’ as in fig 18.2a below
(fig. 18.2a)
STEP 2: Click on ‘CCI’ on the left hand side menu as in fig. 18.2b below.

(fig. 18.2b)
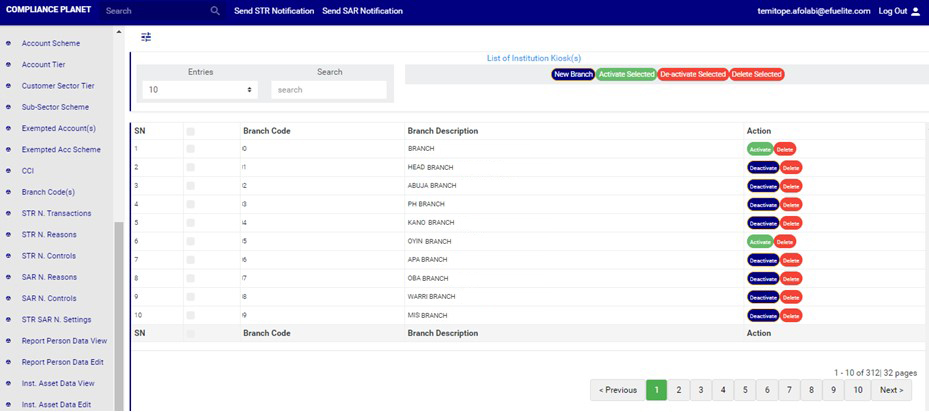
➔ This displays a page as seen in fig. 18.2c below.

(fig. 18.2c)
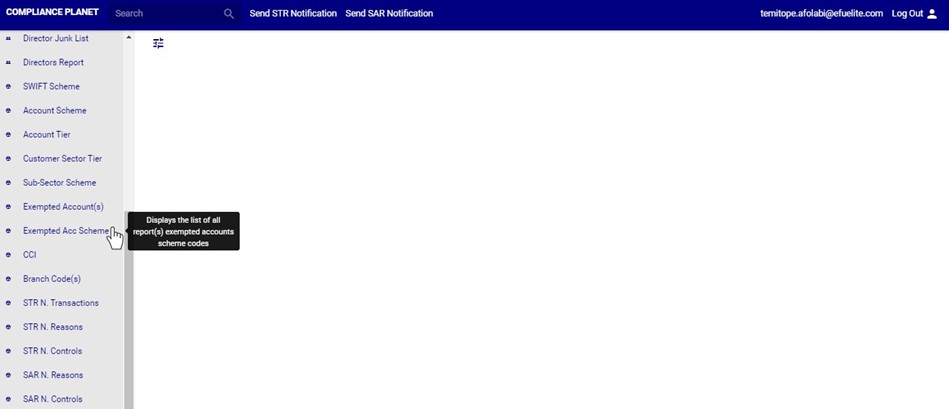
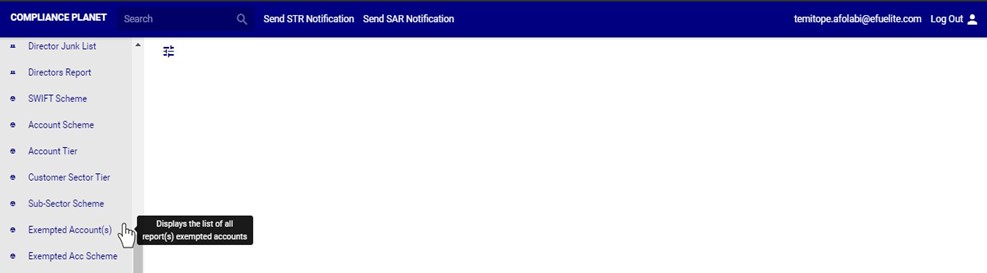
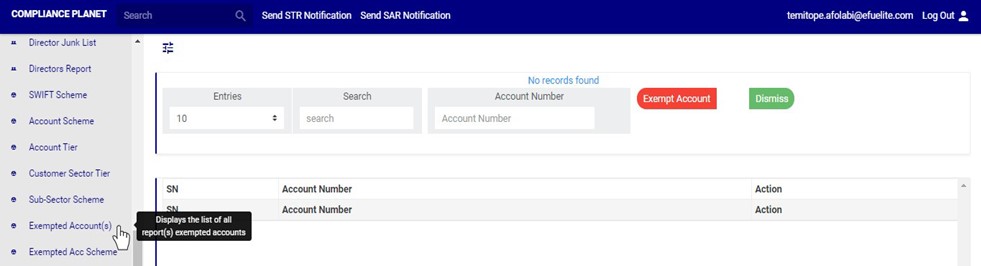
How To Preview List of CCI For Transaction Report
This refers to searching for CCI’s for the various transaction reports during a specified period. Here is how to preview a CCI for a transaction type.
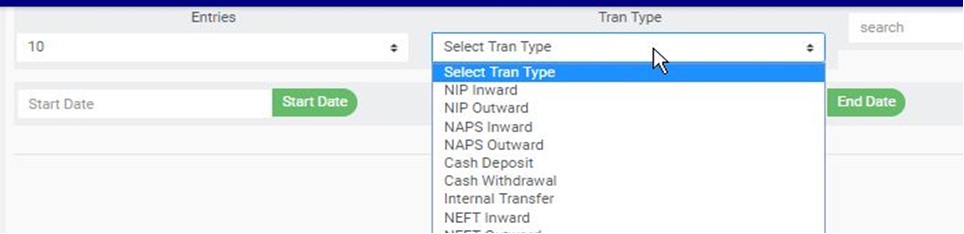
STEP 1: Select the transaction type from the ‘Tran Type’ box as shown in fig. 18.3a.
(fig. 18.3a)
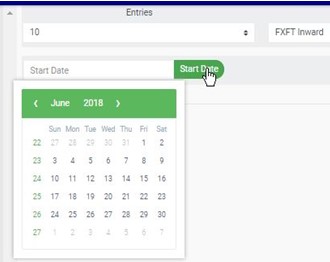
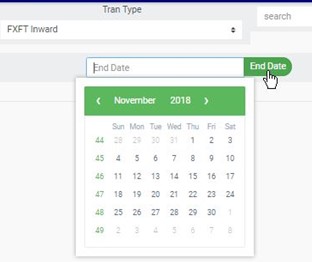
STEP 2: Set ‘START DATE’ and ‘END DATE’ to specify the beginning date and the ending date of the transaction reports whose CCI list is to be generated. See fig. 18.3a and fig. 18.3b for examples on setting start date and end date respectively.
STEP 3: Click on ‘PREVIEW’ as in fig.18.3d below.

(fig. 18.3d)
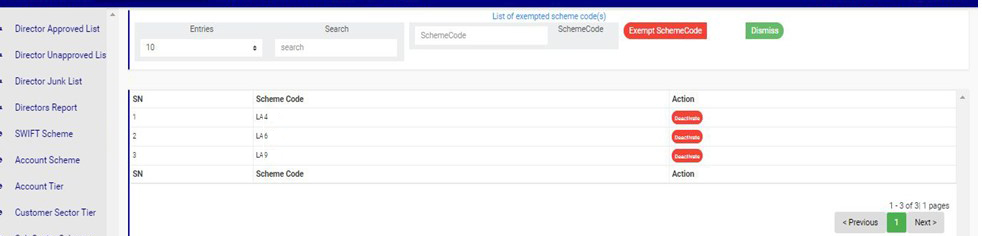
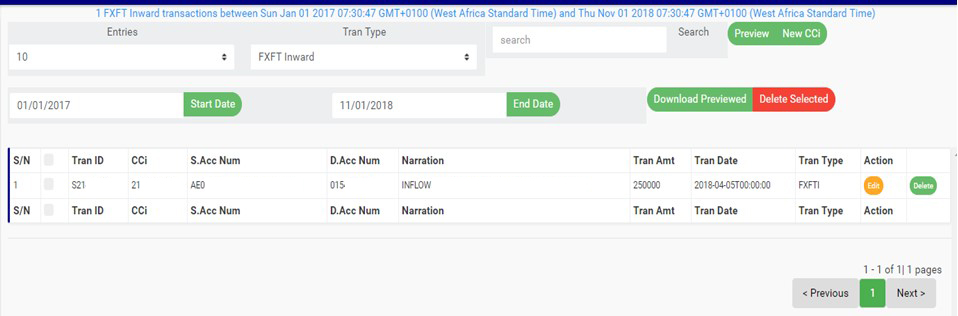
➔ Results for CCI for the selected transaction type will appear on the page as in fig. 18.3e below.
(fig. 18.3e)
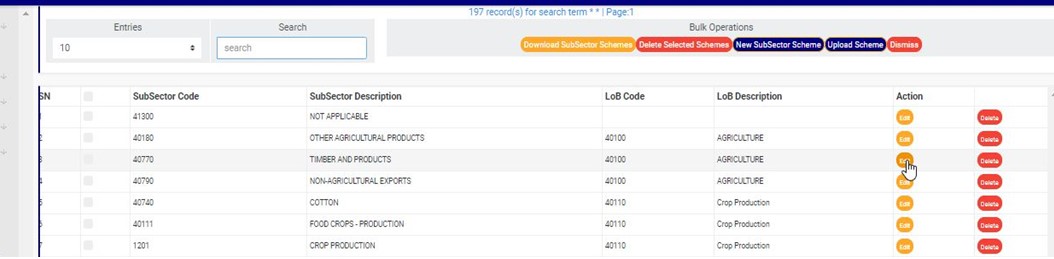
➔ At the bottom-right corner of the page, the software gives information about the number of pages. The page numbers represent buttons to go to each page. Clicking any page number will take you to that particular page. Click on the ‘NEXT’ button to go to the next page or the ‘PREVIOUS’ button to go to the page before the current page.
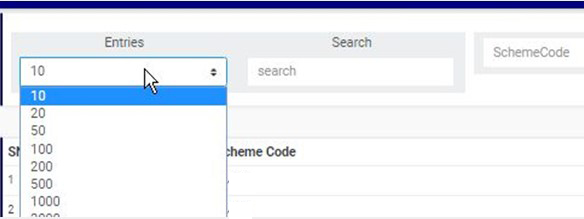
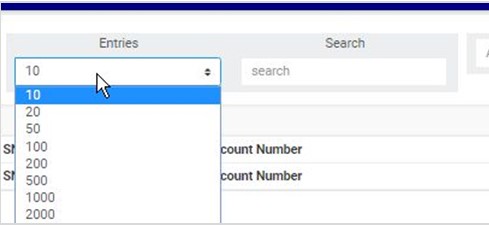
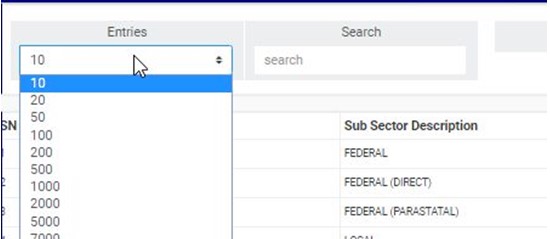
➔ Click on the ‘ENTRIES’ box to adjust the number of entries per page as shown in fig. 18.3f below.

(fig. 18.3f)
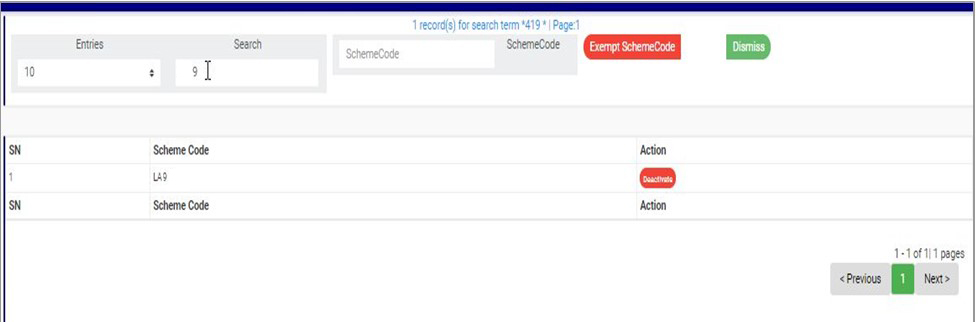
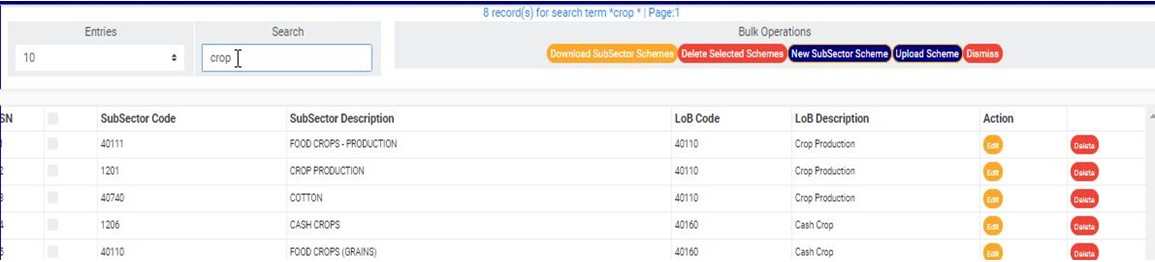
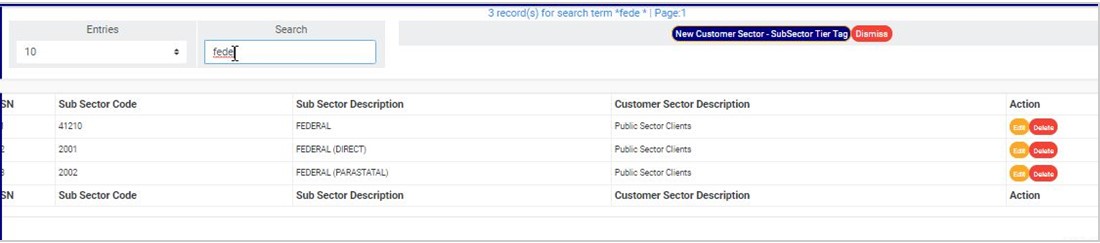
➔ You can search for a ‘CCI’ for a transaction by typing the ‘CCi’ , source account number or the destination account number involved in the matched transaction. See an example of a search in fig. 18.3g below.
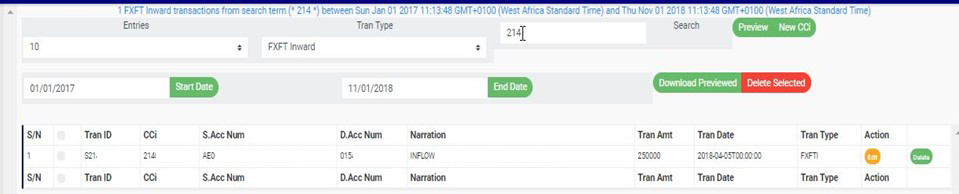
(fig. 18.3g)
This refers to changing the CCI number attached to a transaction. Here is how to do this.
STEP 1: Click on the ‘EDIT’ button of the CCI record. See fig. 18.4a for an example.
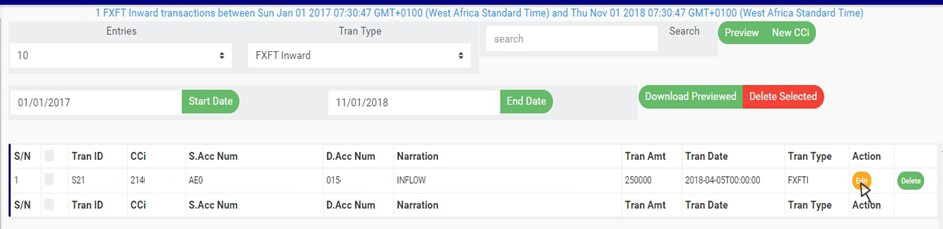
(fig. 18.4a)
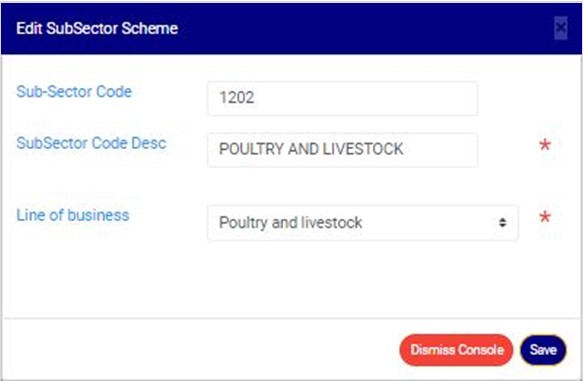
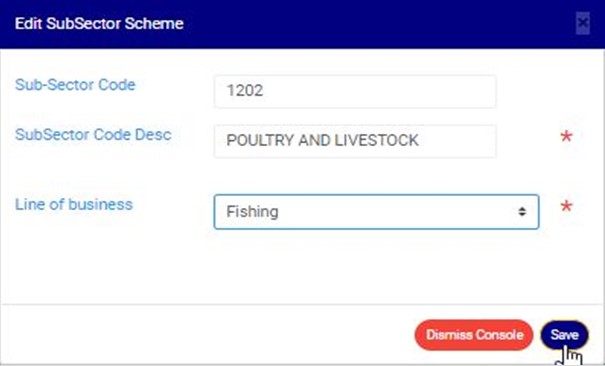
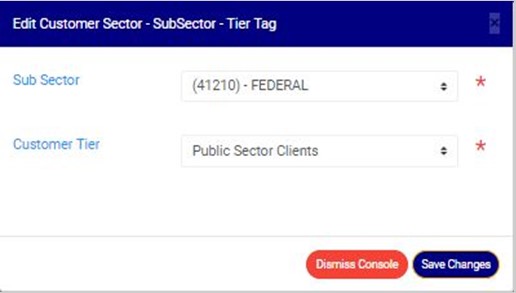
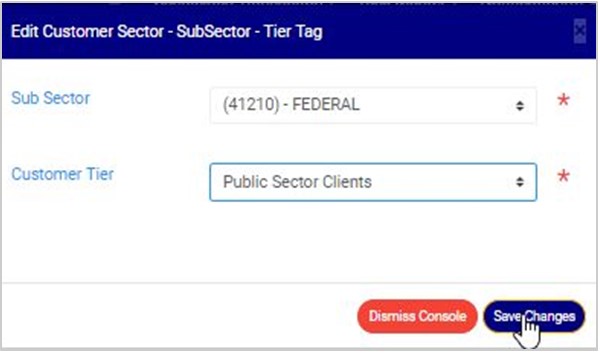
➔ This displays an ‘Edit CCI’ console as shown below.
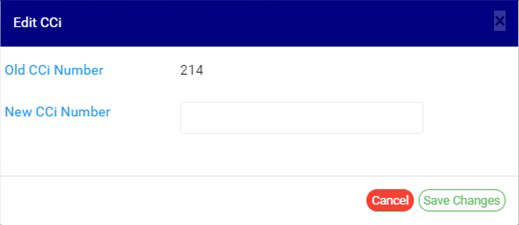
(fig. 18.4b)
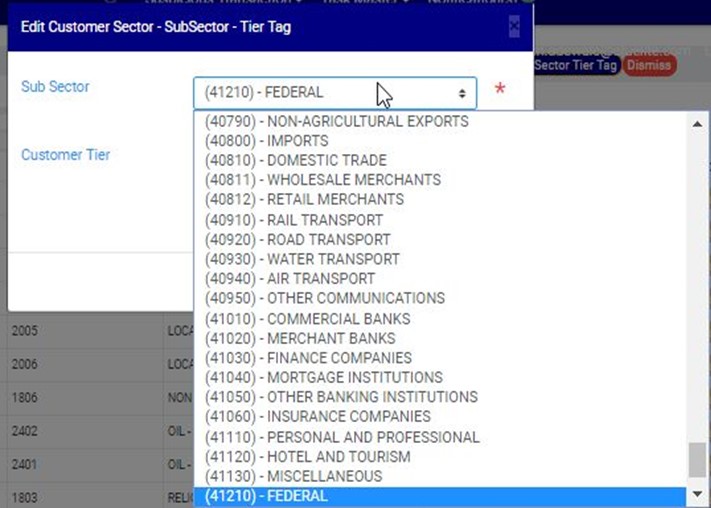
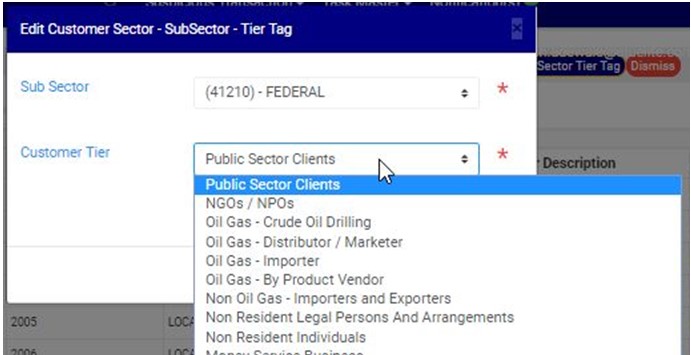
STEP 2: Fill in the new CCI (that is, the new Certificate of Capital Importation number to be attached to the transaction for reporting). See fig. 18.4c for an example.

(fig. 18.4c)
STEP 3: Click on ‘SAVE CHANGES’ as in fig. 18.4d to save the new transaction CCI.
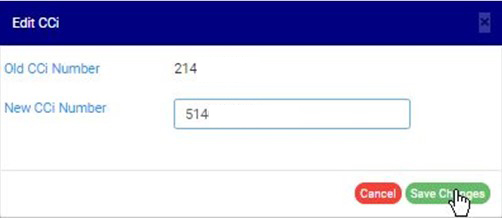
(fig. 18.4d)
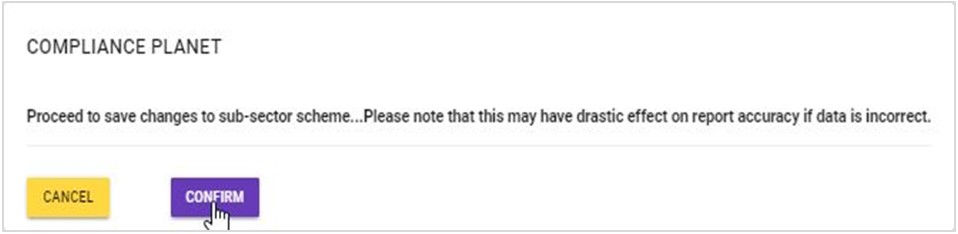
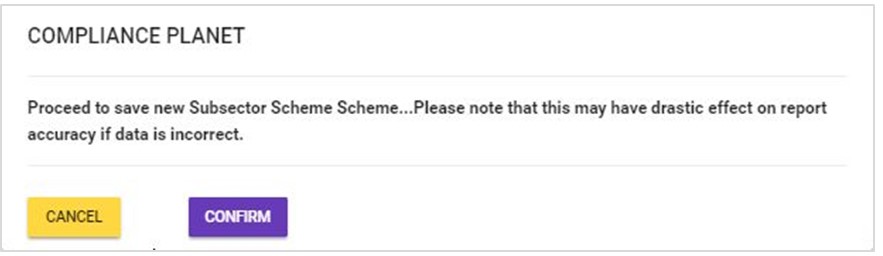
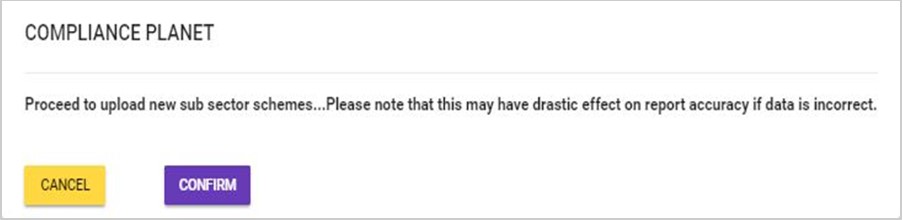
➔ This displays a confirmation console as in fig 18.4e below.
STEP 4: Click ‘CONFIRM’ as in fig. 18.4e to proceed to save changes or click on ‘CANCEL’ to discontinue.

(fig. 18.4e)
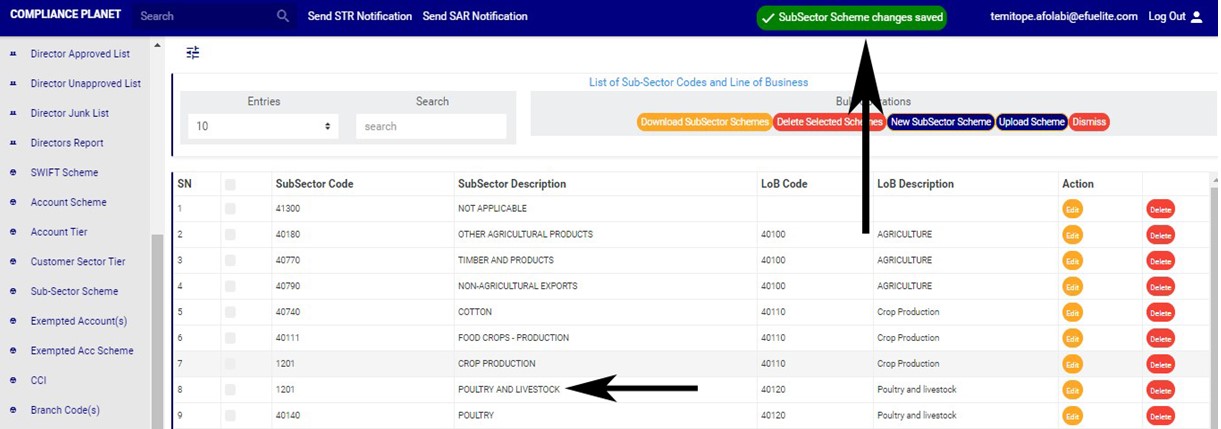
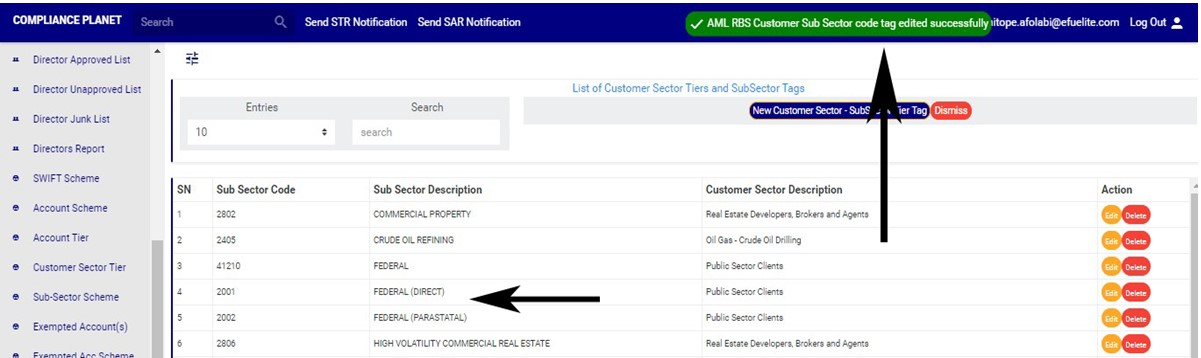
➔ A notification as in fig. 18.4f will be displayed at the top of the page when the operation is successful.

(fig. 18.4f)
This refers to matching a CCI to a transaction on the compliance planet software. This CCI will form part of the details that will be rendered for that particular transaction when the compliance planet processes an ADRAPS FTR report including the transaction.
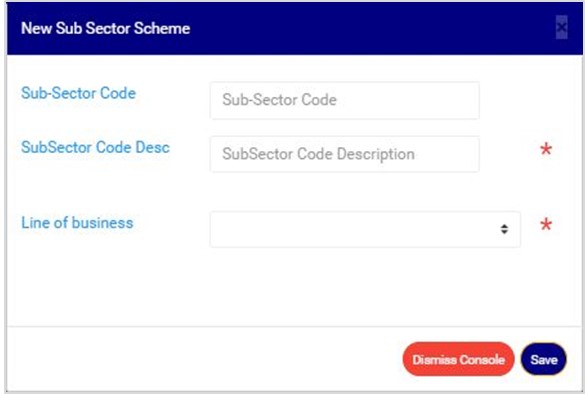
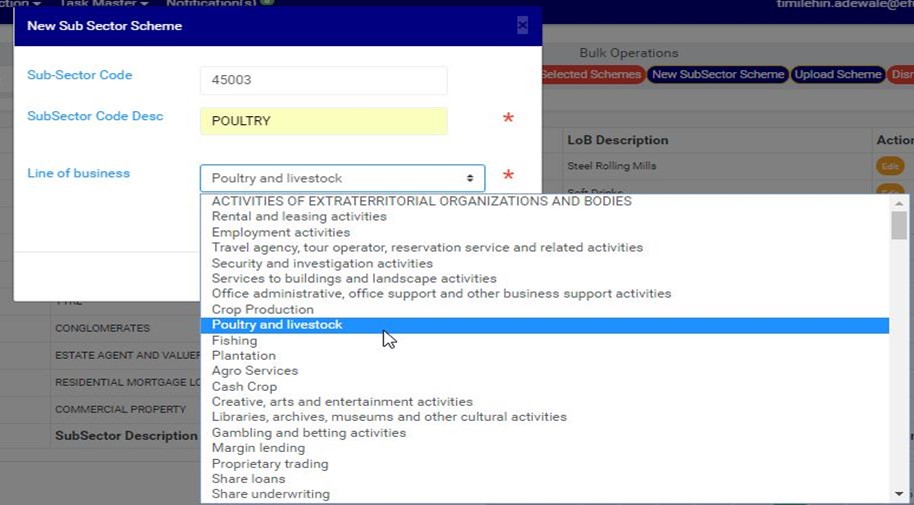
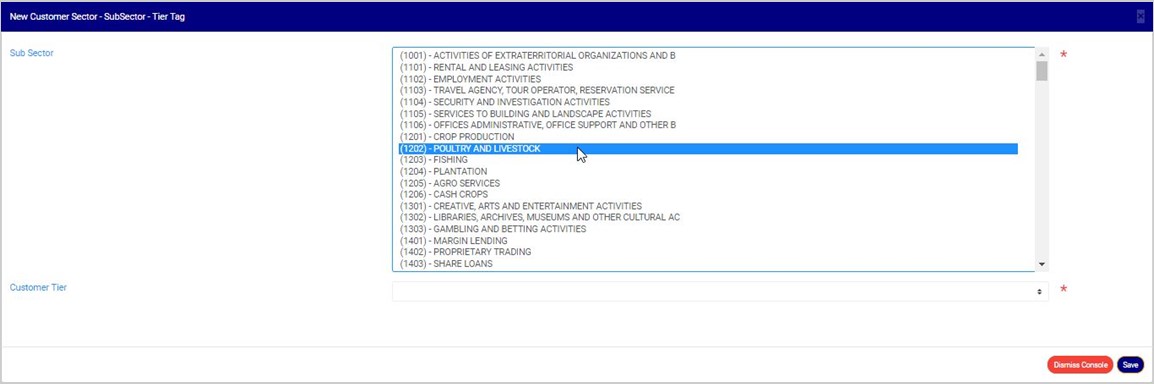
STEP 1: Click on ‘NEW CCI’ as shown in fig. 18.5a.This button is at the top of the page
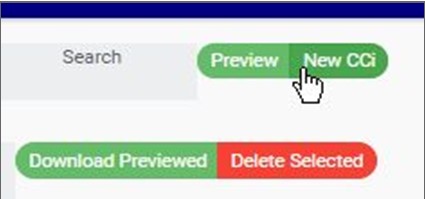
(fig. 18.5a)
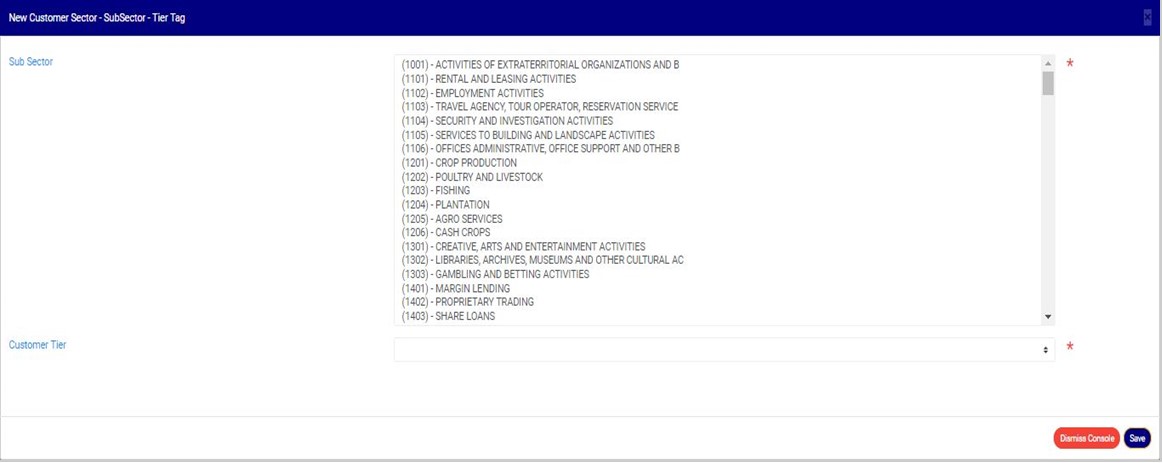
➔ This displays a console as in fig. 18.5b where details of the transaction and the CCI to be attached are to be filled.
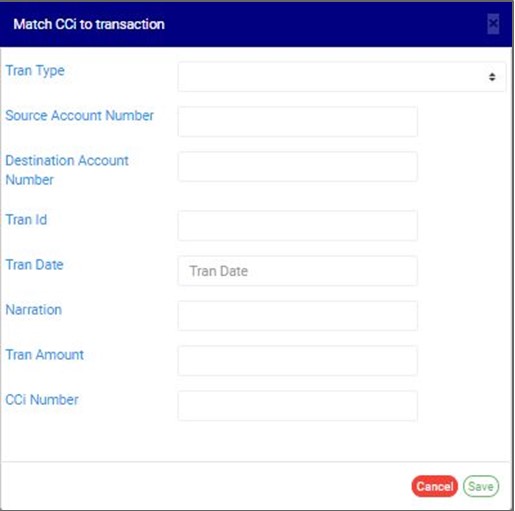
(fig. 18.5b)
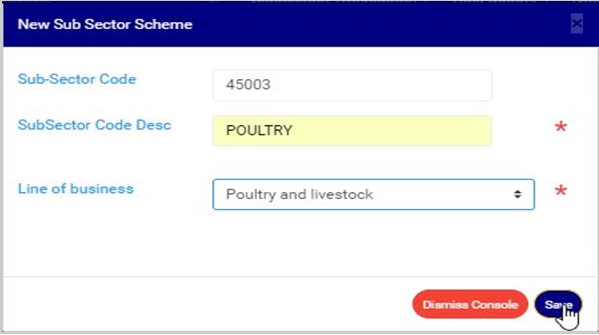
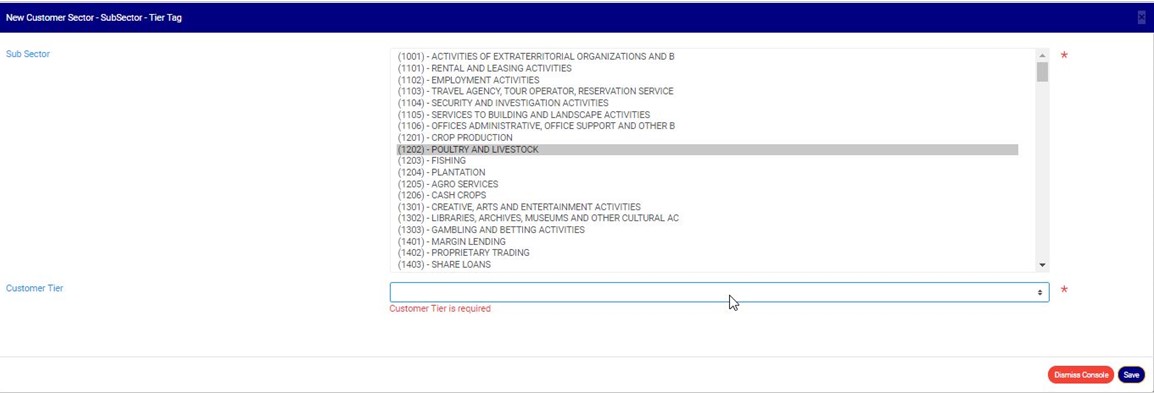
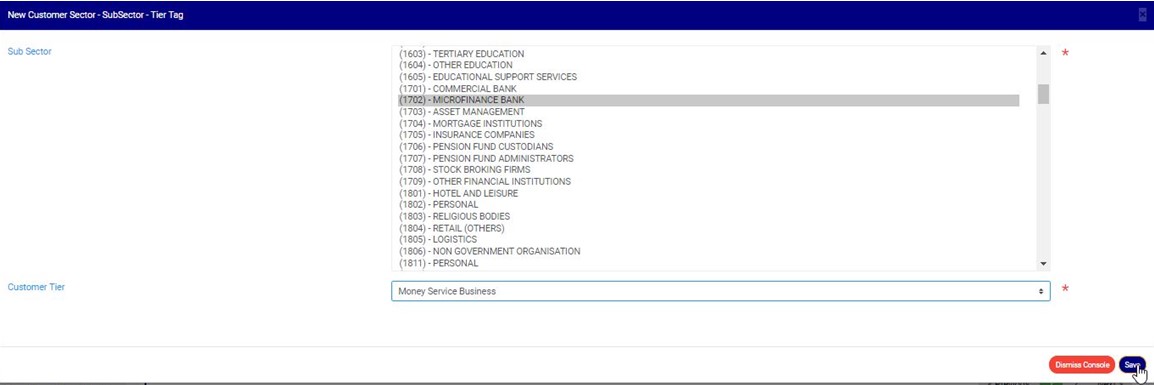
STEP 2: Fill in the required details and click on ‘SAVE’ as in fig. 18.5c to match CCi with transaction. Click on ‘CANCEL’ to close the console.
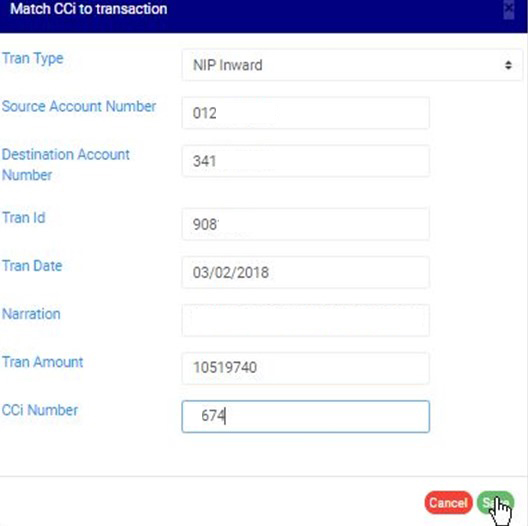
(fig. 18.5c)
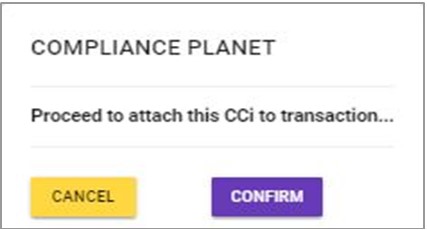
➔ This displays a confirmation console as in fig. 18. 5d to confirm your request.
(fig. 18.5d)
STEP 3: Click on ‘CONFIRM’ to proceed or ‘CANCEL’ to discontinue. A notification will be displayed at the top of the page when the operation is successful.
How To Delete CCI
This refers to deleting a CCI entry. Here is how to do this;
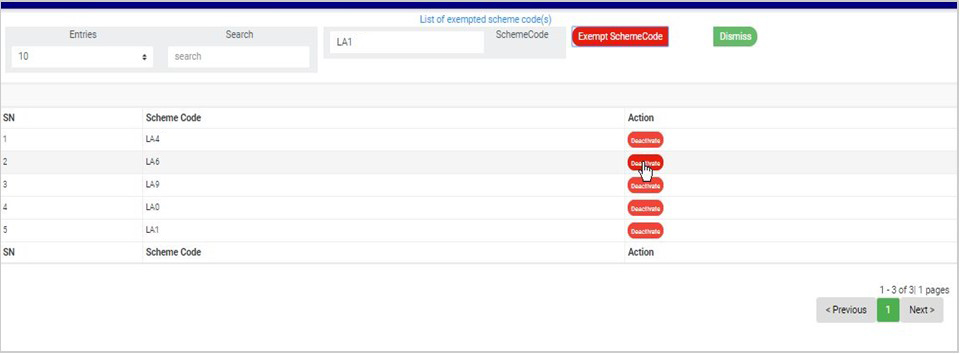
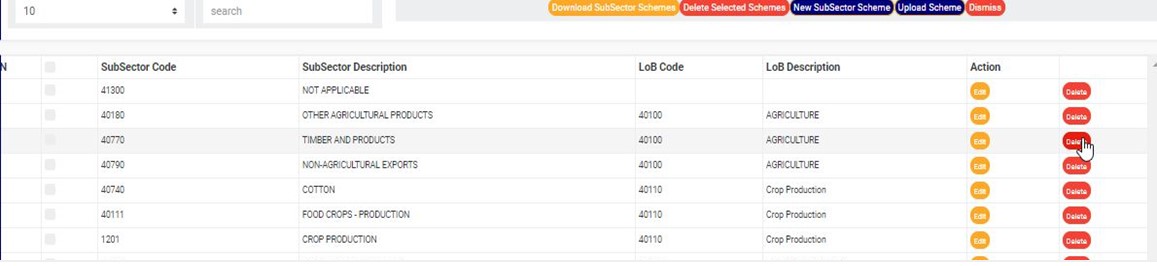
STEP 1: Click on the ‘DELETE’ button of the CCI entry as in fig. 18.6a.
(fig. 18.6a)
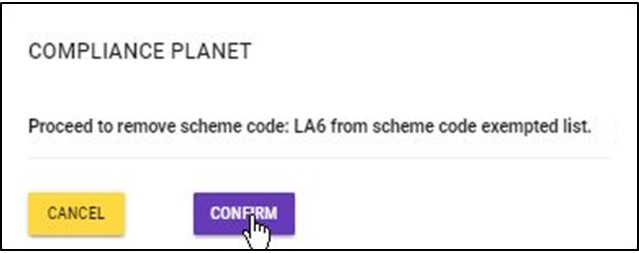
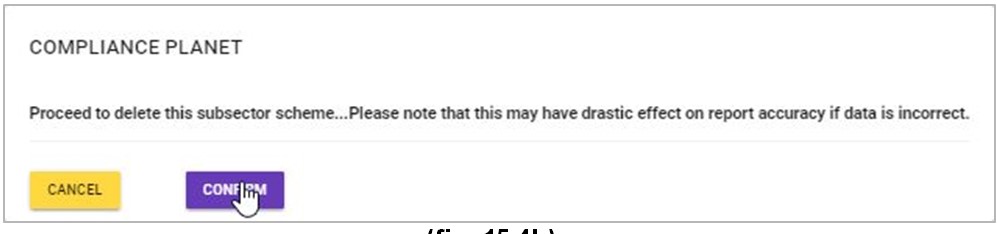
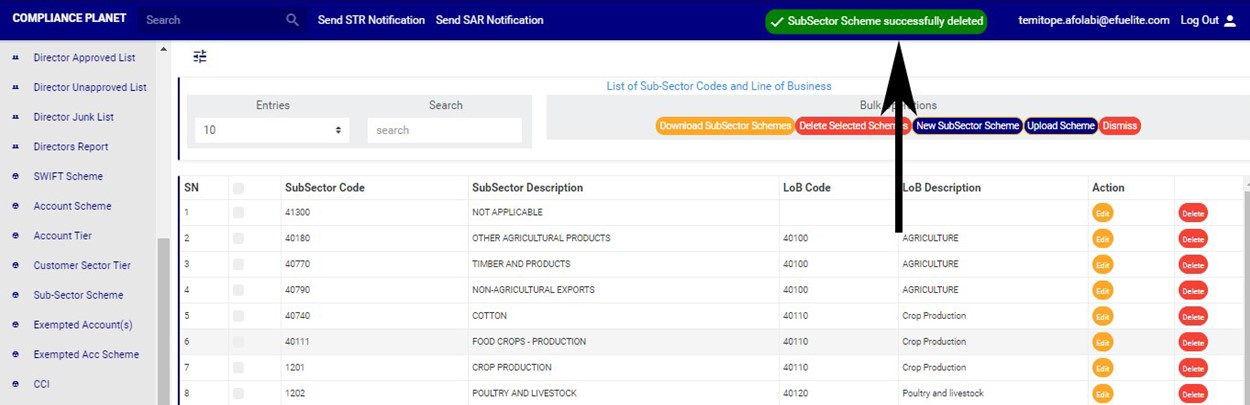
➔ A confirmation console will be displayed to confirm your request to delete the transaction CCi.
STEP 2: Click on ‘CONFIRM’ as in fig. 18.6b to proceed or ‘CANCEL’ to discontinue.

(fig. 18.6b)
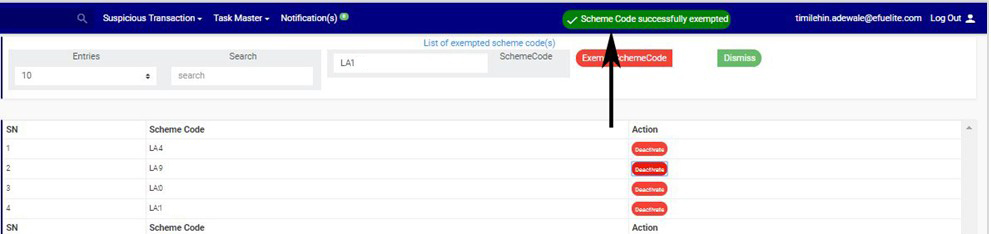
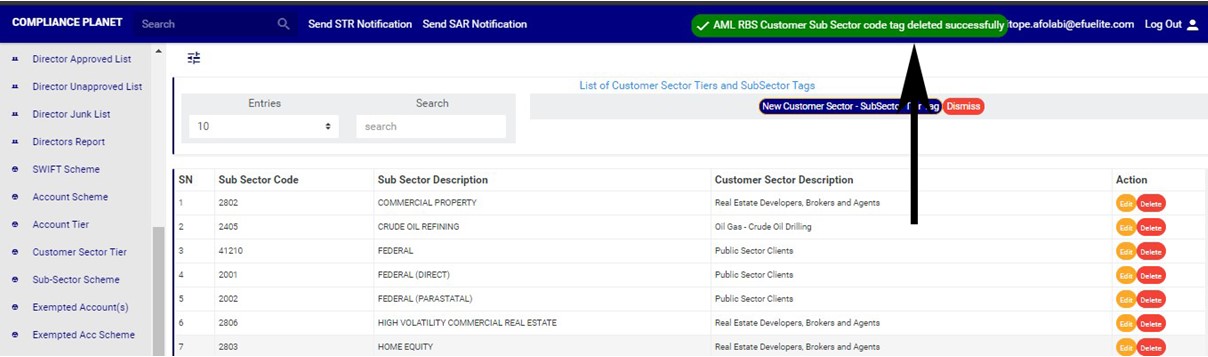
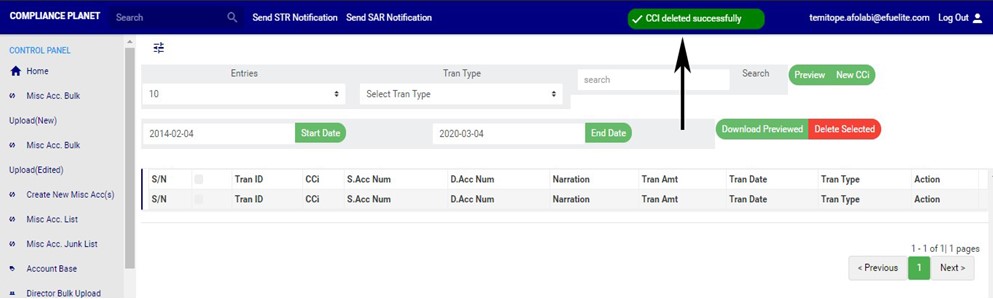
➔ A notification will be displayed at the top of the page when the delete operation is complete.
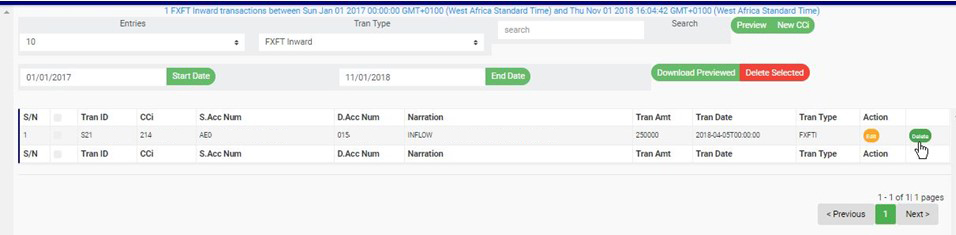
How to Download CCI
STEP 1: Select CCI entry to be downloaded as in fig. 18.7a below.

(fig. 18.7a)
STEP 2: Click on ‘DOWNLOAD PREVIEWED’ as shown in fig. 18.7b.
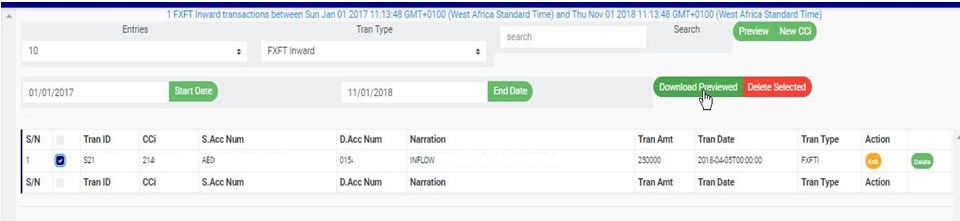
(fig. 18.7b)
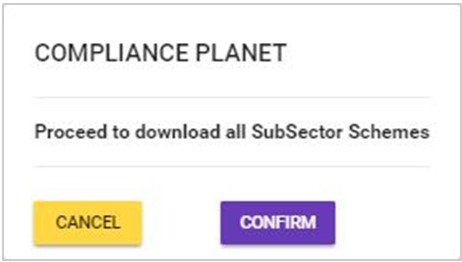
➔ This displays a confirmation console to confirm your request as in fig. 18.7c.
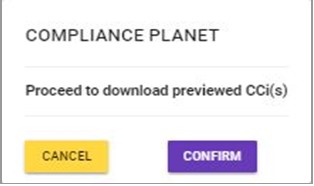
(fig. 18.7c)
STEP 3: Click on ‘CONFIRM’ to proceed with the download or click on ‘CANCEL’ to discontinue.
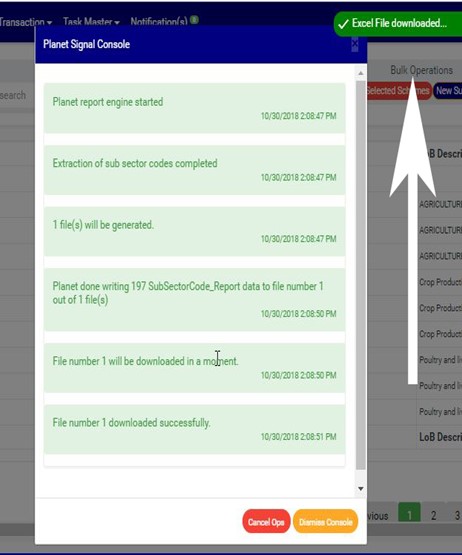
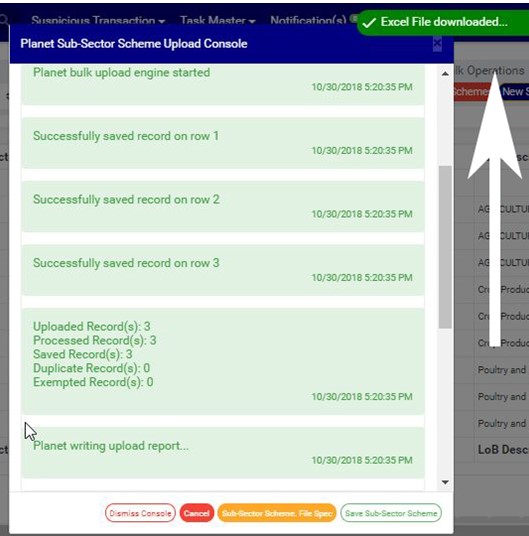
➔ The signal console shows on going processes. An example of a signal console is fig 18.7d. When the operation is complete, a notification will be displayed at the top of the page. See fig. 18.7d below for an example.
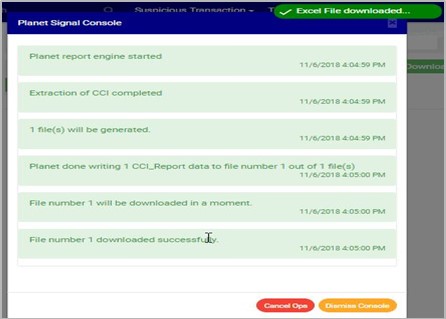
(fig. 18.7d)
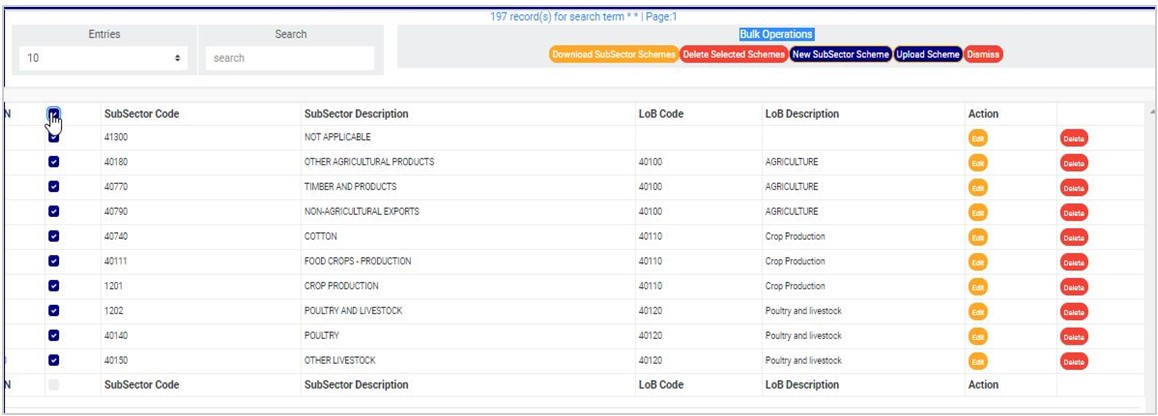
This refers to deleting more than one CCI entry. Here is how to do this;
STEP 1: Select the entries to be deleted by clicking on their check boxes.
STEP 2: Click on ‘DELETE SELECTED’ as in fig. 18.8a.

(fig. 18.8a)
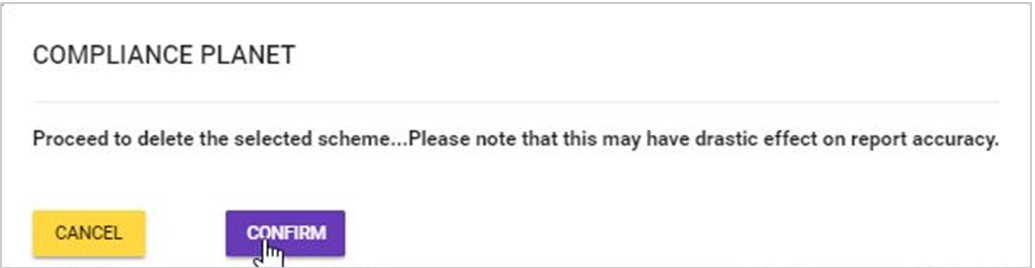
➔ This displays a confirmation console to confirm your request to delete the transaction CCi.
STEP 3: Click on ‘CONFIRM’ as in fig. 18.8b to proceed or ‘CANCEL’ to discontinue.

(fig. 18.8b)
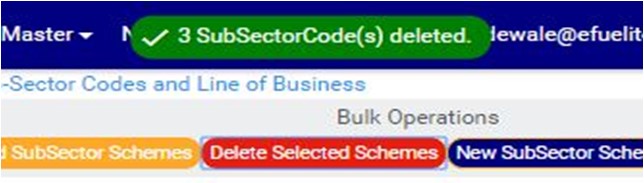
➔ A notification will be displayed at the top of the page when the operation is complete.
(fig. 18.8c)