This section provides a guide on how to carry out Transaction Monitoring Review Explorer on the Compliance Planet Anti Money Laundering/Core Banking Finance Software, with step-by-step instructions and pictures.
STEP 1: From the app dashboard, click “DIGITAL FINANCIAL CRIMES SURVEILLANCE” as in Fig. a below.
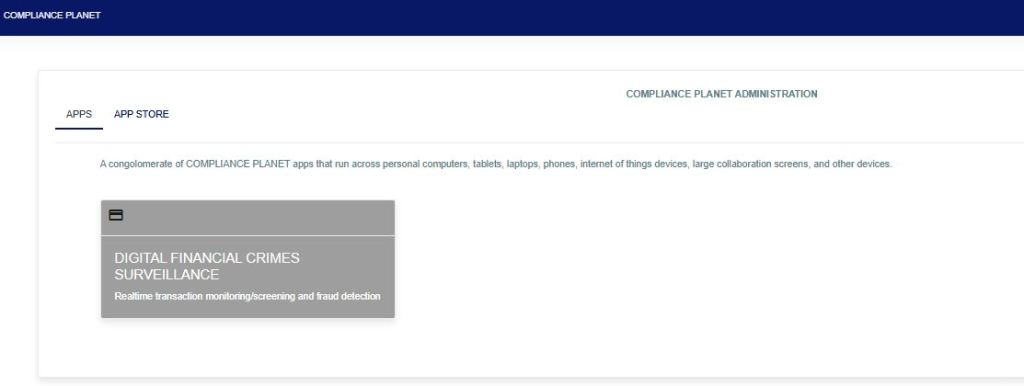
Fig a
STEP 2: From the left-hand side menu, select “TM Review Explorer”, then click on “Data View Filter” as in Fig. b below.

Fig. b
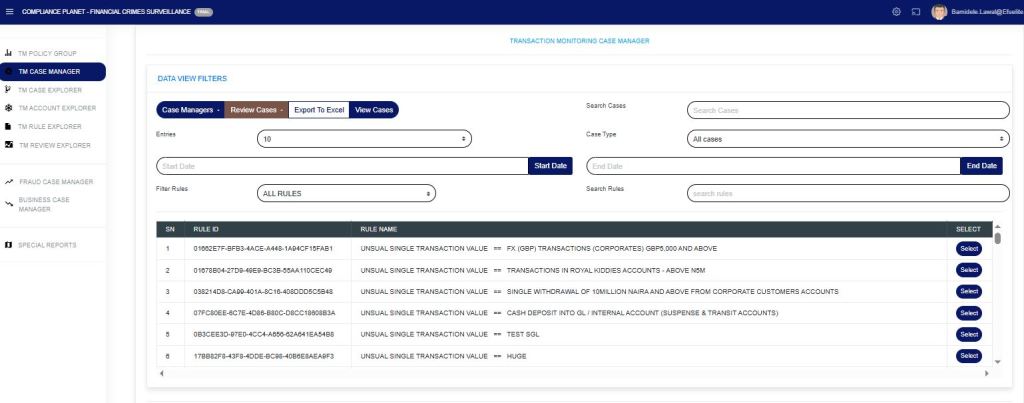
STEP 3: Then click “Data View Filters” to show a menu window that displays all the menus: Search Cases, Export to Excel, View Cases, Entries, Case Type, Start Date & End Date, Filter Rules, and Search Rules as in Fig. C below.
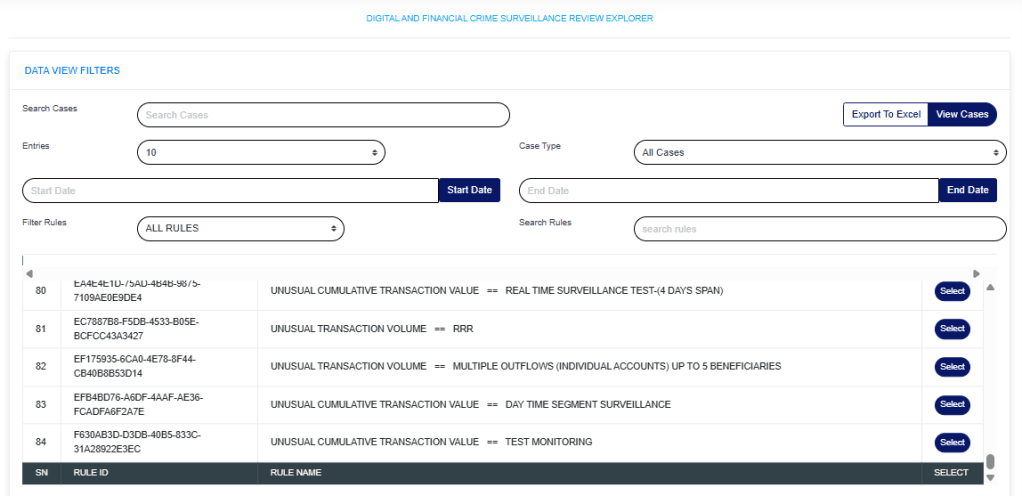
Fig. C
- Search Cases: Click on the “Search Cases” box and enter keywords to quickly find specific cases related to a rule.
- Export to Excel: Click on “Export to Excel” to carry out further analysis on a downloaded rule.
- View Cases: Click on “View Cases” to view cases under a particular rule. Further visualization is below.
- Entries: Click on the “Entries” drop-down to choose how many case entries you want displayed per page.
- Case Type: Click on the “Case Type” drop-down to filter and view cases.
- Start Date & End Date: Use the “Start Date” and “End Date” fields to filter cases or rules based on a selected time range.
- Filter Rules: Click on the “Filter Rule” menu drop-down and select either All rules, Rules Deployed by me, or Rules Assigned to me.
- Search Rules: Click the “Search rule” box and enter a phrase to quickly locate a specific rule. This feature helps you find rules containing the entered phrase.
To view rule cases, select the policy rule by clicking on the “select button” to highlight, input the start date and end date, then click on “View Cases” as in Fig. d below.
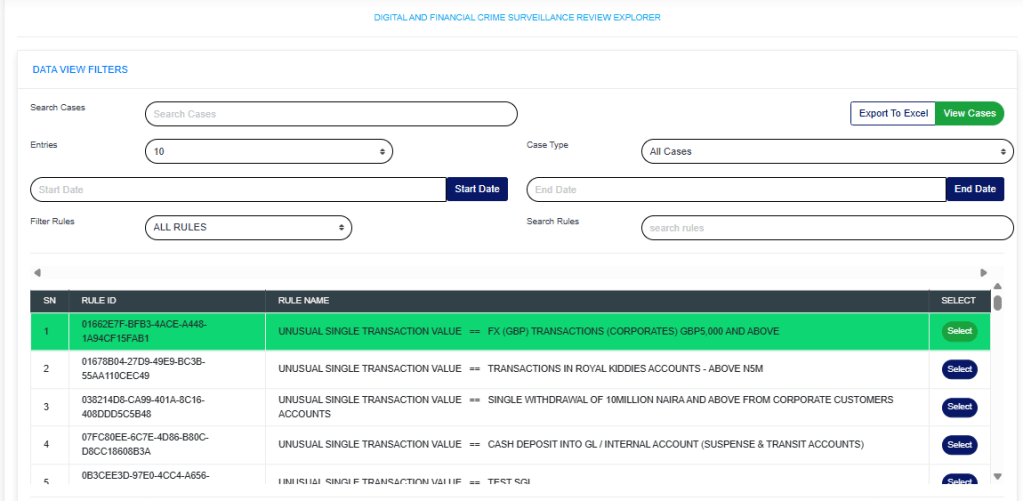
Fig d
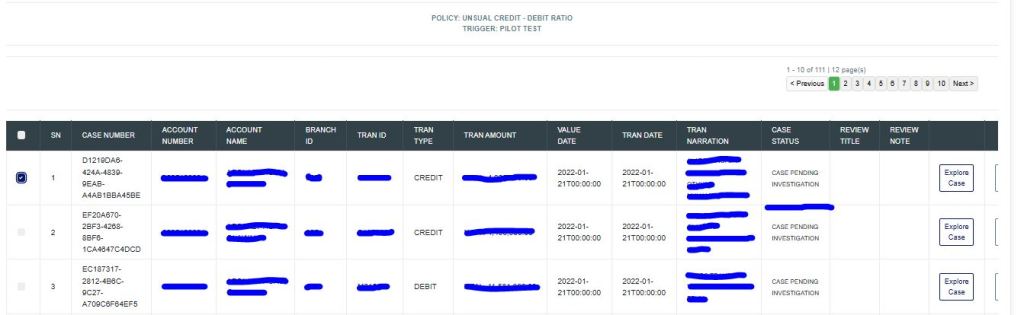
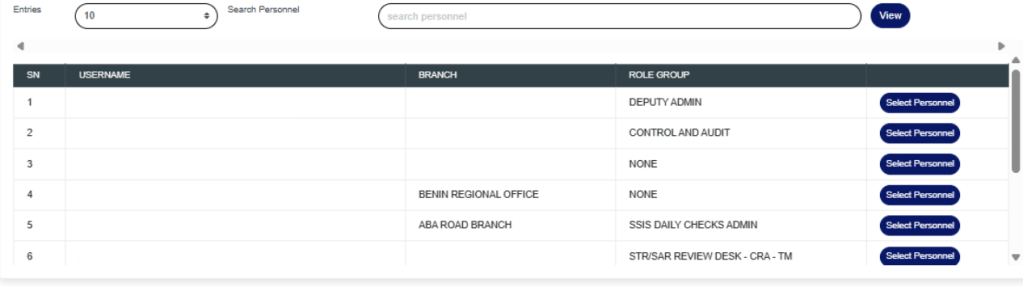
Below, you can select personnel to view the cases they have reviewed.
The lower part of the page now displays the policy rule name and all account information, as shown in the figure below.
Each rule can be viewed in the Explorer case, Explorer account, or Explorer rule.

For further inquiries:
Tel: +234(0) 816 555 9818
Email: solutions@efuelite.com
Web: http://solutions.efuelite.com