The Nigerian Financial Intelligence Unit (NFIU) has, over the years, introduced several CTR/STR report schema versions.
The Compliance Planet AML Software gives room for institutions to select the schema version that suits their reporting as well as the validators for each node in the XML.
Below are guides on how to perform the aforementioned operations.
Schema Validators Operations
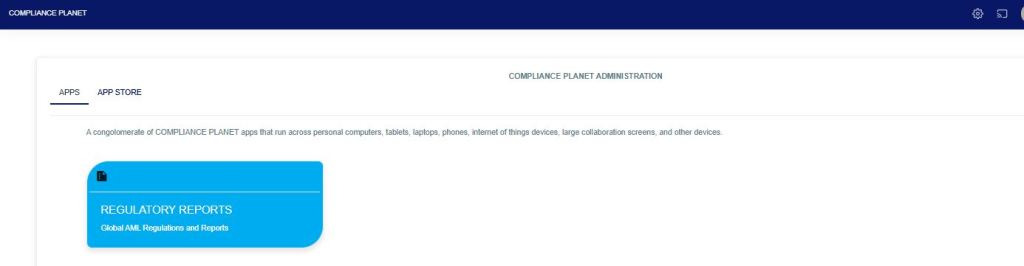
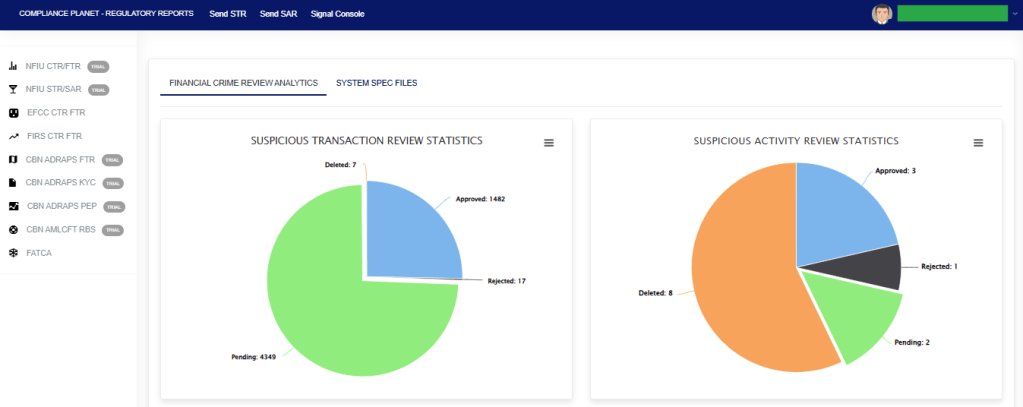
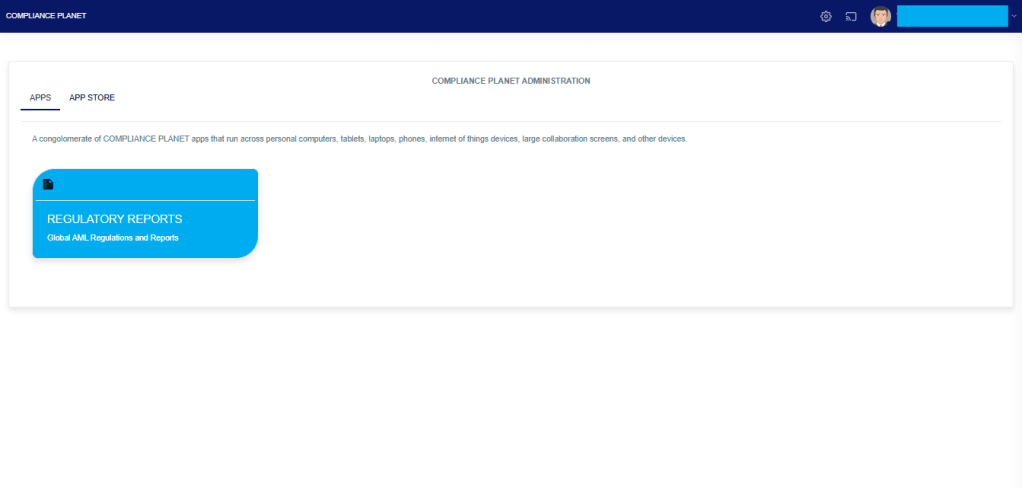
STEP 1: From the app dashboard, click “CONTROL PANEL” as in Fig 1a below.
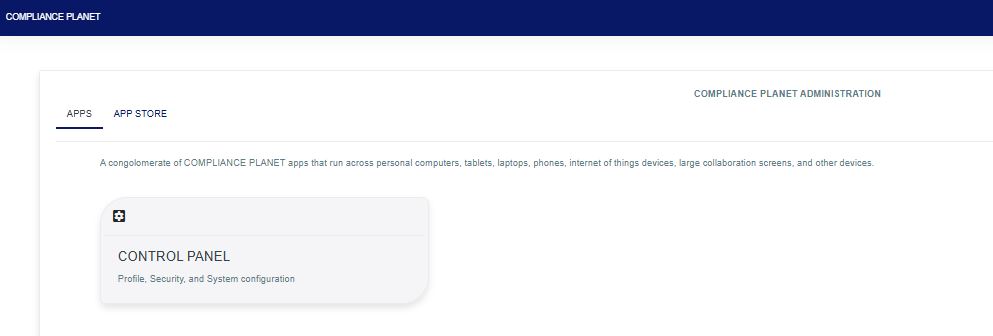
Fig 1a
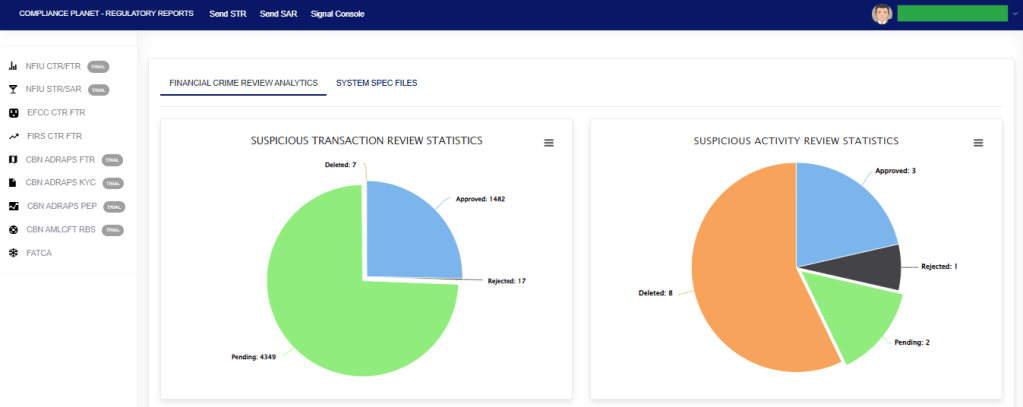
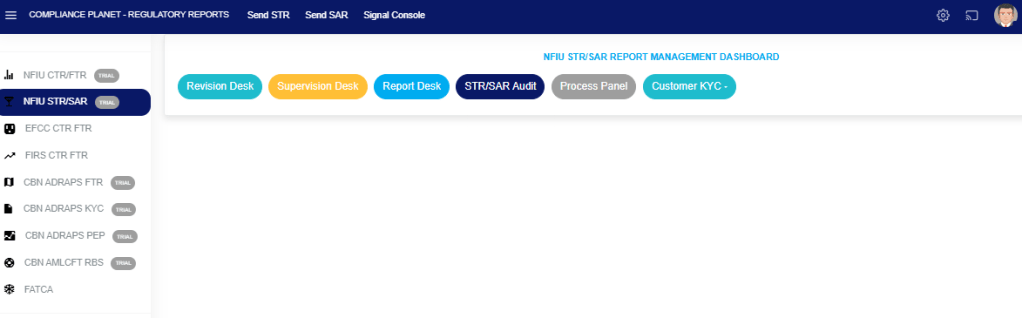
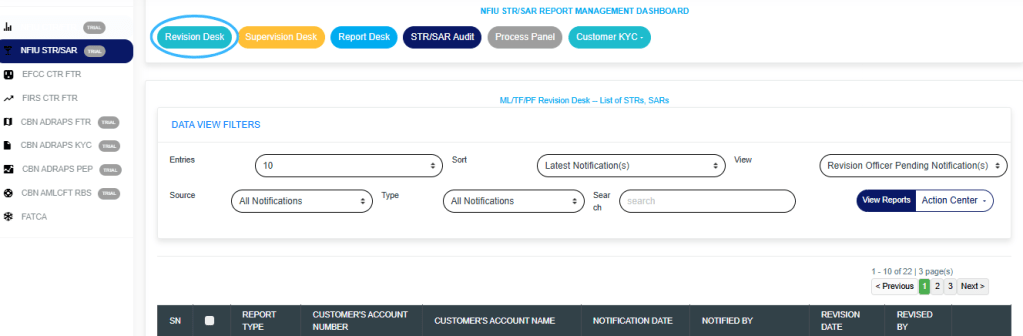
STEP 2: From the left-hand side menu, click “REGULATORY REPORT”. as in Fig 1b below
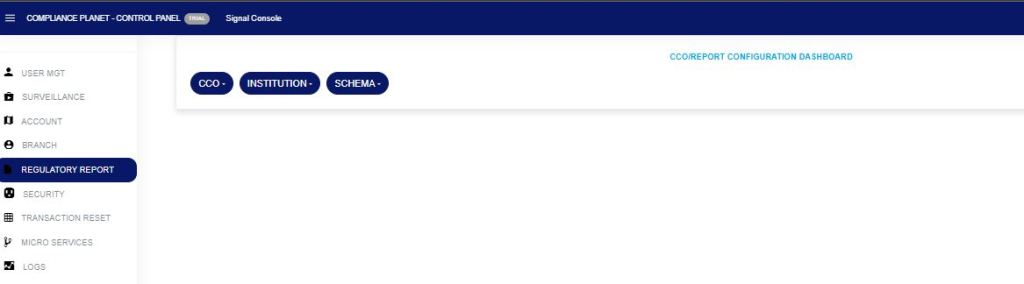
Fig 1b
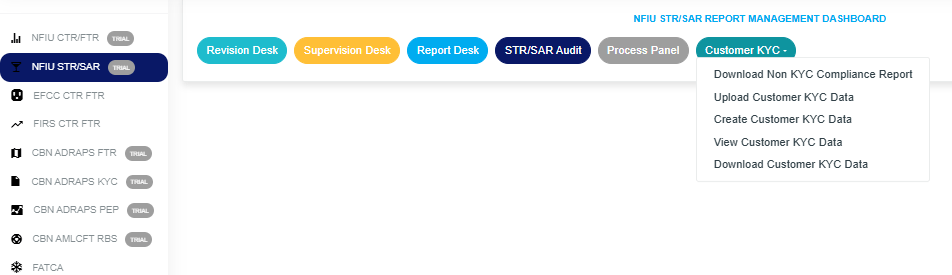
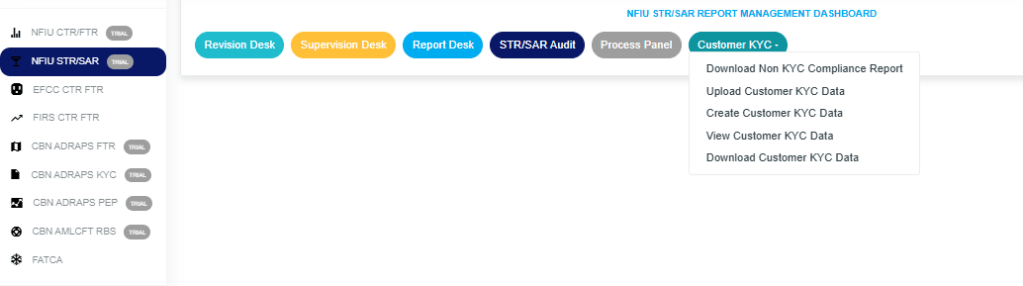
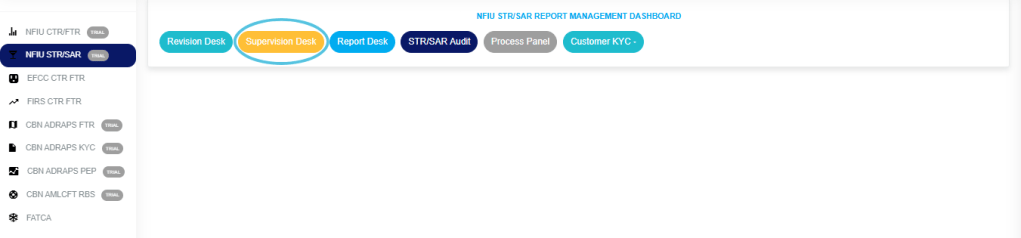
STEP 3: Then click on “SCHEMA” to display a drop-down shown in Fig 1c below and select “Schema Validators“.
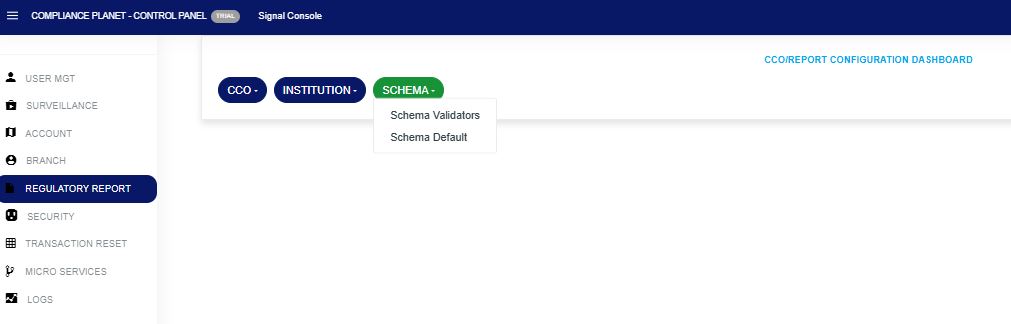
Fig 1c
Setting the Validators
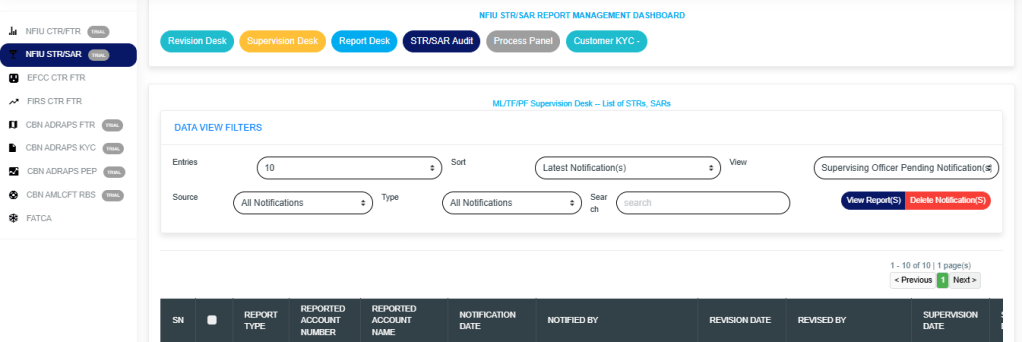
Report Drop-down: This is to select the report type, either NFIU CTRFTR or NFIU STR, for which you desire to set its validators.
Schema Version Drop-down: This is to select the NFIU Schema version for which you desire to configure its validators as shown in Fig 1d.

Fig 1d
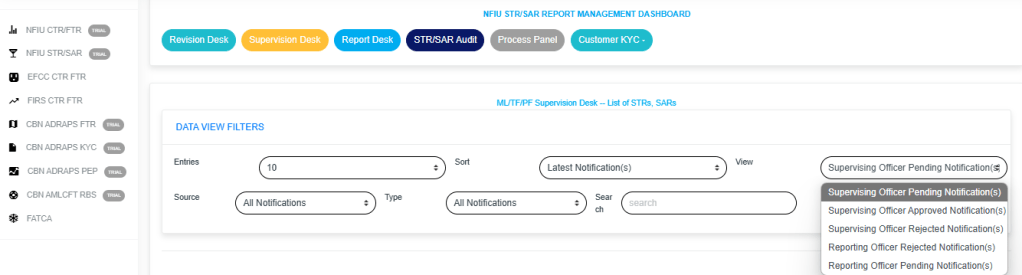
After selecting the desired Report type and Schema version, click on the “Load Validators” button to load the validation controls.
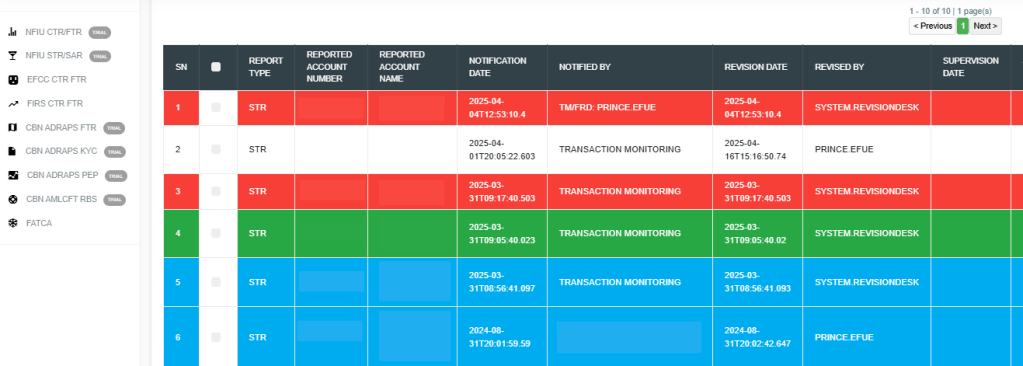
The above action will display the Validator that controls each XML node, as seen in the image below, Fig. 1e.
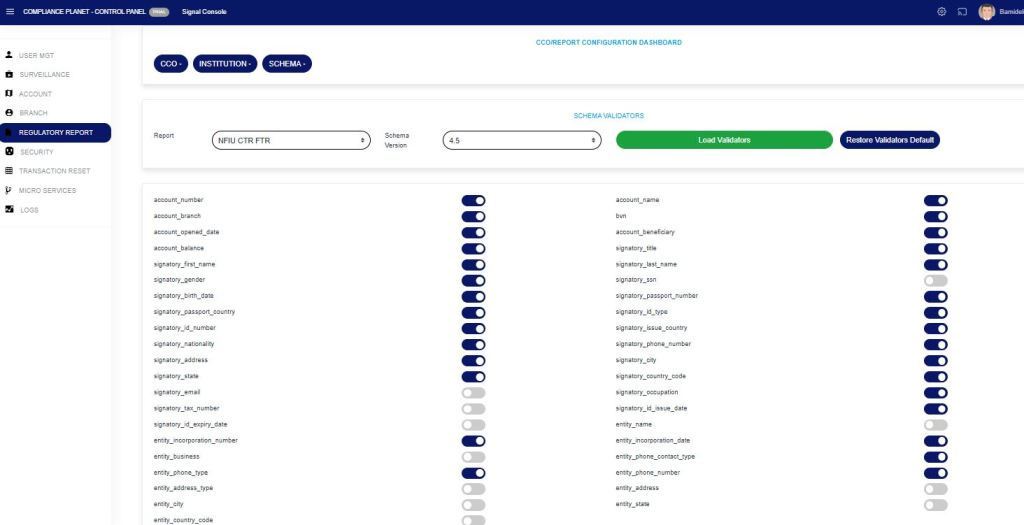
Fig 1e
In case changes were made to the controls, click on the “Update Validators” button to save your changes, as shown in Fig 1f.
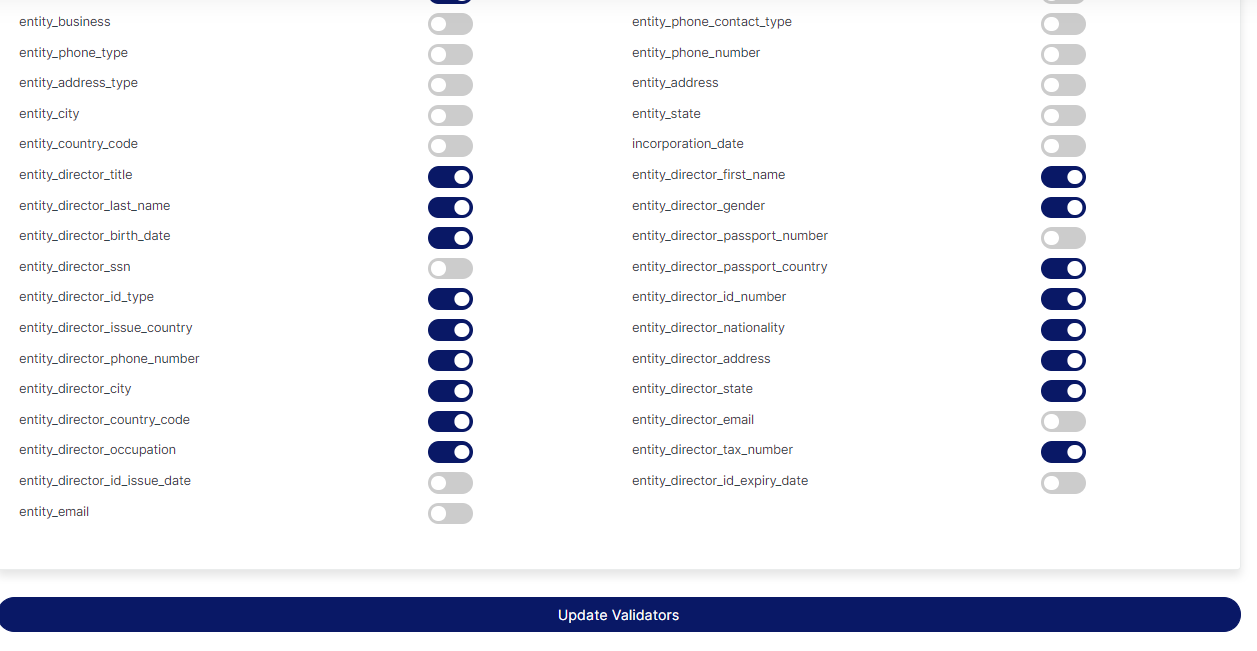
Fig 1f
To restore to default, click on the “RESTORE VALIDATORS DEFAULT” button as shown in Fig 1g.

Fig 1g
Setting the Default NFIU Schema Version to be Used.
STEP 4: Click on “SCHEMA” drop-down button and select “Schema Default” option as displayed in Fig 1h below.
Use the Schema Version drop-down menu to select the desired version for each report type.
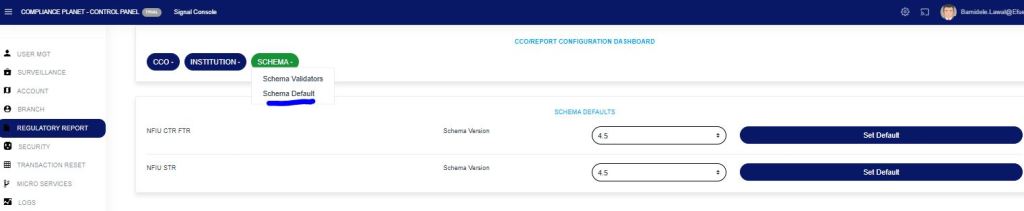
Fig 1h
Once the version has been selected, click on the “Set Default” button respectively to save your settings as displayed in Fig 1i below.
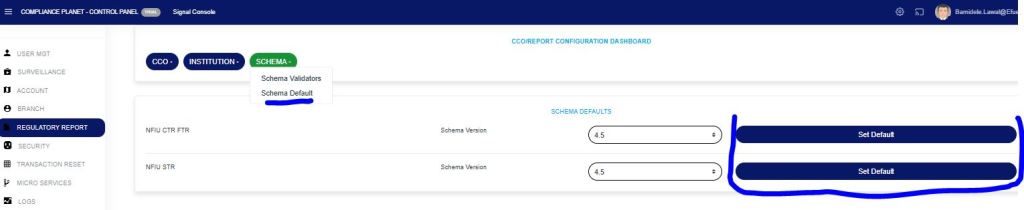
Fig 1i
NB: The selected schema version is what the Software will use henceforth when validating XML.
If Schema 4.5 is selected as the default for the NFIU CTR-FTR report, the Software will validate and prepare the XMLs using the NFIU schema 4.5
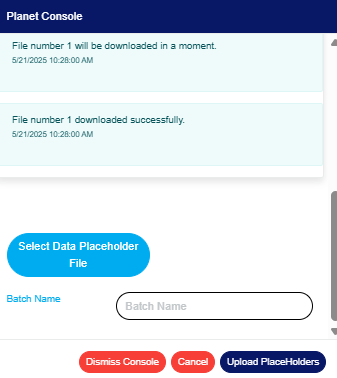
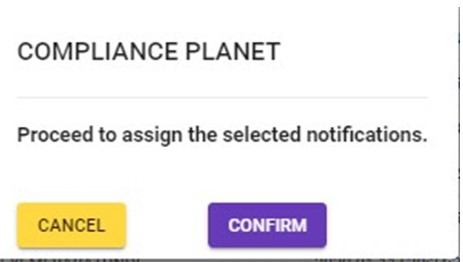
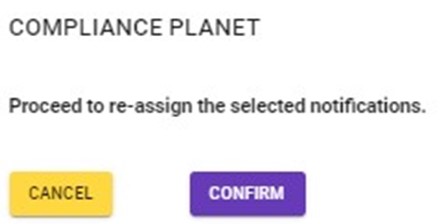
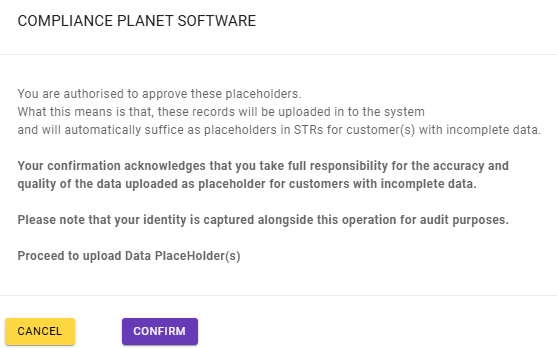
This displays a confirmation console to confirm your request.
Click on ‘CONFIRM’ as in Fig. 1j to proceed or ‘CANCEL’ to discontinue the operation. A notification will be displayed at the top of the page when the operation is complete.
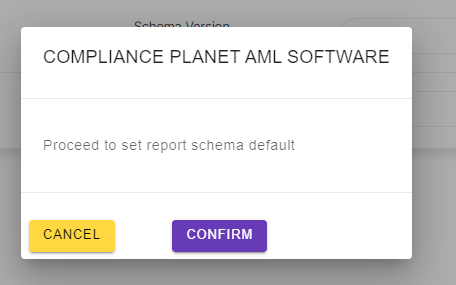
Fig 1j
For further enquiries:
Tel: +234(0) 816 555 9818
Email: solutions@efuelite.com
Web: http://solutions.efuelite.com