The ‘APPROVED LIST’ page provides a list of all corporate account directors’ information that have been verified and approved by the financial institution .Here, the details of corporate account director can be viewed, edited, deleted and disapproved, either individually or in bulk. Here are steps on how to make use of the features on the Approved list page.
NOTE: Only person(s) profiled as deputy supreme Admin and assigned right(s) to “view directors list” will be able to carryout this operation.
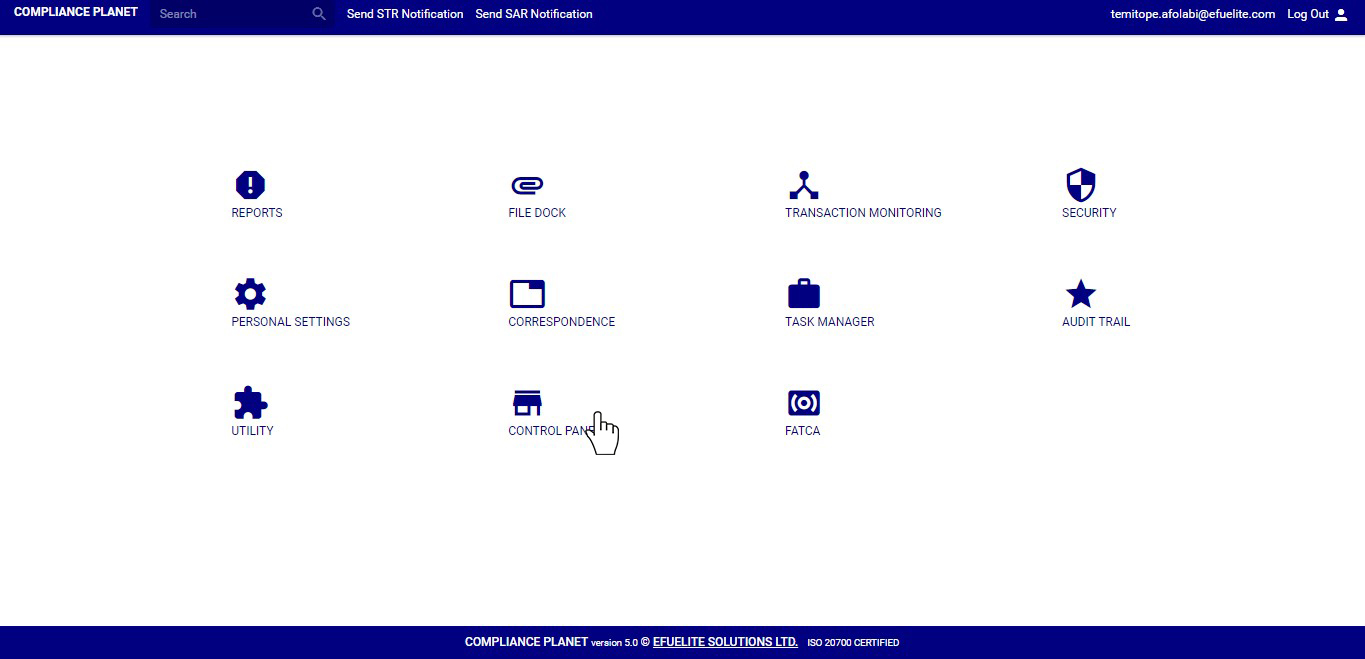
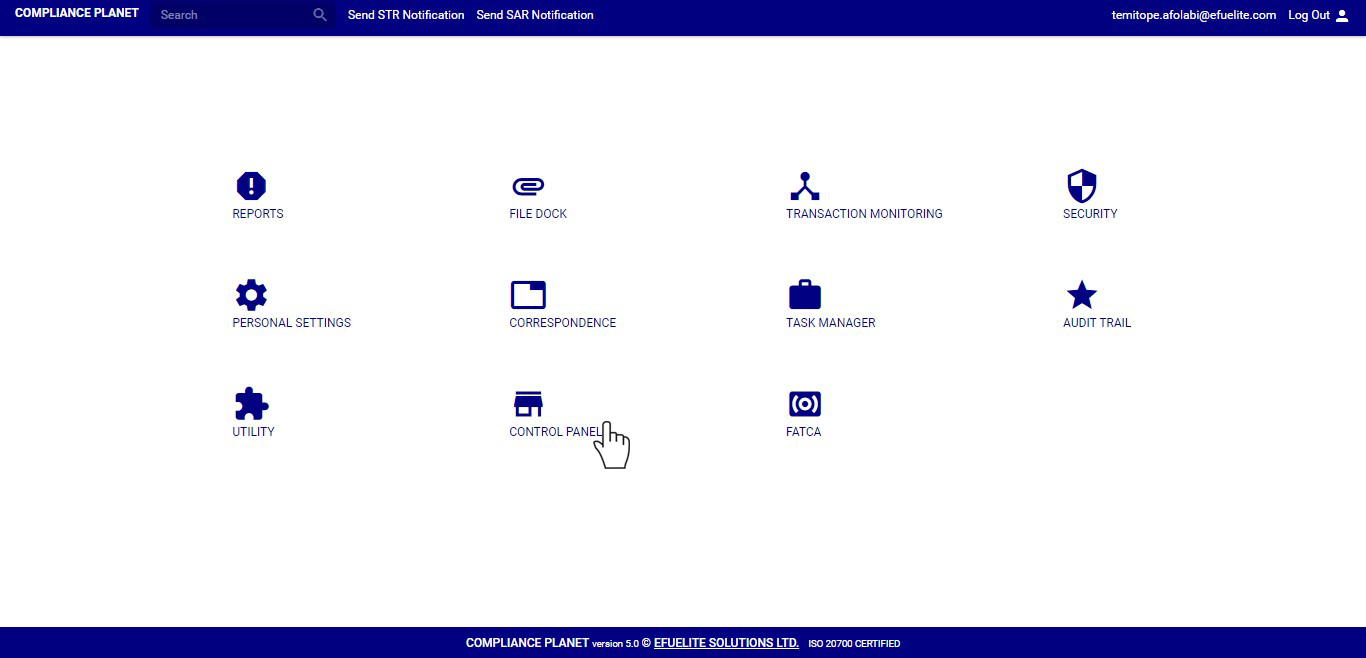
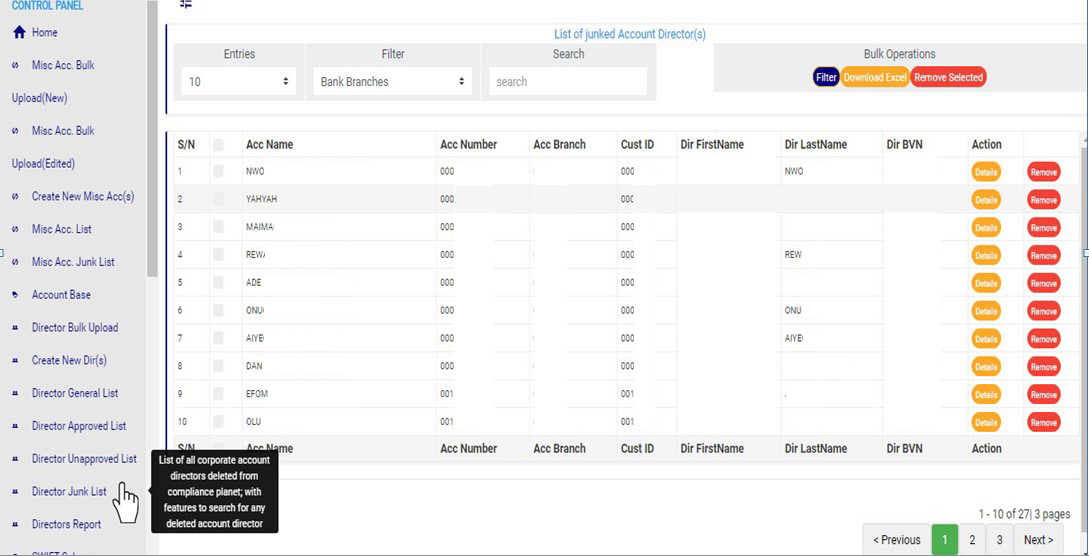
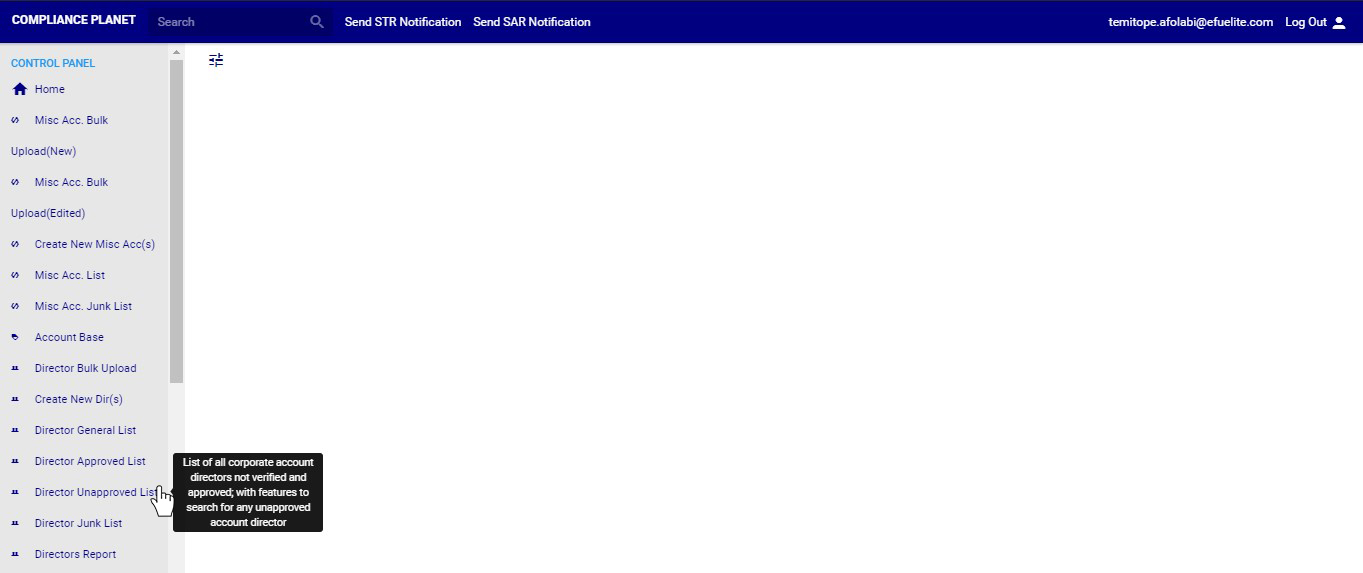
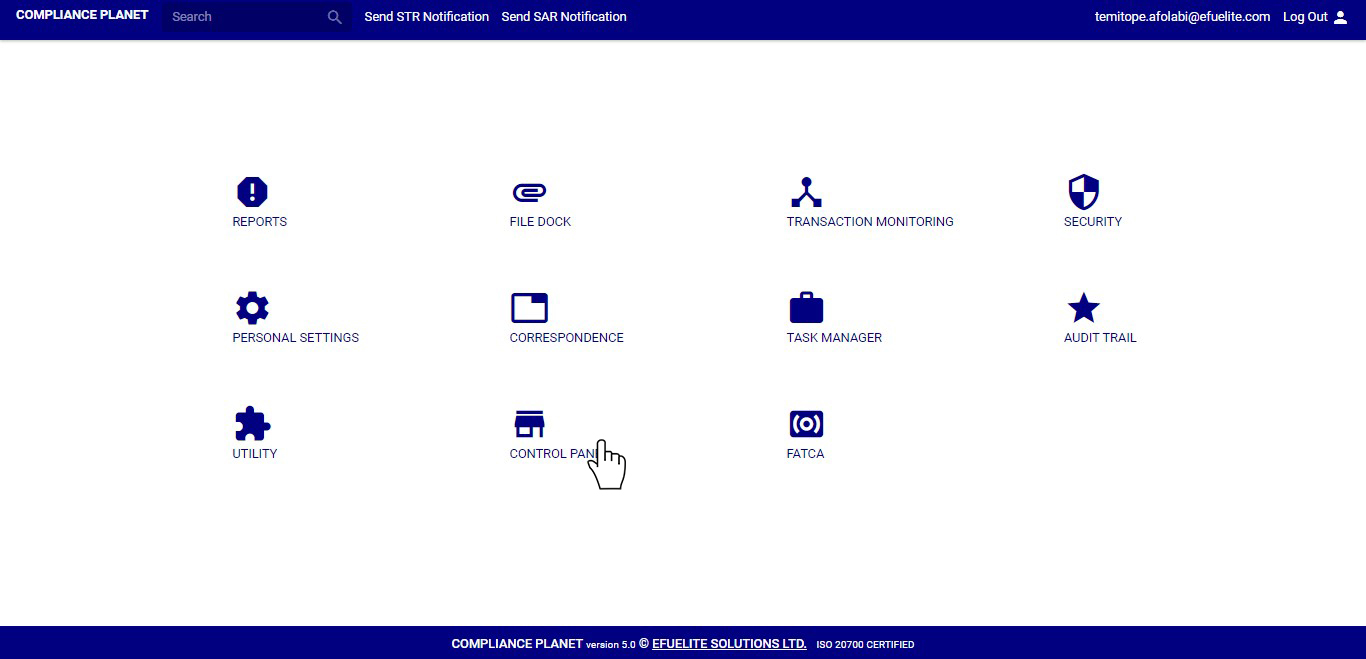
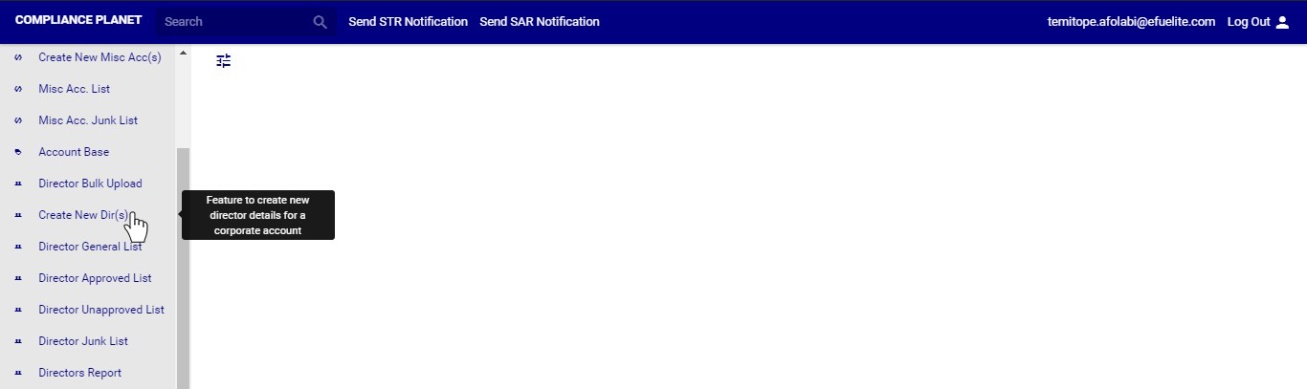
➔From the main dashboard, click on ‘CONTROL PANEL’. See an example below

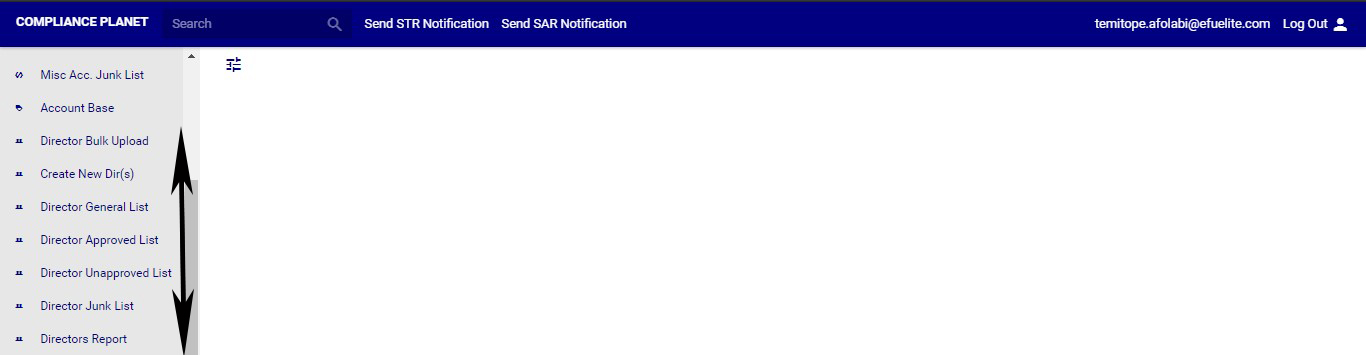
➔ from the left hand side menu, click ‘Director Approved List’ as shown in fig. 10.5a below.
(fig. 10.5a)
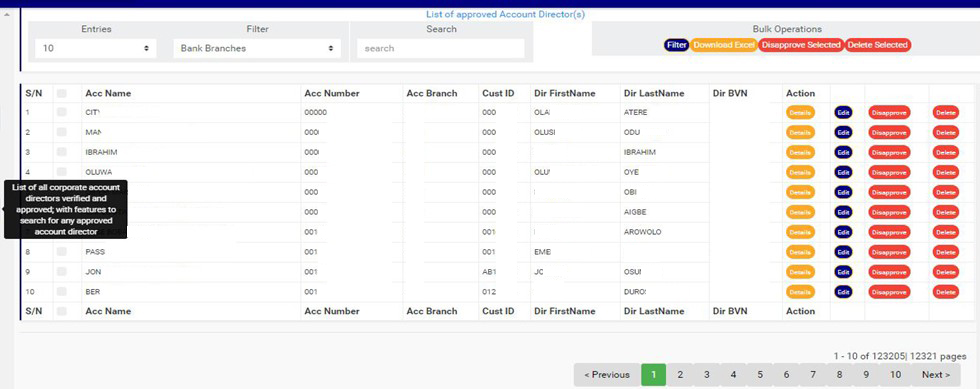
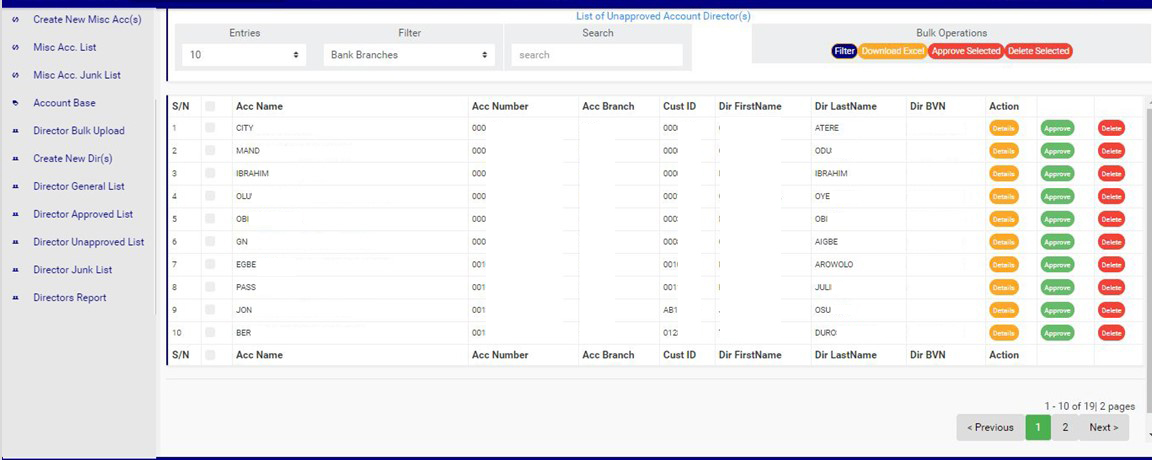
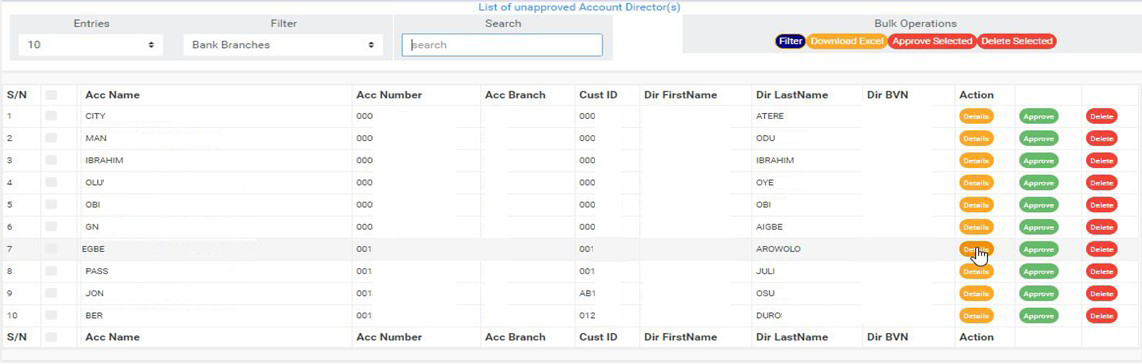
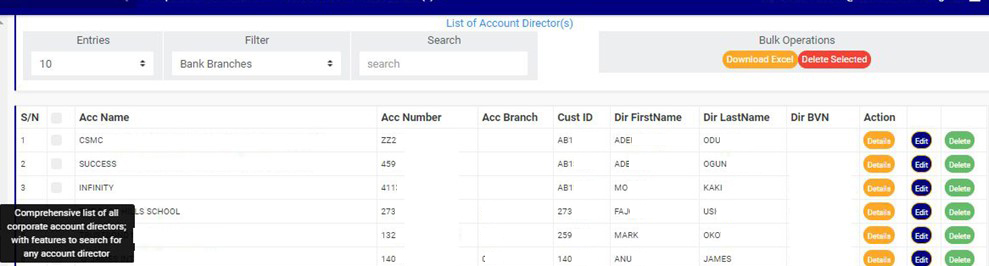
➔ This displays a page listing the director information that has been verified and approved. See fig. 10.5b below for an example.
(fig. 10.5b)
➔ At the bottom-right corner of the page, the software gives information about the number of pages of the approved director list, with the page numbers written out. The page numbers are buttons to go to each page. By clicking on any page number, the software takes you to that particular page. Click on ‘NEXT’ to go to the next page or click on ‘PREVIOUS’ to go to the page before the one you are viewing at that moment.
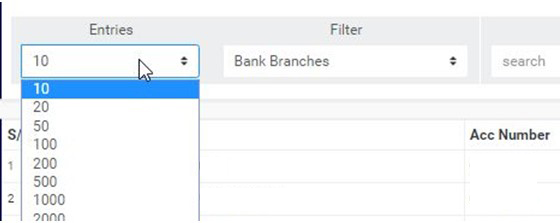
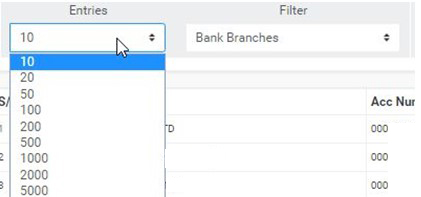
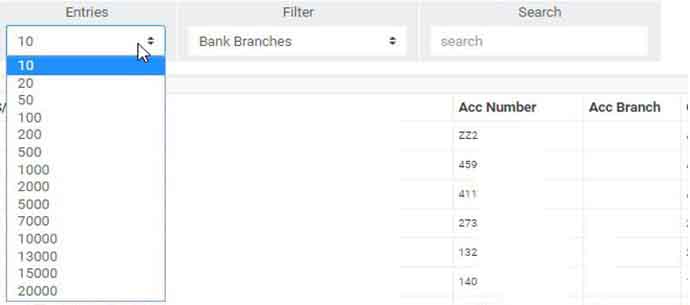
➔ Adjust the number of approved account directors you want to see per page by clicking on the ENTRIES box as in fig. 10.5c below.
(fig. 10.5c)
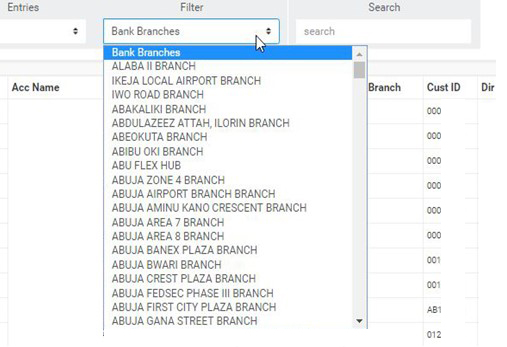
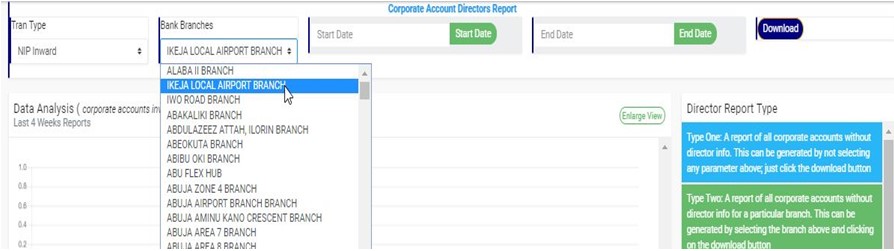
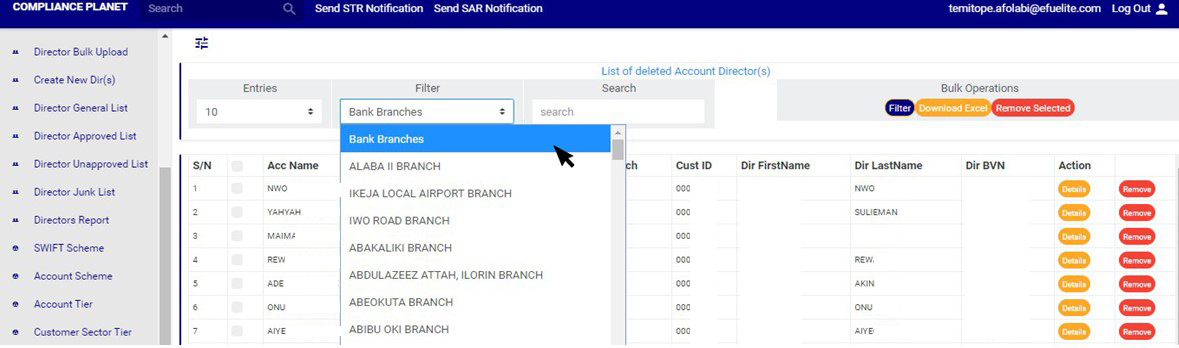
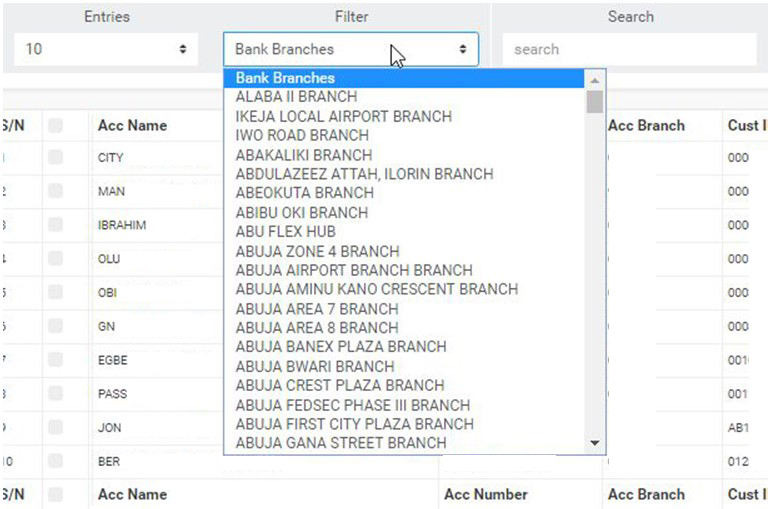
➔ To see approved director information of corporate accounts for any of the branches, select the branch name from the filter box as seen in fig. 10.5d below. The default list is always for all branches of the institution.
(fig. 10.5d)
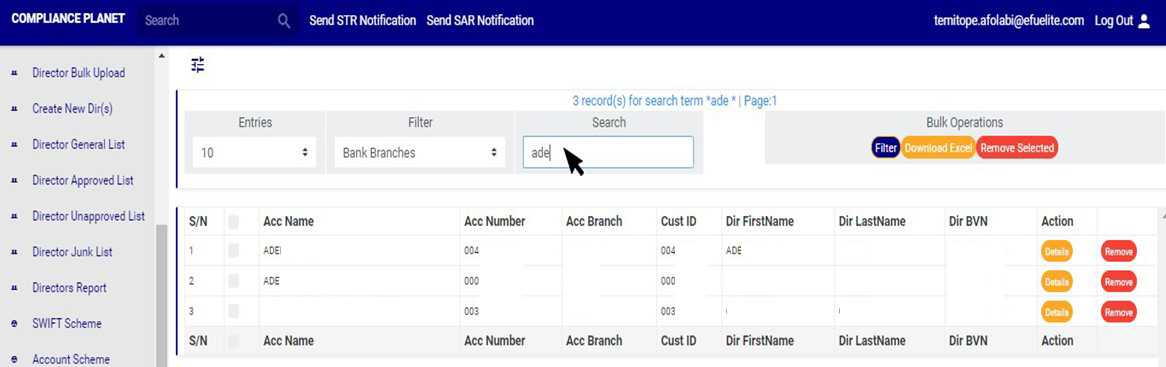
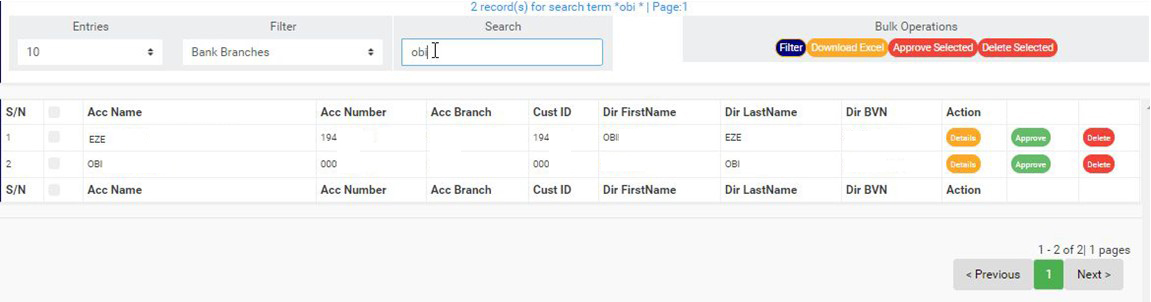
➔ Search for a corporate account director information by typing the account name, account number, director’s first name, last name or director’s BVN in the search box. See an example of a search in fig. 10.5e below. Search results will be displayed as you type in the search box.
(fig. 10.5e)
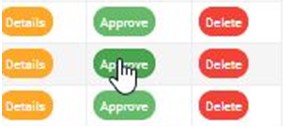
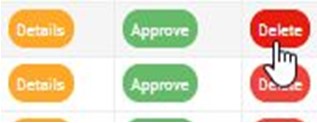
➔ On this page, each director information on the list has four (4) action buttons. These buttons are;
● ‘DETAILS’ button,
● ‘EDIT’ button
● ‘DISAPPROVE’ button and
● ‘DELETE’ button
Here is how to make use of the action buttons.
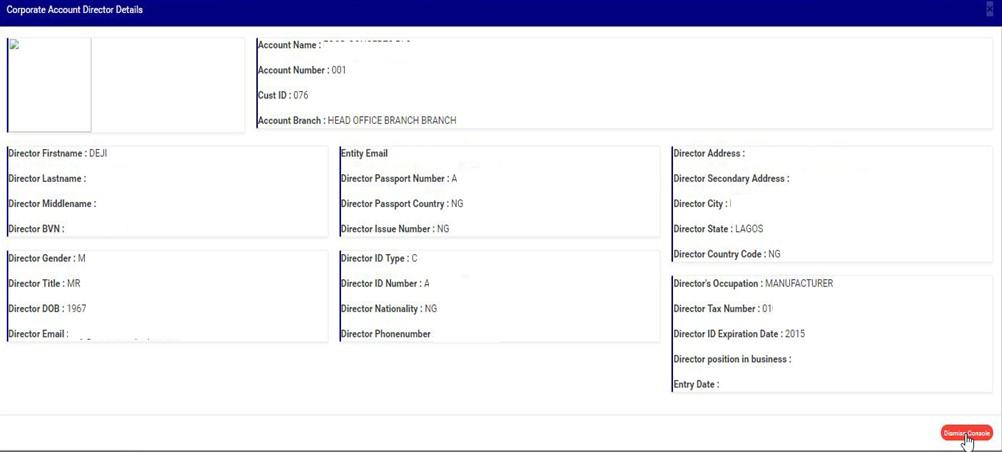
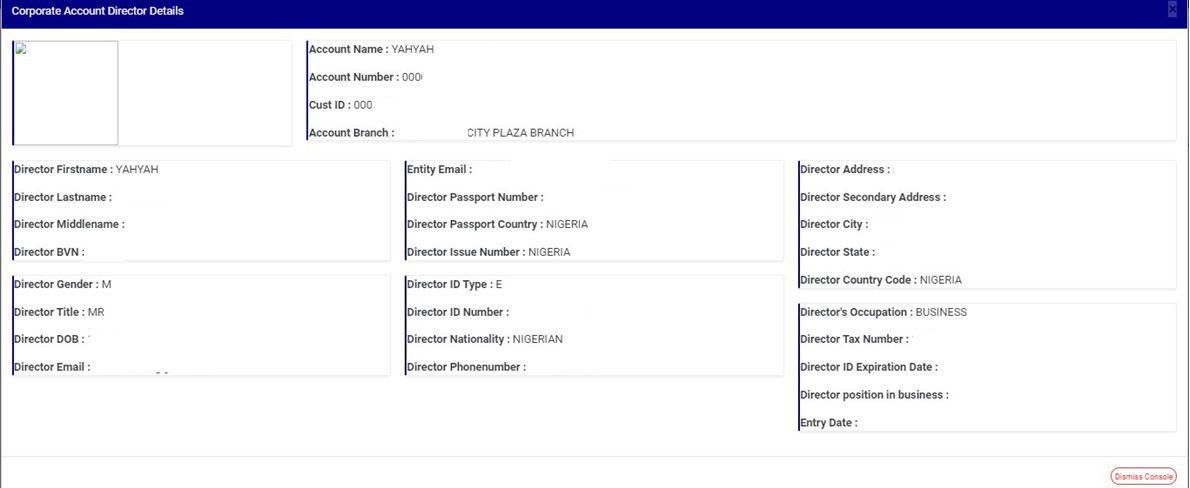
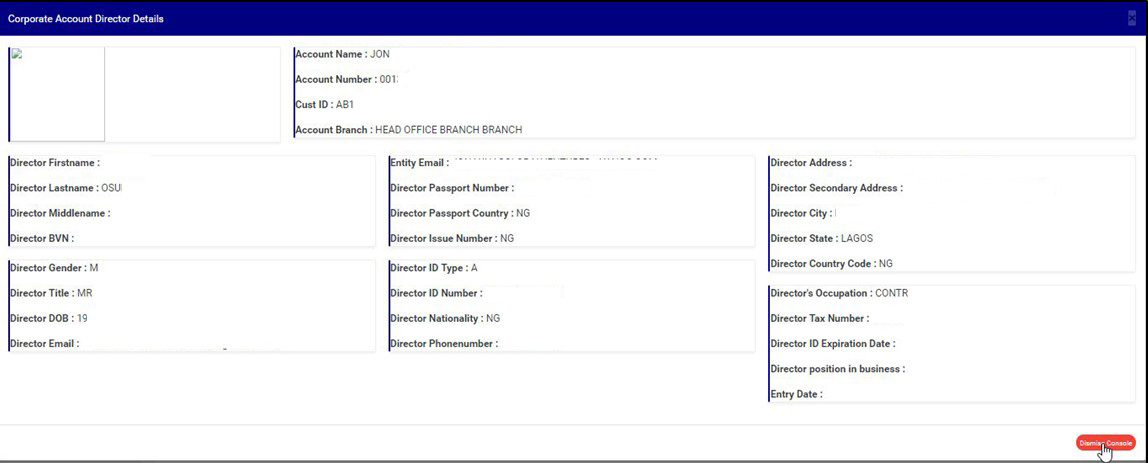
1. Click on ‘DETAILS’ as in fig. 10.5f below to view the details of a corporate account director.
(fig. 10.5f)
● This display the Corporate Account Director Details console as in fig. 10.4g below. After viewing, click on ‘DISMISS CONSOLE’ (as shown below) to close the console.
(fig. 10.5g)
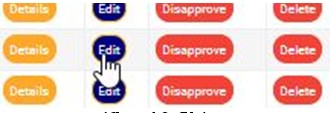
2. To make changes to the details of a director, click on ‘EDIT’ as shown in fig. 10.5h below.
NOTE: Only person(s) profiled as deputy supreme Admin and assigned right(s) to “view directors list” and “Edit ” account director records will be able to carryout this operation.
(fig. 10.5h)
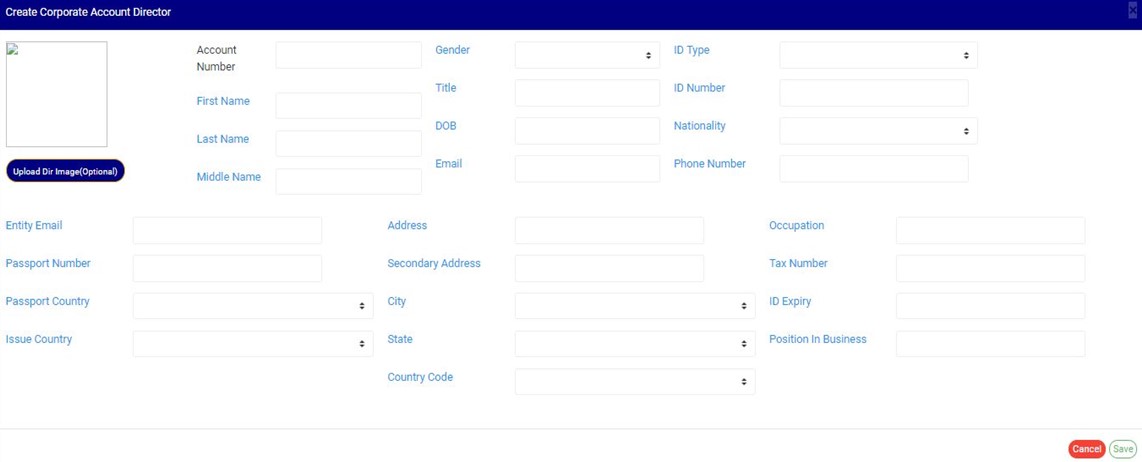
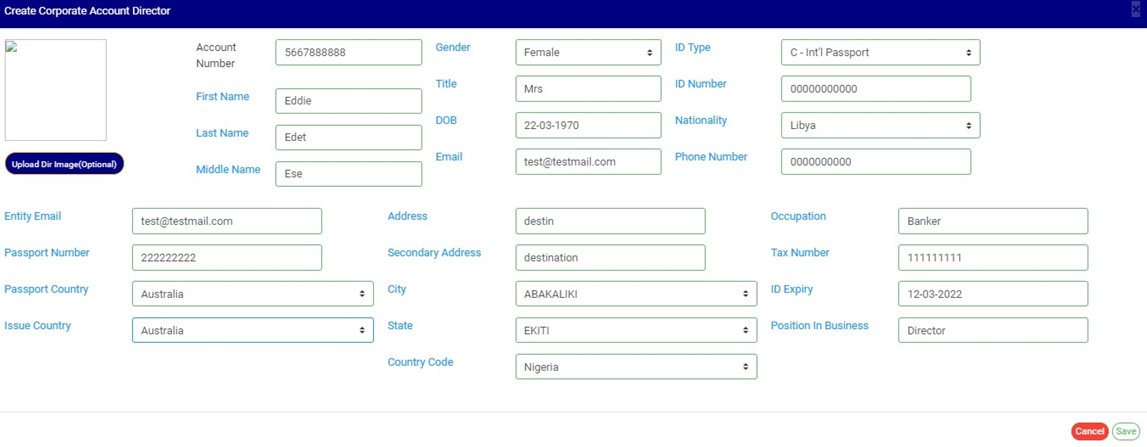
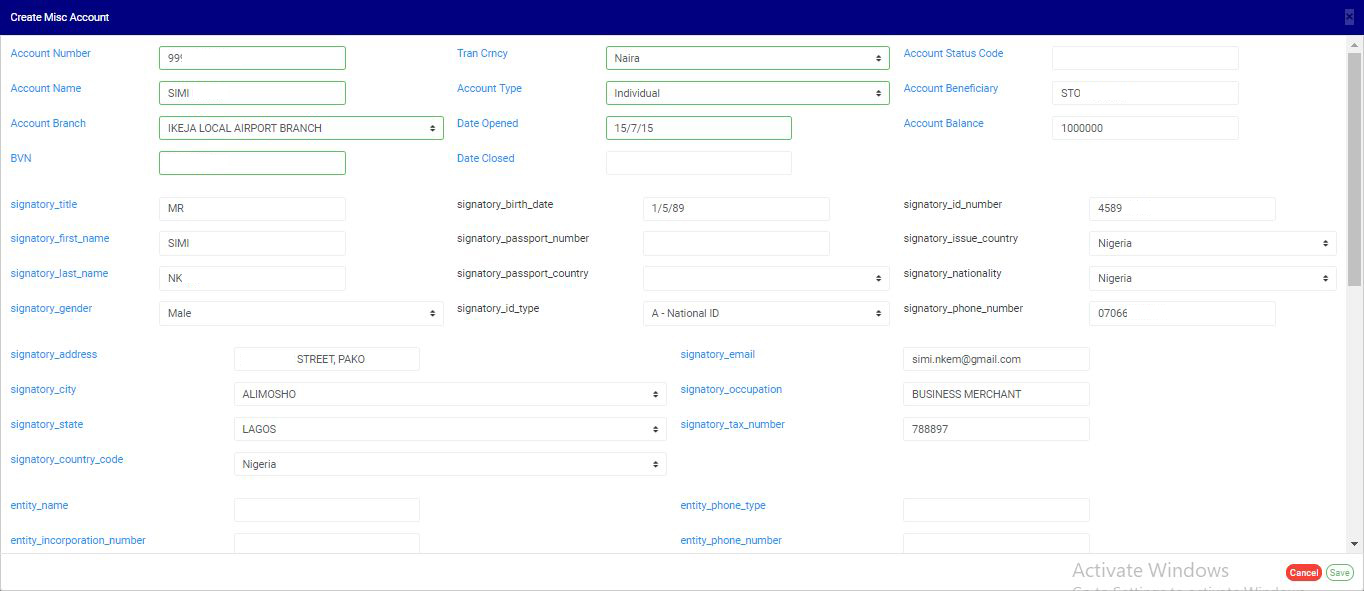
● This displays the ‘Edit Corporate Account Director’ console where you can edit the information previously saved and also, add other details in the fields that are yet to be filled. Note that the account number, account name, account branch, customer ID and BVN cannot be changed. See an example of the console in fig. 10.5i.
(fig. 10.5i)
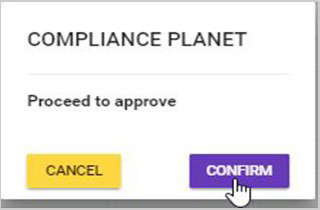
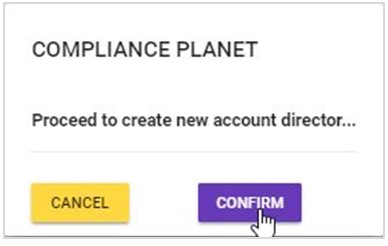
● Click ‘SAVE’ to save the changes. A confirmation console will be displayed to confirm you want to make the changes. Click on ‘CONFIRM’ as shown in fig. 10.5j to proceed or ‘CANCEL’ to go back to the ‘Edit Corporate Account Director’ console.
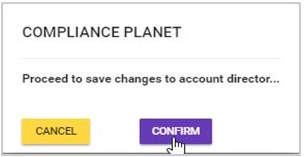
(fig. 10.5j)
● By clicking on ‘CONFIRM’, the console will be closed. When the changes have been saved, a notification will be displayed at the top of the page as seen in fig. 10.5k below.
(Fig. 10.5k)
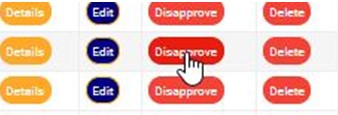
3. To disapprove a director information that was previously verified and approved, click on ‘DISAPPROVE’ as shown in fig. 10.5l below.
NOTE: Only person(s) profiled as deputy supreme Admin and assigned right(s) to “view directors list” and “disapprove director” will be able to carryout this operation.
(fig. 10.5l)
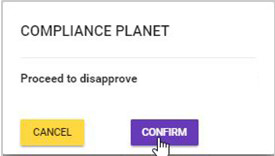
● A confirmation console will be displayed to confirm your request to DISAPPROVE the director information. Click on ‘CONFIRM’ to proceed or ‘CANCEL’ to stop action. See fig. 10.5m for an example.
(fig. 10.5m)
● When the disapproval is successful, a notification will be displayed at the top of the page as in fig. 10.5n, the director information will be removed from the approved list page and added to the unapproved list of corporate director information.
(fig. 10.5n)
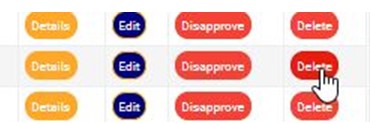
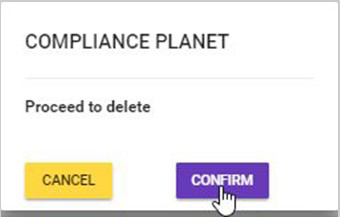
To delete any of the corporate account director information, click on ‘DELETE’ as shown in fig. 10.5o below.
NOTE Only person(s) profiled as deputy supreme Admin and assigned right(s) to “view directors list” and “delete director” will be able to carryout this operation.
(fig. 10.5o)
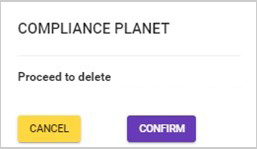
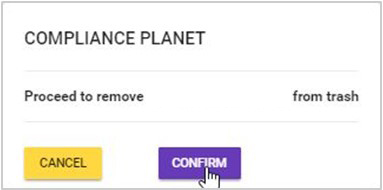
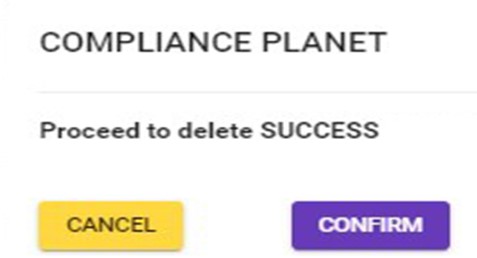
● A confirmation console will be displayed to confirm your request to delete the director information. Click on ‘CONFIRM’ to proceed with the delete or ‘CANCEL’ to stop action. See fig. 10.5p for an example.
(fig. 10.5p)
● When the operation is complete, a notification as in fig. 10.5q will be displayed at the top of the page, the deleted account director information will removed from the general list and the approved list and added to the Account Directors Junk List.
(fig. 10.5q)
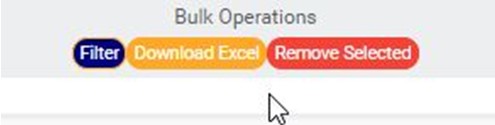
Bulk Operations
There are features to carry out bulk operation on more than one account director information. The buttons to carry out these operations are at the top of the page. As shown in fig. 10.5r below, these features are;
1. ‘Filter’ button
2. ‘Download Excel’ button
3. ‘Disapprove Selected’ button and
4. ‘Delete Selected’ button.
(fig. 10.5r)
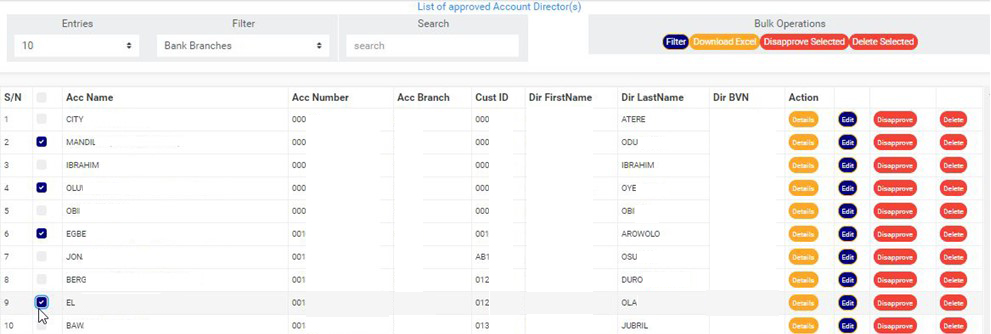
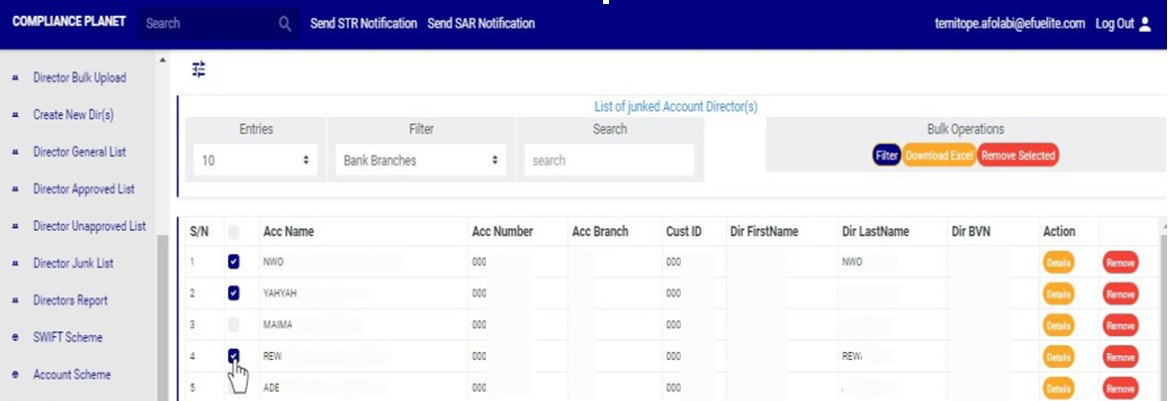
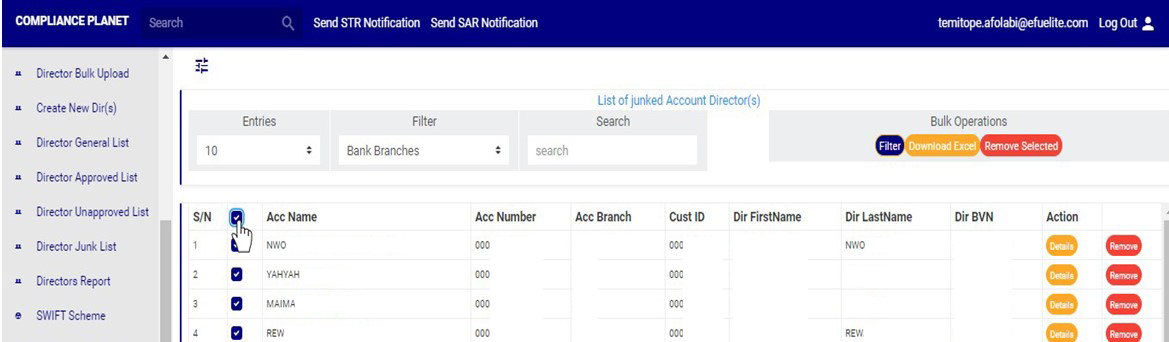
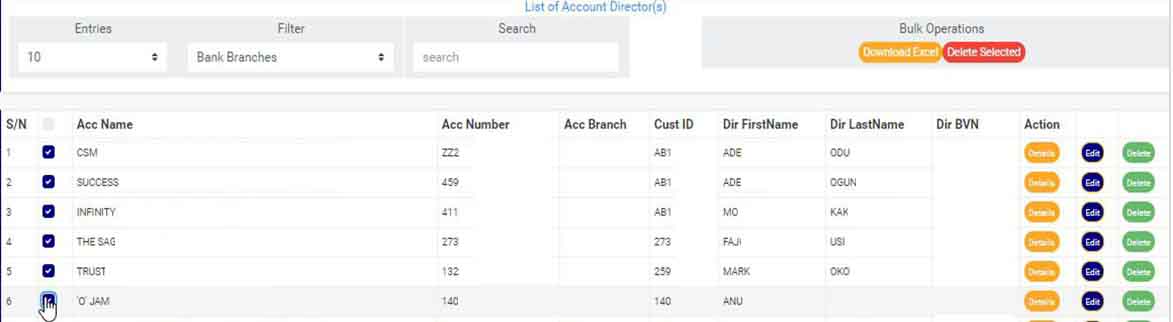
➔ To carry out any bulk operation, select the corporate account director information. Select the account director information by clicking on their check boxes. See fig. 10.5s below for an example.
(fig. 10.5s)
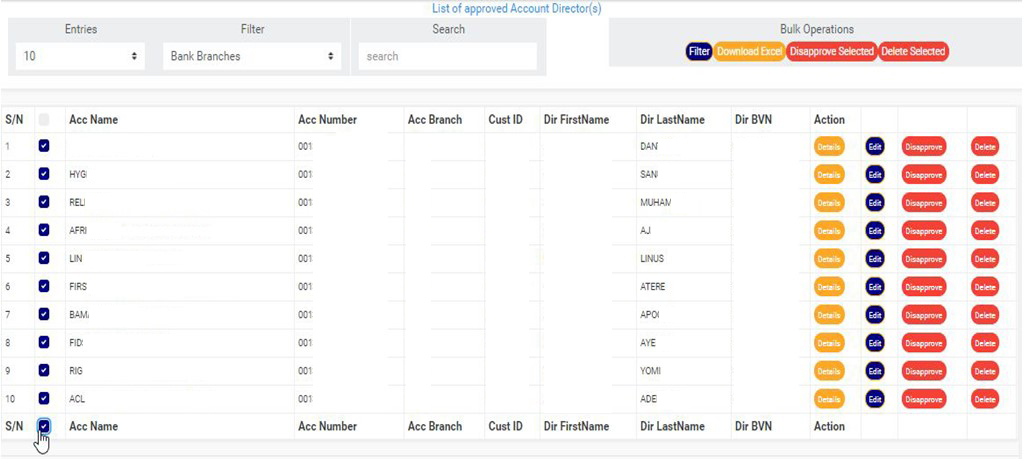
➔ To select or deselect all the accounts, click on the checkbox on the table title bar, that is, the checkbox between ‘S/N’ and ‘ACC NAME’. See fig. 10.5t for an example.
(fig. 10.5t)
➔ After making your selection, proceed to carry out the bulk operations. The bulk operations are explained below.
Filter
By clicking on the filter button, the page is refreshed. The filter button is also used for the bulk deselection of selected director information. See the ‘FILTER’ button in fig. 10.5u.

(fig. 10.5u)
How to make Bulk Download Of Corporate Account Directors Record
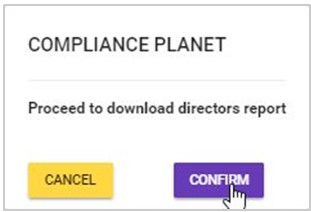
Click on the ‘Download Excel’ button, to download an excel file filled with the details of selected approved account director information .
NOTE Only person(s) profiled as deputy supreme Admin and assigned right(s) to “view directors list” and “download excel report” will be able to carryout this operation.
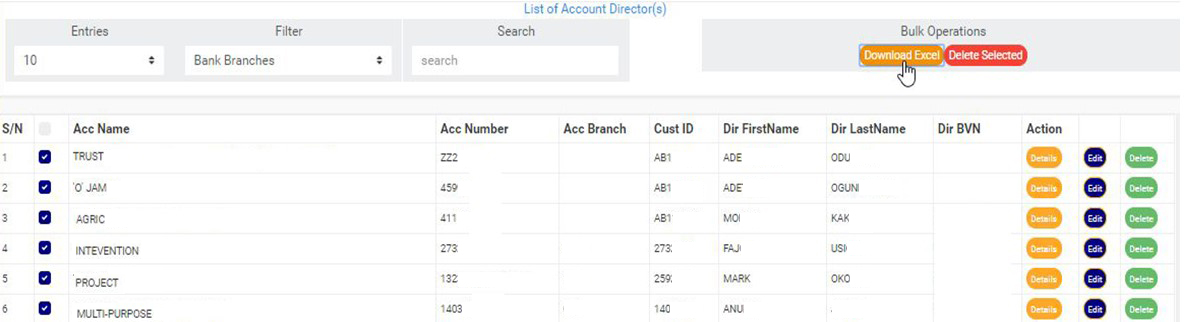
➔ Click on the ‘DOWNLOAD EXCEL’ button as seen in fig. 10.5v below.
(fig. 10.5v)
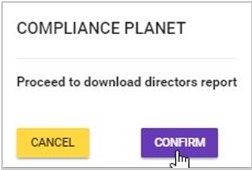
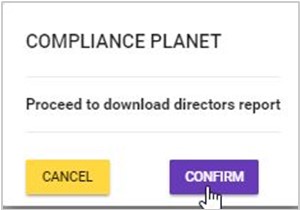
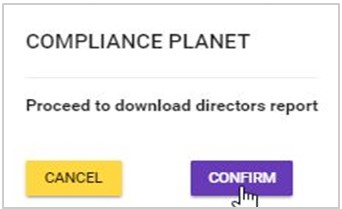
➔ This will display a confirmation console as in fig. 10.5w below. Click on ‘CONFIRM’ to proceed with the download or ‘CANCEL’ to discontinue.
(fig. 10.5w)
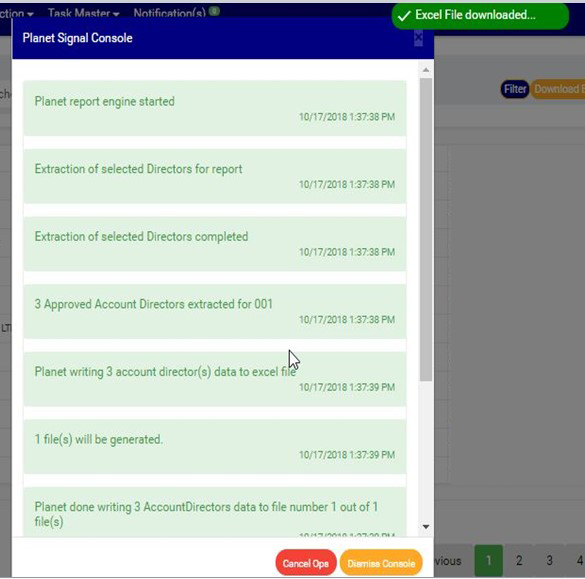
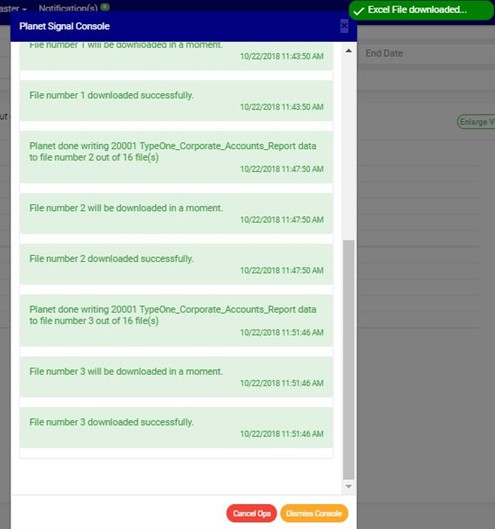
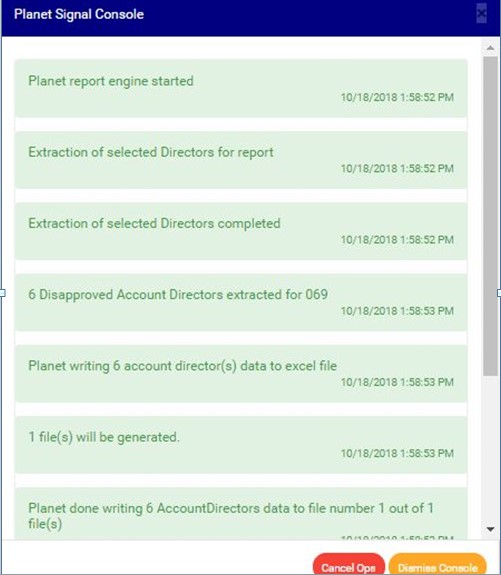
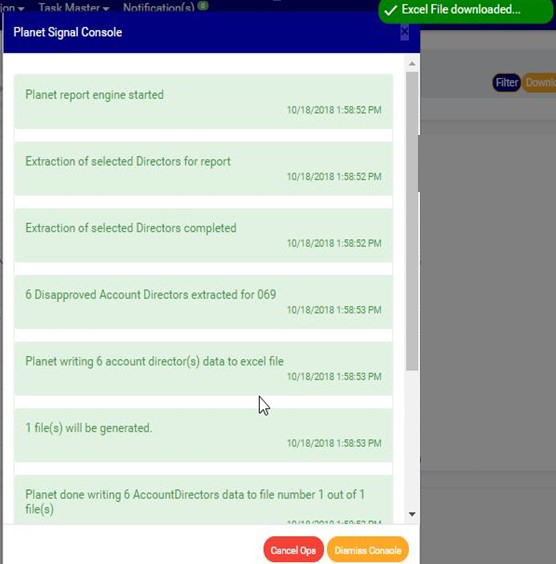
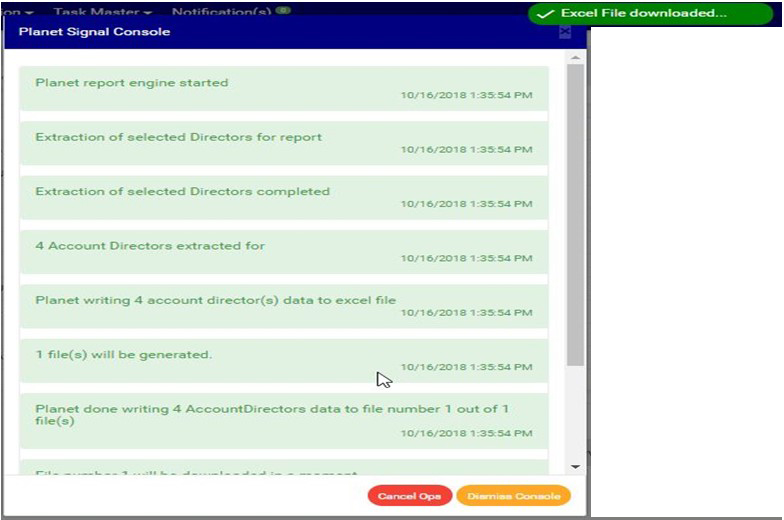
➔ The signal console shows on going processes. An example of a signal console is fig 10.5x and a notification will be displayed at the top of the page when the download of the excel file is complete.
(fig. 10.5x)
➔ To close the signal console, click on its ‘DISMISS CONSOLE’ button;
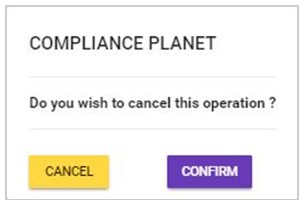
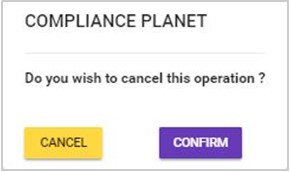
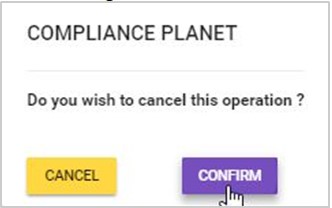
➔ You can terminate unfinished processes by clicking CANCEL OPS’. This displays a confirmation console as seen in fig. 10.5y below, Click on ‘CONFIRM’ to proceed.
(fig. 10.5y)
➔ A notification as in fig. 10.5z will also be displayed at the top of the page when the cancellation is successful.
(fig. 10.5z)
B. How to make Bulk Disapproval Of Approved Corporate Account Directors Records
By clicking on the ‘Disapprove Selected’ button, all the selected director information will be disapproved and moved to the Account Directors Unapproved List on the Compliance planet software.
NOTE only person(s) profiled as deputy supreme Admin and assigned right(s) to “view directors list” and “Disapprove directors (Bulk)” will be able to carryout this operation.
Here is how to make a bulk disapproval.
➔ Click on the ‘DISAPPROVE SELECTED’ button as seen in fig. 10.5aa below.
(fig. 10.5aa)
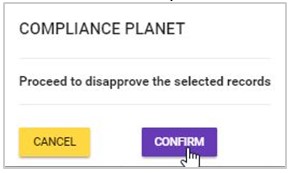
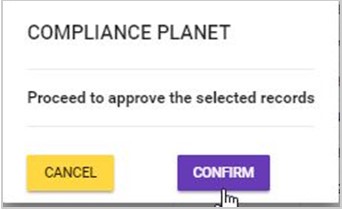
● A confirmation console will be displayed to confirm your request to DISAPPROVE the director information. Click on ‘CONFIRM’ to proceed or ‘CANCEL’ to stop action. See fig. 10.5ab for an example.
(fig. 10.5ab)
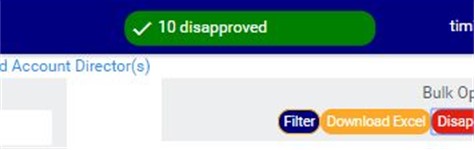
● When the disapproval is successful, a notification will also be displayed at the top of the page as in fig. 10.5ac below. Then, the director information will be removed from the approved list page and added to the unapproved list of corporate director information.
(fig. 10.5ac)
How to make Bulk Delete
By clicking on the ‘Delete Selected’ button, all the selected director information will be removed from the general list and the approved list, and added to the account directors junk list.
NOTE Only person(s) profiled as deputy supreme Admin and assigned right(s) to “view directors list” and “delete director (Bulk)” will be able to carryout this operation.
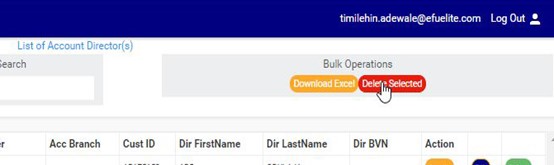
➔ Click on the ‘DELETE SELECTED’ button as seen in fig. 10.5ad below.
(fig. 10.5ad)
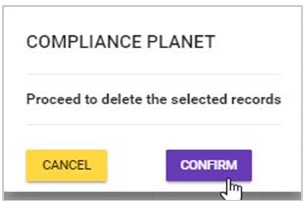
➔ This displays a confirmation console as in fig. 10.5ae below. Click on ‘CONFIRM’ to proceed with the delete or ‘CANCEL’ to discontinue.
(fig. 10.5ae)
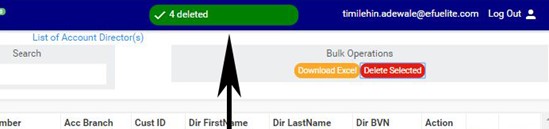
➔ A notification will be displayed at the top of the page when the bulk delete is successful. See fig. 10.5af below for an example.
(fig. 10.5af)
For further enquiries :
Tel +234(0) 816 555 9818
Email solutions@efuelite.com